Taking on the task of replacing an electric oven by yourself can feel a bit overwhelming. But fear not! With a touch of preparation and a little guidance, you might find this do-it-yourself project to be more straightforward than anticipated.
Deciphering whether you can swap out your own oven starts with having the right tools and knowing how to handle electrical wiring safely. It's not just about putting the oven in its cozy slot; it's about understanding the ins-and-outs of wiring and connection to ensure your culinary companion functions properly.
This guide leads you through each step, from detaching the weary old oven to installing a shiny new one. While saving money on labor is enticing, knowing when to call a professional is equally important for safety’s sake. Dive in, and you'll soon see replacing your electric oven is a journey worth embarking on.
- Gathering the Necessary Tools
- Understanding Electrical Safety
- Disconnecting the Old Oven
- Installing the New Oven
- Testing Your New Appliance
- When to Hire a Professional
Gathering the Necessary Tools
Before diving into the task of replacing your electric oven, it's crucial to assemble all the tools you'll need to make the job as smooth as possible. As most home projects go, preparation is half the battle, they say. You don't want to find yourself on a trek to the hardware store in the middle of installing your new kitchen appliance. Having everything on hand will save both time and your feelings when unforeseen snags crop up. Let’s kick off with the basics: a trusty screwdriver set, pliers, a multimeter, and perhaps a drill, especially if it turns out the new oven's harnesses require a bit of adjustment to fit snugly in the space your old one leaves behind.
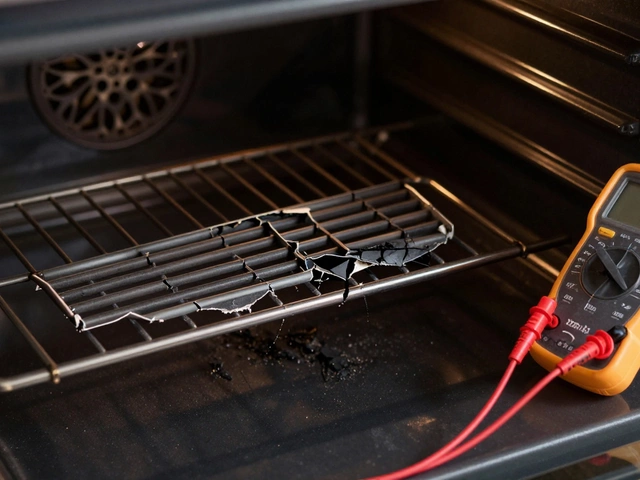
The screwdriver will be your best friend throughout, aiding you in removing and attaching screws as you go. Make sure to have both Phillips and flat-head types on hand, as screws can be picky in style. Pliers are another essential, particularly when dealing with any stubborn wires that need a little extra persuasion. A multimeter is crucial for checking electrical connections; safety is key when dealing with anything involving power! You can use it to ensure you've cut power to the right spot and that everything is safely installed before powering up your DIY oven replacement.
Don't forget to have a good flashlight or a head lamp, especially if your oven area isn’t well lit. Trust me, squinting into unlit corners is no fun when you're wrestling with wires. A fire extinguisher isn't on the tool belt, but it’s smart to have one nearby – better safe than smoldering, after all. Consider keeping a friend or neighbor available for assistance. Sometimes, an extra set of hands makes the work go quicker and helps avoid mishaps. Plus, if something heavy needs lifting, it’s better not to strain yourself.
Some professionals also recommend at least one strong voltage detector as a supplementary tool. Here's a tip: remember to tell everyone at home about the work you're undertaking, especially if it involves cutting off power at some point. “Communication is critical,” advises Jenny Martinson, a respected electrician, in her home improvement articles. Blockquote tags can be useful not just on the page, but in life!
In case you need to adjust the cabinet space to fit the new oven, some woodwork tools, like a small saw or sander, could come in handy as well. Measure twice, cut once, as they tell you. And if you want to keep organized, a tool belt or a small box can keep things within easy reach. The right tools are a bit like oven mitts – not strictly necessary in all moments, but when you absolutely need them, they make all the difference. Once all your tools are assembled, you’re well on your way to becoming a more capable DIY home-improver!
Understanding Electrical Safety
When it comes to replacing your electric oven, safety should be your top priority. Electricity is not something you want to mess with, especially if you're not used to handling it. Wrong handling can lead to severe hazards, including electrical shocks and even fires. It’s important to prepare yourself with the knowledge of basic electrical safety before you even think of unscrewing that first bolt or flipping that power breaker switch.
Before you start any work, make sure the power supply to your oven is turned off at the main circuit breaker. Do not rely solely on flipping the oven's switch. Double-checking the power is off might seem excessive, but it's a crucial step. Many modern homes have complex electrical systems, and ensuring all connections are dead is necessary. If your circuit breaker lacks clear labels, take a moment to trace back which one connects to your oven. Remember, electricity is invisible but predictably dangerous, so do your due diligence.
An important tip is to use a voltage tester before touching any wires. These testers, which are available at most hardware stores, provide an additional layer of confirmation that no current is flowing through the wires you're about to handle. A few dollars spent on a tester could prevent a costly emergency room visit. Some might think these little tools unnecessary, but safety lies in even simple actions. Besides, learning how to use a tester is straightforward, and it’s a skill worth having for any DIY enthusiast.
Grounding and bonding are other concepts every electrical DIYer should grasp. Grounding ensures electricity follows a path safely into the ground if a fault happens, whereas bonding makes sure that metal areas in the home are at the same electrical potential to prevent shocks. Make sure your new electric oven is properly grounded as per the manufacturer's instructions. Missteps with grounding can escalate into serious faults down the line. If you’re unsure about this, it’s best to consult the appliance manual or reach out for professional help. Bonding is also something built into the design of your home wiring, and interference should be minimal, but awareness helps.
"Never underestimate the importance of a well-grounded appliance," says the Electrical Safety Foundation International (ESFI).Understanding why these measures are in place can save you from inadvertent trouble. It's not just about completing a task; it’s about doing so safely so your kitchen remains a haven for creative cooking and family gatherings.
Below is a quick checklist of electrical safety steps for your DIY project:
- Ensure the power is off at the main circuit breaker.
- Use a voltage tester to confirm no electrical current is present.
- Follow grounding instructions for the new appliance.
- Double-check wiring connects correctly to the oven’s terminals.
- Call a professional if you are unsure about any step.
In the end, when replacing an electric oven, a cautious and informed approach to electrical safety not only prevents accidents but ensures your project is a satisfying triumph. A little attention and care can keep you safe and sound as you bring your oven replacement project to life. Dive into this mission with the right mindset, respecting the power of electricity, and you’ll come out successful and confident.
Disconnecting the Old Oven
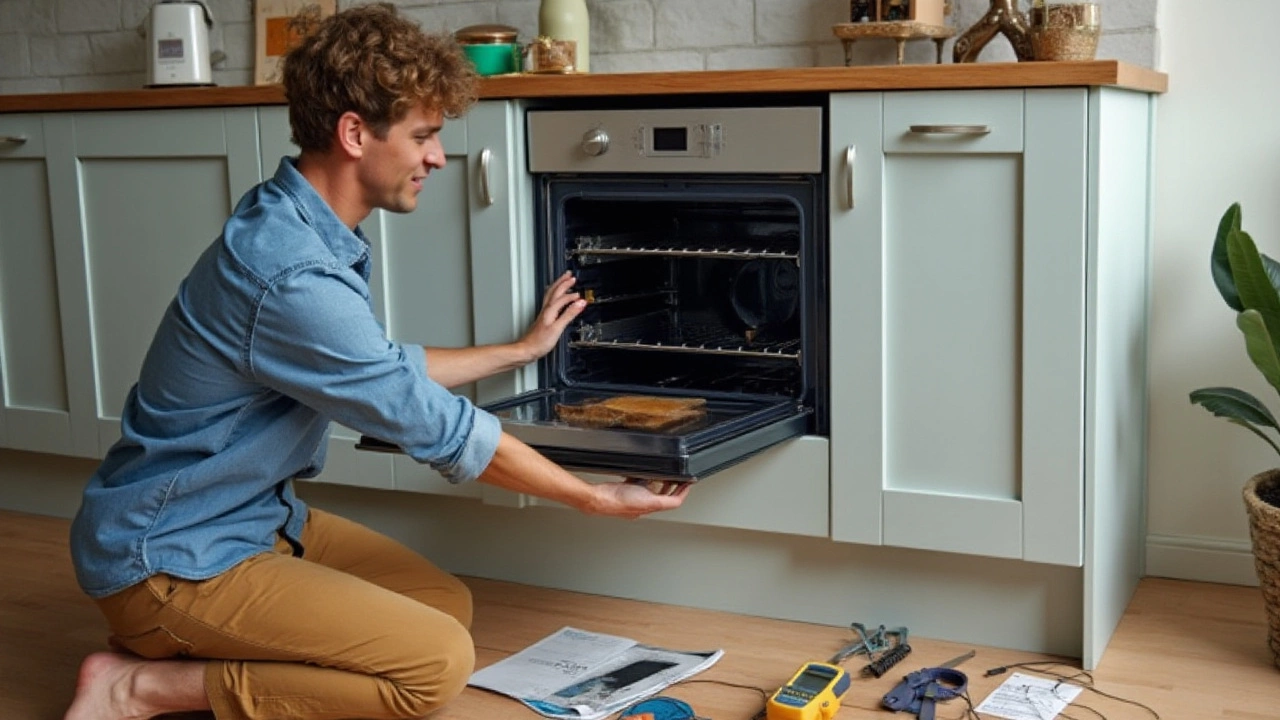
Before letting excitement take the wheel, the first thing one must do when replacing an electric oven is ensure that the power supply is safely cut off. It’s crucial to double-check that your oven is not merely turned off but completely disconnected from the power source. This might sound elementary, but it's essential for your safety and the proper handling of this kitchen appliance. Head to your main electrical panel to locate the circuit breaker that controls your oven and switch it off. It’s better to err on the side of caution and turn off the double pole breaker, which handles the higher voltage required for ovens. It’s always wise to keep a voltage tester handy to confirm the absence of electricity at the appliance connection point, ensuring that no current will surprise you midway through your task.
With power firmly out of the equation, the next step involves gaining access to the oven’s wiring. Most built-in ovens are housed snugly within cabinetry, often requiring the removal of securing screws or brackets that fasten the unit to its perimeter. As you carefully slide it out, take a moment to appreciate the masterful design hidden behind those seamless kitchen facades. Having a reliable platform or sturdy furniture dolly will support the weight of the oven, avoiding strain or potential damage to your back. Once the oven is freely accessible, the next task is to examine how it connects to your home power supply, usually hardwired or plugged into a heavy-duty outlet behind it.
If your oven is hardwired, a logical next step would be to untangle its electrical connections. This involves removing a junction box cover and taking note of the configuration, typically consisting of three wires: black, red, and either green or bare copper representing the live, neutral, and ground wires, respectively. Ensure to unscrew and detach these wires following a safe and methodical approach. Be sure to avoid mix-ups by labeling each wire as you go. Some prefer to snap a picture of the wire arrangement as a backup plan. Equip yourself with a set of pliers and a screwdriver, basic tools that go a long way in managing the wires effortlessly. If the oven plugs into an outlet, you’ve got it easy—simply unplug it and prepare it to be eased from its nest.
Finally, with connections ungripped and wiring securely separated, it’s time to clear the space for the new appliance. An insider tip is to seize this opportunity to inspect the power outlet, wiring, and surrounding area for any signs of wear or damage. Cleaning any debris or grime accumulated over the years is advantageous, as a clear and well-maintained area facilitates a smooth installation process for the incoming oven. Reflecting on the words from a seasoned electrician, "Replacing your oven may seem like a Herculean task, but understanding what's behind that appliance and respecting the power it uses is half the battle." Disconnecting the old oven isn't just about freeing it from cabinetry; it’s about setting a safe stage for what comes next.
Installing the New Oven
So, you've arrived at the exciting part — installing your new electric oven. First things first, clear the path and make sure there's ample space for maneuvering the oven into its designated spot. Keep in mind that this task is a two-person job, as electric ovens are not only awkward to handle but can be quite hefty. Coordinate well with your helper to avoid any muscle strain or worse, a dropped oven.
Once positioned, it is crucial to ensure that the oven is level. An uneven oven can lead to uneven cooking and potential wear and tear. Use a reliable spirit level tool on the top of the oven to confirm it’s perfectly horizontal. Adjust the height of the oven feet if necessary, taking special care to maintain a stable base, as wobbly adjustments can reduce your precision cooking to a luck game.
The focus now shifts to the electrical connections. Check that your oven comes with a sufficient power cable that matches your home’s specifications. The power supply should align with the wattage and voltage requirements listed in the oven manual. Carefully connect the cable to the junction box, ensuring that each wire securely matches the respective terminal without any loose ends. Tighten the screws snugly but don’t overtighten them, as this can damage the cables.
At this point, some folks might entertain a sigh of relief thinking they are nearly done, but patience is a virtue here. Before sliding the oven entirely into place, verify the door opens in the correct direction and is free of any obstructions. Double-check that there’s enough clearance for air circulation around the oven to prevent overheating during use.
"A well-installed appliance not only ensures safety but prolongs the life of your equipment and improves energy efficiency," writes home economist Jane Simmons. "Never underestimate the power of precision in home appliance installation."
Lastly, secure your new appliance. Most newer models require anchoring screws to prevent tipping, especially if located in homes with young children. Manufacturers often provide these, which should be fitted according to the instructions in the manual. Ensure all knobs, racks, and interior elements are correctly aligned and assembled as per the manufacturer’s guideline.
| Task | Time Required | Word of Advice |
|---|---|---|
| Positioning | 10-20 minutes | Use gloves for a firm grip |
| Leveling | 5-10 minutes | Double-check with spirit level |
| Wiring | 30-45 minutes | Follow color-code standards |
| Securing | 10-15 minutes | Read the manual instructions |
With everything in place and a final check of alignment and balance complete, your next adventure in the culinary arts is set to begin. Knowing how to install an electric oven safely not only enriches your DIY skills but transforms your kitchen into a more versatile and efficient workspace.
Testing Your New Appliance
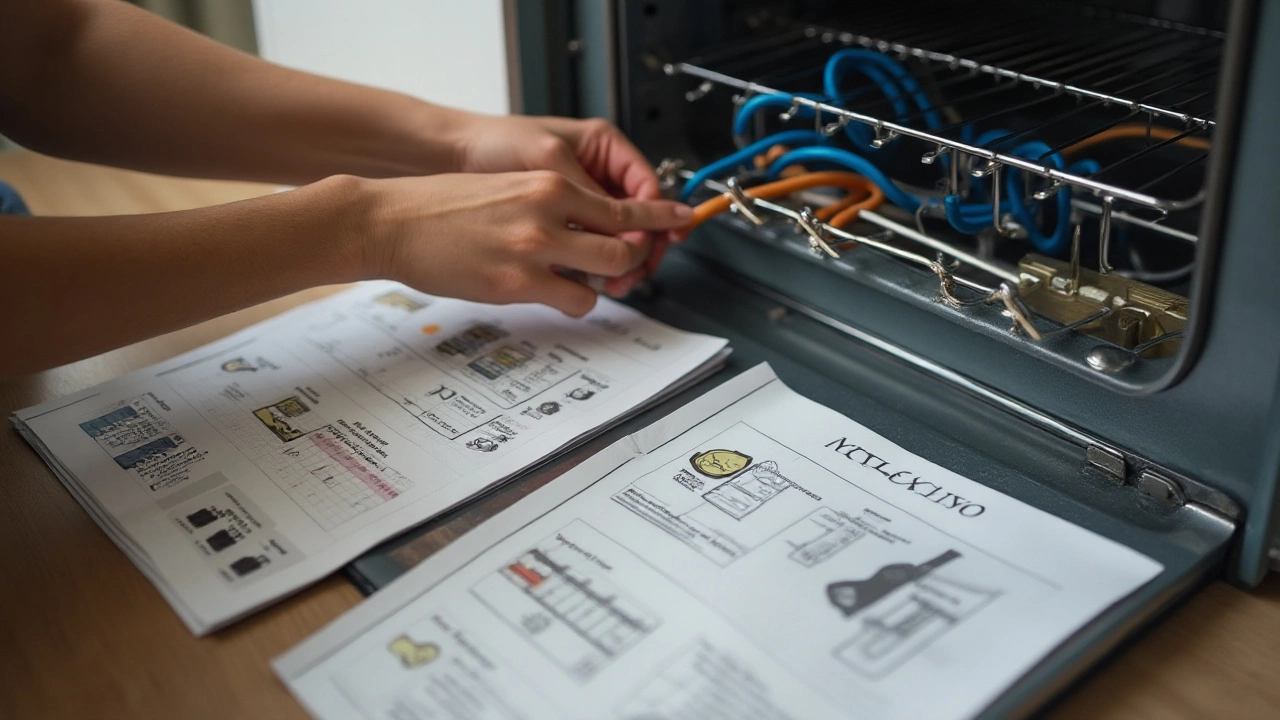
After all the effort put into installing your shiny new oven, it's crucial to ensure everything is working as expected. The first step in testing your electric oven is to check the basic functionality. Before you begin, make sure the appliance is properly connected to power. Turn on the main power supply and, using the control panel, try setting the oven to a simple cooking mode, such as bake. You should hear a faint hum as it powers up, indicating that electricity is coursing through it.
Monitor the oven's interior light and any display features. These are the first indicators that your oven is operational. If everything lights up as it should, you're off to a great start. Next, set the oven to a moderate temperature, say around 350 degrees Fahrenheit, and allow it to preheat. It's important during this test phase to keep the kitchen well-ventilated in case any protective coatings used during manufacturing are burning off, producing a mild scent.
Keep a reliable oven thermometer inside as the oven heats; this acts as a double-check to ensure your new appliance hits and maintains the temperature as indicated by the settings. Timing is equally vital. It should take approximately 15-20 minutes to reach 350 degrees, depending on the model. Inconsistent temperatures are often a sign of faulty installation or a possible defect in the oven. If you suspect any issues, it might be time to consult the manual to see if there’s a quick fix.
While you’re testing, it’s also a good time to familiarize yourself with the other features. Use the broiler function, if your oven is equipped with one, and any convection features that might be present. Each function should operate smoothly, without any unusual noises or error messages flashing on the display. "The key to any successful installation isn't just getting it physically in place," says Jane Doe, an expert from Home Appliance Specialists.
"But making sure it performs a full range of functions effectively. That's the measure of success."
You may want to execute a quick and simple cooking task to wrap up this testing period. Baking a batch of cookies or roasting a small chicken not only tests the temperature accuracy but also the evenness of the heat distribution within the oven cavity. Keep an eye on how evenly the food bakes or roasts. If you encounter uneven cooking, ensure your oven racks are properly in place and level.
It’s always wise to take a few moments to test the self-cleaning feature if your new appliance boasts one. Make sure nothing flammable is nearby when you attempt this, as the process can generate a lot of heat. As an added heads-up, while self-cleaning, certain safety measures lock the oven door to prevent accidental openings, so don’t be alarmed if this happens.
In some cases, checking in with the manufacturer's support can provide peace of mind if something feels off. Running through this comprehensive testing routine not only confirms the performance but also boosts your confidence in using your new kitchen companion. Remember, ensuring a successful DIY oven replacement hinges on these final checks.
When to Hire a Professional
There comes a moment in any DIY undertaking—particularly when it involves appliances like an electric oven—where you must pause and evaluate whether you’re in over your head. Installing a DIY oven replacement can be working with elements that mix electricity and heavy machinery, which can pose serious safety risks if handled improperly. So, how do you know when it’s wise to call in a professional? Well, understanding your limitations and knowing when a task surpasses your skill set is vital. It’s not just about having the right tools; it’s about having the expertise to use them safely and correctly. If you find yourself second-guessing which wires to connect or how to ensure the appliance is secured in place, it’s probably time to consider the help of a professional electrician or installer.
Firstly, if your home’s wiring is outdated or particularly complex, it’s best to refrain from tackling the installation on your own. Older homes may have wiring systems that aren't suitable for newer appliances, which can lead to potential overloading or malfunction if not managed carefully. Electricians have the training to assess and modify the wiring if needed. Even more so, local building codes often require that only licensed professionals undertake electrical work. Violating these codes can lead to fines or impact your home’s insurance, turning your seemingly simple DIY project into a costly ordeal.
An old saying goes, “When in doubt, hire it out.” This advice can prove invaluable, especially when considering tasks involving electrical installations—no amount of DIY pride is worth putting your home or yourself at risk.
Moreover, consider bringing in a pro if warranty matters are at stake. Many new appliances come with warranties that cover certain issues for a specified period. However, these warranties may become void if the installation is not done by an authorized professional. The costs of hiring a professional might ultimately save you more money than losing out on warranty coverage. It’s a strategic call that balances immediate costs and long-term benefits. This decision is also about ensuring that your new appliance not only works today but continues to operate efficiently for years.
Signs You Should Let the Experts Step In
- Confusion with Electric Wiring: If identifying wiring types and connections confounds you, step back. Electricians are trained to handle complicated wirings safely.
- Time Constraints: If your schedule is too tight for potential hiccups, professionals can finish the job more swiftly, avoiding prolonged kitchen downtime.
- Local Building Code Requirements: Always verify local regulations. In many places, legal requirements mandate professional installation for certain appliances.
- Complex Appliance Features: If your new oven comes with advanced features requiring special expertise to install, avoid DIY attempts that could go awry.
So, before wielding that screwdriver or testing that circuit, consider the bigger picture. Could this task turn from seemingly simple to an expensive mistake or safety hazard? If you ever feel this undercurrent of doubt, take it as a nudge towards hiring a professional.


