Ever stood under a shower expecting a warm embrace but instead got a chilly surprise? You're not alone! If your hot water suddenly decides to run cold, there could be several culprits. Before you dial up a professional, there are a few things you can check yourself. It might just save you some cash!
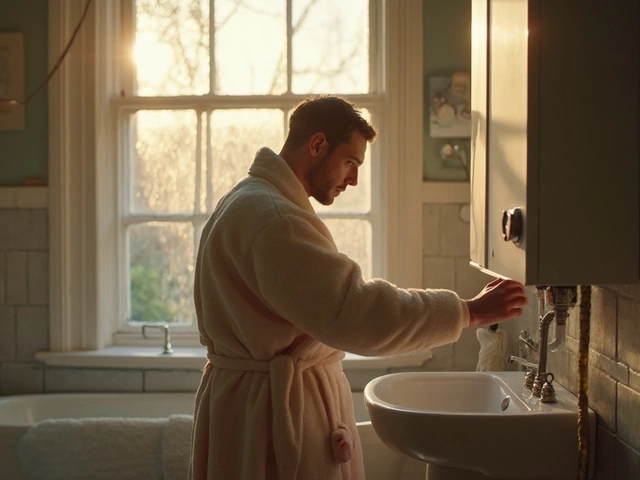
First up, take a look at the thermostat setting on your heater. Kids or pets been playing around with it? That little dial might’ve been nudged to a lower setting than you'd prefer. Most water heaters work best set between 120-140 degrees Fahrenheit for optimal warmth and safety.
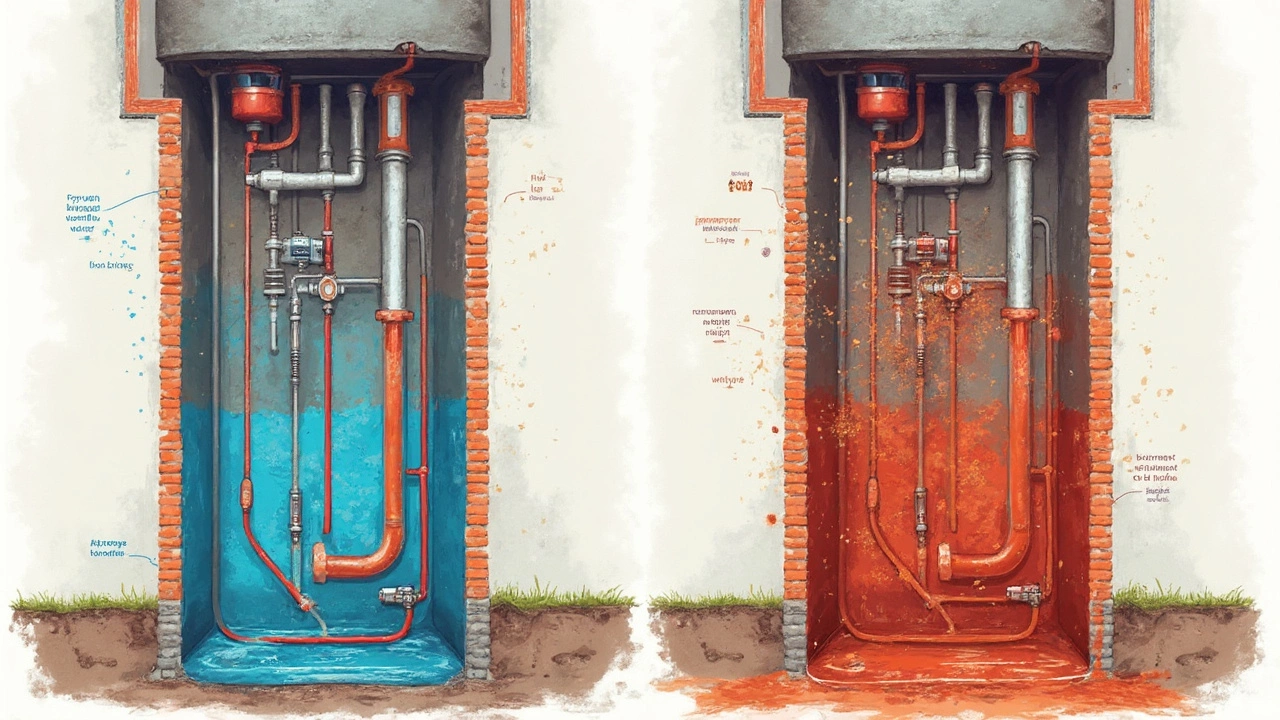
Another suspect could be sediment buildup. Over time, minerals in your water settle at the bottom of the tank, insulating the water from the heating elements. Try draining a bit of water from the tank to clear some sediment. It's a simple task you can handle with a garden hose and a little patience.
- Common Reasons for Cold Water
- Simple DIY Fixes
- When to Call a Professional
- Preventative Maintenance Tips
Common Reasons for Cold Water
Alright, let's get into why your hot water might suddenly feel like it's coming straight from Antarctica. These issues can happen to anyone, so you're definitely not dealing with anything out of the ordinary.
Thermostat Issues
The thermostat is the unsung hero behind maintaining those cozy shower temps. If it gets misadjusted or loses its calibration, your water might not heat up as expected. Double-check that it's set between 120-140 degrees Fahrenheit, which is a sweet spot for comfort and safety.
Sediment Buildup
Over time, minerals in your water supply settle at the bottom of your tank. This sediment layer acts like a little blanket, preventing heat from reaching the water efficiently. If you've noticed the problem getting worse over time, this could be a prime suspect. You might need to drain and flush out the tank periodically to keep things running smoothly.
Worn Out Heating Elements
In electric water heaters, these gadgets do the actual work of heating the water. If one of the elements is burnt out or malfunctioning, you’re going to end up with lukewarm or cold water. Replacing them isn't too complicated, but if you're not game for DIY plumbing, a professional might be the way to go.
Broken Dip Tube
The dip tube in your water heater channels cold water to the bottom of the tank where it's heated. If it's damaged, cold water leaks in with the hot water, affecting the overall temperature. In some models, replacement might be simple, but make sure you grab the right tube for your heater type.
Undersized Water Heater
If your family's grown or you've just added some snazzy new appliances like that huge tub, your trusty old heater might just be too small for the job. It could be time to upgrade to something with a bit more oomph to meet demand.
| Issue | Potential Fix |
|---|---|
| Thermostat | Adjust or replace |
| Sediment | Drain and flush tank |
| Heating Elements | Test and replace if necessary |
| Dip Tube | Inspect and replace if broken |
Understanding these issues can help you pinpoint the problem faster and get your hot water back on track.
Simple DIY Fixes
Ready to roll up your sleeves and tackle that cold water issue? Let's dive into some simple DIY fixes you can handle before calling in the experts. These tips might just bring the warmth back to your showers without too much hassle.
Check the Thermostat Settings
First off, give that thermostat a check. It could’ve been bumped or fiddled with. Make sure it’s set to 120-140 degrees Fahrenheit. Simply adjust the dial and wait to see if the water gets warmer.
Flush the Tank for Sediment Buildup
Mineral deposits are sneaky little things. They collect at the bottom of the water heater and can definitely mess with its efficiency. Here's how you can flush them out:
- Turn off the power to the water heater. Safety first!
- Attach a garden hose to the drain valve at the bottom of the tank.
- Run the hose to a nearby floor drain or outside.
- Open the drain valve and let the water flow until it’s clear.
- Close the valve, remove the hose, and turn the power back on.
A little grit removal might just do the trick.
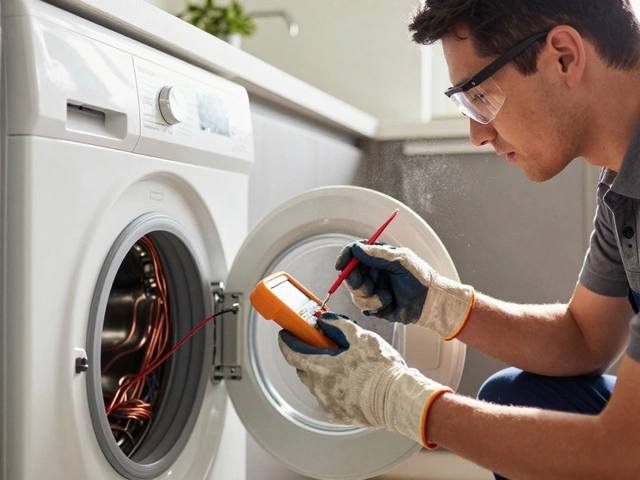
Inspect the Heating Elements
If the flushing didn’t help, the heating elements could be the culprit. For electric models, these elements heat the water and can wear down over time. First, turn off the water heater's power. Use a multimeter to test for continuity in the elements. If there's an issue, replacing them might restore your hot water.
Consider Electric and Gas Differences
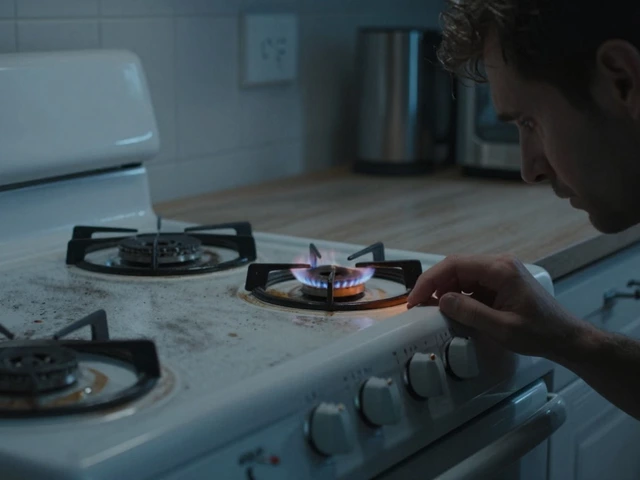
Keep in mind, electric and gas heaters have different quirks. If you’re dealing with a gas heater, check if the pilot light is still on. A gusty night might blow it out. Relighting it could be the fix you need.
Remember, these simple fixes can save you money on water heater repair, but if you're ever in doubt, calling a professional is always a smart move.
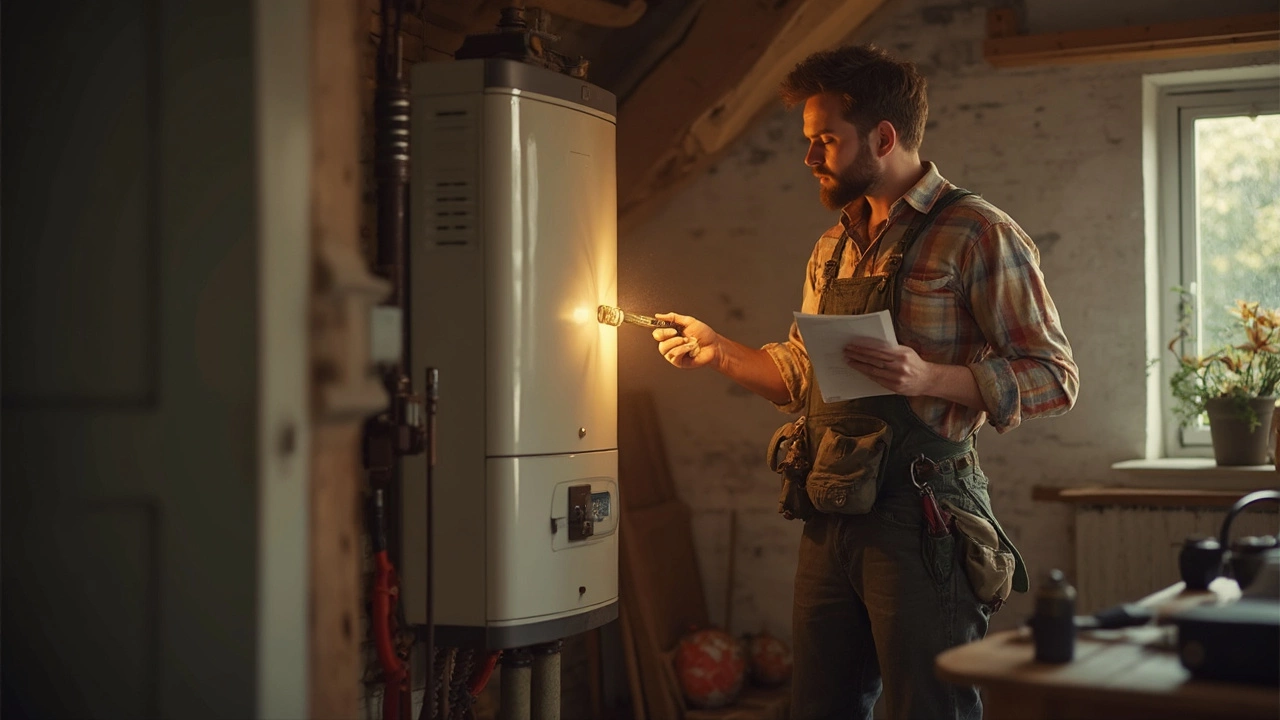
When to Call a Professional
There comes a point when DIY solutions just won't cut it, and it's time to bring in a professional. So, how do you know when that point has been reached?
Beyond Simple Fixes
If you've tried all the basic troubleshooting tricks like adjusting the thermostat or draining the tank to remove sediment but you're still getting cold showers, it might be time for expert help. Complex issues often lie in faulty wiring, a broken heating element, or even a malfunctioning thermostat itself—things best left to professionals who can safely handle such repairs.
Strange Noises or Leaks
Hearing unusual banging, popping, or hissing sounds from your heater? This could indicate serious mechanical issues. Similarly, if you spot water pooling around the base of the heater, it might have a leak somewhere. Both situations call for immediate expert assessment. Ignoring these could turn simple problems into costly repairs.
Age of the Heater
If your water heater has crossed the decade mark, persistent issues might mean it's nearing the end of its life. Heating technology improves by leaps every few years, so upgrading can save on energy bills too. Professional technicians can advise whether it's better to repair or replace.
Dealing with Gas Heaters
For those using gas water heaters, any issues related to the pilot light or gas supply should always involve a professional. Gas repairs can be dangerous if you don't know exactly what you're doing.
Here's a quick overview of when to definitely contact a pro:
- Banging or unusual noises from the tank
- Pooled water indicating leaks
- Persistent lack of hot water despite DIY fixes
- Malfunctioning in older units
- Any issues with gas heaters
Preventative Maintenance Tips
If you want to avoid that dreaded morning cold shower, a little regular TLC on your water heater can go a long way. Simple maintenance chores can keep it humming smoothly and extend its life. Plus, it could save you from expensive water heater repair bills.
Flush the Tank Regularly
Surprise! Sediment isn't your water heater's best friend. Flushing it out periodically is key. Every six to twelve months is a safe bet. Just attach a garden hose to the drain valve, direct it into a drain, and let some water out to clear the gunk. It's like a spa day for your heater!
Inspect the Anode Rod
This unsung hero prevents the tank from rusting out. Check it every couple of years. When it's less than half an inch thick or coated with calcium, it's time to replace. That way, your tank can keep soldiering on without leaking.
Check the Pressure Relief Valve
This valve is sort of a safety net for your heater. Lift the valve and let it snap back. A gushing flow of water means it’s in the clear. If it’s a trickle or nothing, consider getting a replacement.
Adjust the Thermostat
- Keep it set between 120-140 degrees Fahrenheit for a happy medium of warmth and energy savings.
- If you’ll be away, turn it down a bit – it’ll save some bucks and prevent unnecessary wear and tear.
By doing these few things regularly, your hot water should stay toasty for years to come. Now that's peace of mind worth a little elbow grease. And remember, if the task seems too daunting or risky, calling in a pro is your best bet!