Extractor Fan Installation Guide & Cost Estimator
Select your situation below to find out if you can do it yourself or need a professional, and see an estimated cost.
Installation Details
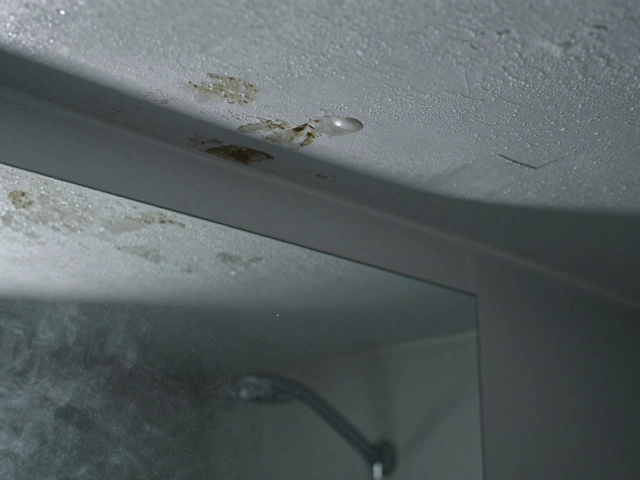
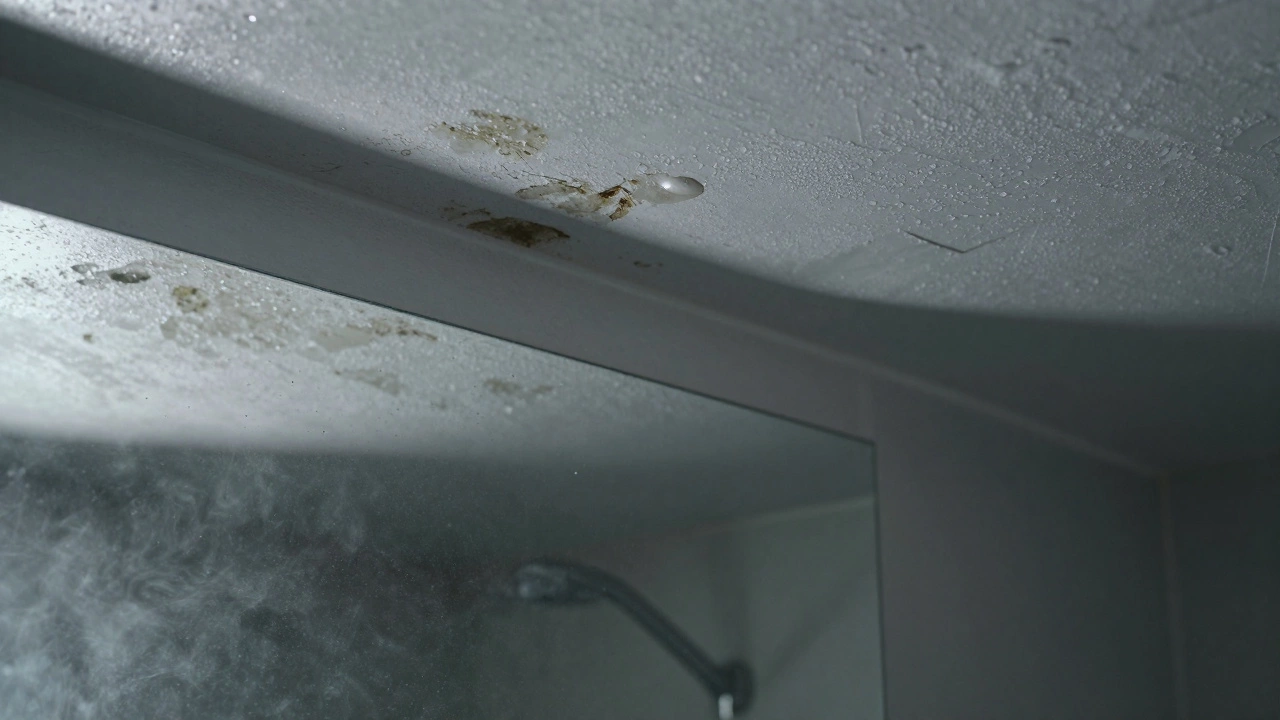
You stare at the damp patch on your bathroom ceiling. The mirror fogs up instantly after a hot shower. You know you need an extractor fan, which is a ventilation device that removes moist air, odors, and pollutants from enclosed spaces. But before you buy one, you hit a wall: who actually puts it in? Do you call a plumber? An electrician? Or do you grab a drill and try it yourself?
The answer isn't as simple as picking a trade card from your phone. It depends entirely on where the fan goes, how old your home is, and whether you are just swapping an old unit for a new one or drilling into solid brick for the first time. Get this wrong, and you risk electrical shocks, poor airflow, or even voiding your home insurance.
The Short Answer: It Depends on the Wiring
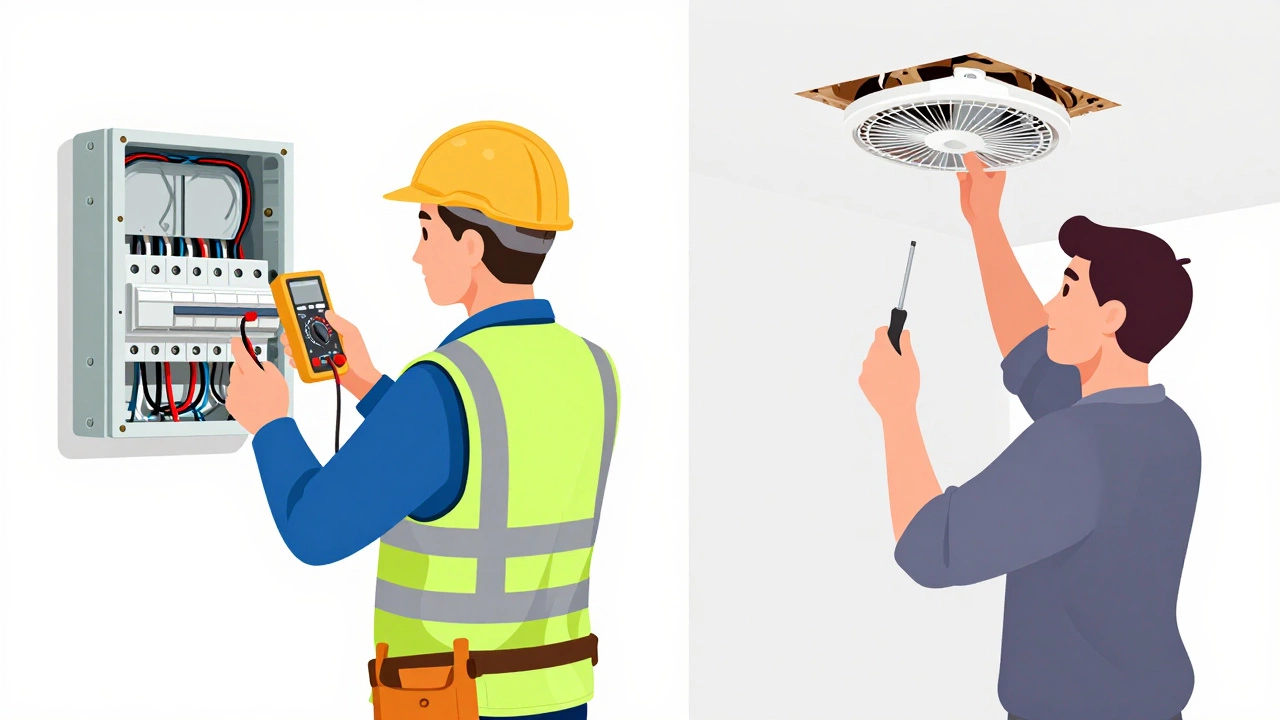
If you are replacing an existing fan with a new one in the exact same spot, using the existing wiring, you can often do it yourself. This is considered a "like-for-like" replacement. However, if you need to run new wires from the consumer unit (fuse box) or install a new ducting route through walls, you legally need a qualified professional.
In most jurisdictions, including New Zealand and the UK, any work involving fixed wiring must be done by a licensed electrician. The fan itself might look like a light fixture, but it contains a motor that draws significant power and requires proper grounding. If you are unsure about the voltage or the circuit load, stop and call a pro.
Plumbers vs. Electricians: Who Does What?
This is the biggest point of confusion. People assume plumbers handle everything related to water, so they should handle bathroom fans. That’s not quite right. Here is the breakdown:
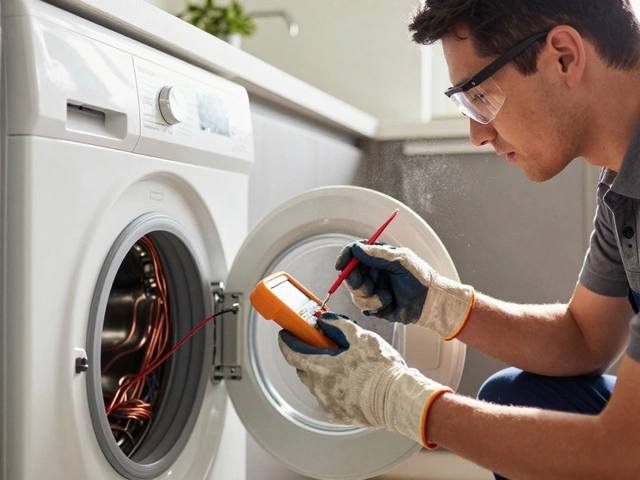
- Electricians: They handle the power supply. They connect the fan to your home’s electrical system, ensure the switch works (including humidity sensors or timers), and certify the safety of the installation. If the fan needs a new dedicated circuit, only an electrician can do this.
- Plumbers: Traditionally, plumbers in many regions handle bathroom fittings. In some areas, licensed plumbers are also certified to do basic electrical work for fixtures like lights and fans. Check local regulations. If your plumber offers to install the fan, ask if they are qualified to wire it.
- Ventilation Specialists: For large kitchen range hoods or industrial exhaust systems, you might need a specialist HVAC technician. These units require complex ducting calculations to ensure enough air exchange.
For a standard bathroom ceiling fan, an electrician is usually the safest bet. For a simple plug-in unit under a kitchen sink, you might not need anyone.
When Can You DIY the Installation?
Not every job requires a professional. If you have basic handyman skills, you can save money by installing the fan yourself under specific conditions. You are good to go if:
- The location already has an extractor fan installed.
- The new fan uses the same mounting bracket and size as the old one.
- The wiring is accessible and undamaged.
- You are simply connecting the new unit to the existing live, neutral, and earth wires.
This is essentially a swap. You remove the old unit, clean the housing, mount the new one, and reconnect the wires using terminal blocks. No new holes in the roof or walls are needed. Just make sure you turn off the power at the breaker box before touching anything. If you see any frayed wires or rust in the junction box, call an electrician immediately.
Why Professional Installation Matters for New Builds
If you are installing a fan for the first time, the complexity jumps significantly. You aren’t just hanging a box; you are creating a path for air to leave your home. This involves cutting through plasterboard, insulation, and potentially exterior walls or roofs.
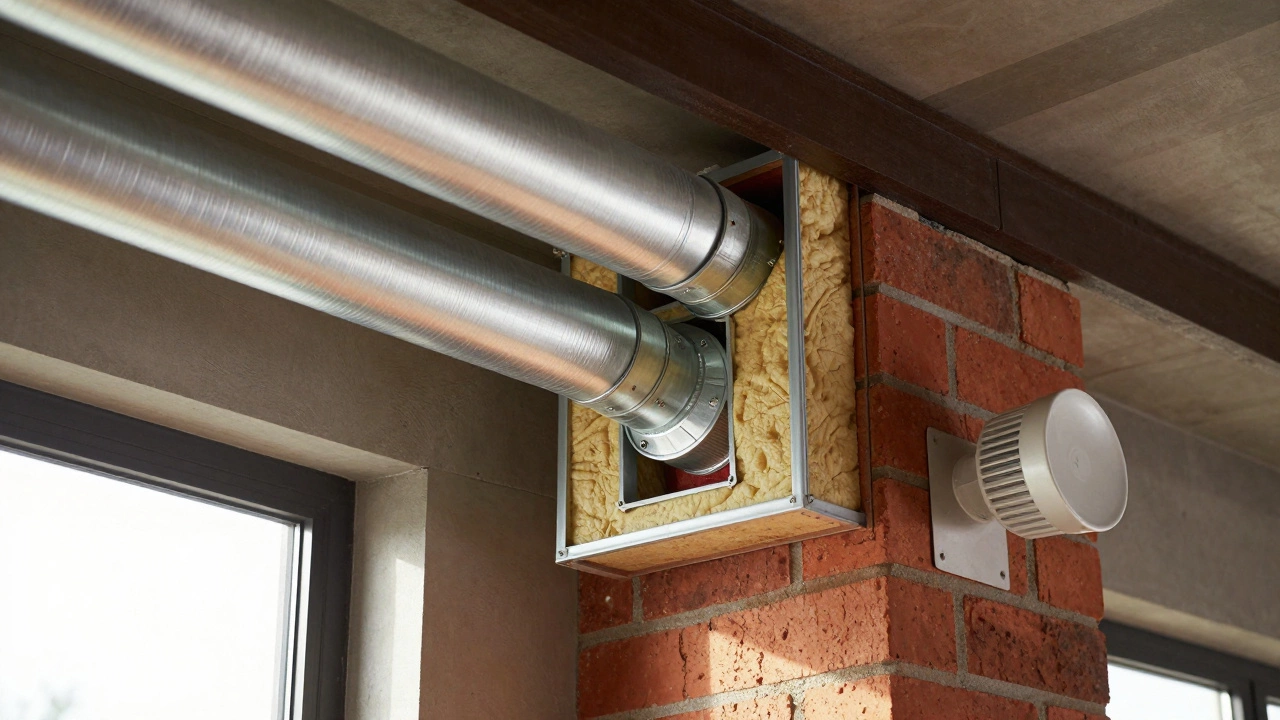
Ducting is critical. A common mistake homeowners make is using flexible plastic ducting that sags or gets crushed behind walls. This restricts airflow, causing the fan to work harder, noisier, and less effectively. Professionals use rigid aluminum or PVC ducting that maintains a smooth internal surface. They also calculate the correct diameter based on the room’s volume. A small bathroom might need a 100mm duct, while a large kitchen may require 150mm or more.
Furthermore, building codes often dictate where exhaust vents can terminate. You cannot vent moisture into an attic or crawl space, as this causes mold. The air must go outside, away from windows and doors. A professional knows these codes and ensures your installation passes inspection.
Cost Comparison: DIY vs. Pro
Let’s talk numbers. Prices vary by region, but here is a general estimate for 2026:
| Service Type | Estimated Cost (NZD) | Includes |
|---|---|---|
| DIY Replacement | $80 - $150 | Fan unit only. No labor. |
| Like-for-Like Pro Swap | $250 - $400 | Labor + parts. Quick job. |
| New Installation (Bathroom) | $500 - $900 | Electrical work, ducting, wall cutting. |
| Kitchen Range Hood Install | $800 - $1,500+ | Complex ducting, high-power wiring. |
While DIY saves cash upfront, a bad installation can cost more later. Poorly sealed ducts lead to condensation damage, which can ruin drywall and insulation. Mold remediation costs far exceed the price of a professional install.
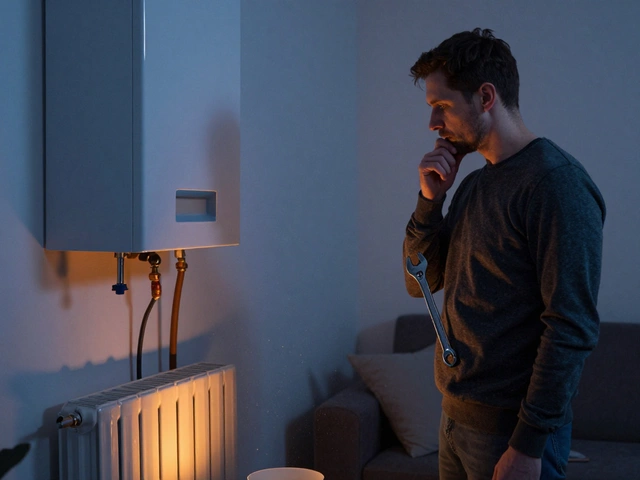
Signs Your Current Fan Needs Replacement or Repair
Sometimes you don’t need a new install; you just need a fix. Before hiring someone to put in a new fan, check if your current one can be saved. Common issues include:
- Noise: A loud rattling or buzzing sound often means the motor bearings are worn out or the blades are hitting the housing. Cleaning might help, but usually, the motor needs replacement.
- Poor Airflow: If the fan runs but doesn’t clear steam, the duct might be blocked by bird nests, debris, or lint. Inspect the external vent cap.
- Humidity Sensor Failure: Many modern fans turn on automatically when humidity rises. If yours stays off during showers, the sensor might be dirty or broken.
- Water Drips: If you see water leaking around the fan, the seal between the fan housing and the ceiling/wall has failed. This needs immediate attention to prevent structural damage.
For minor repairs, like cleaning the grille or replacing a filter, DIY is easy. For motor replacements or electrical faults, stick to professionals.
Choosing the Right Fan for Your Space
Before anyone installs anything, you need the right unit. Not all fans are created equal. Look at these key specs:
- Airflow Rate (L/s): Measured in liters per second. Bathrooms typically need 15-25 L/s. Kitchens need much higher rates, often 50+ L/s, depending on the stove type.
- Noise Level (dB):** Anything above 30 dB is noticeable. For bedrooms or quiet bathrooms, aim for 20-25 dB. Industrial fans can hit 60+ dB.
- Power Source:** Hardwired units are quieter and more powerful. Plug-in units are easier to install but often louder and less efficient.
- Features:** Timers, humidity sensors, and backdraft dampers (which stop cold air coming in) are worth the extra cost.
Buying a cheap, low-quality fan might save money now, but it will likely fail within two years. Invest in a reputable brand with good warranty support.
Safety First: Electrical Risks
Bathrooms are wet environments. Water and electricity are a deadly mix. That’s why electrical codes are strict. In New Zealand, for example, all bathroom lighting and fan circuits must be protected by a Residual Current Device (RCD). If your home was built before 2000, it might not have this protection.
An electrician will test your circuit before installation. If the RCD is missing or faulty, they will upgrade it. Never skip this step. Also, ensure the fan is rated for damp locations. Standard indoor fans can corrode quickly in humid bathrooms.
Maintenance Tips to Extend Fan Life
Once installed, keep it running smoothly. Clean the grille every three months. Dust buildup reduces airflow and strains the motor. Check the external vent annually for blockages. If you hear a change in sound, investigate immediately. Early detection prevents costly repairs.
Remember, a well-maintained extractor fan protects your home from mold, improves air quality, and keeps your family healthy. Whether you DIY or hire a pro, prioritize safety and proper ventilation.
Can I install an extractor fan myself if I am not an electrician?
Yes, but only if you are replacing an existing fan with a new one in the same location using the existing wiring. This is known as a like-for-like replacement. If you need to run new wires, cut new holes for ducting, or install the fan for the first time, you must hire a licensed electrician to comply with building codes and safety standards.
Do plumbers install extractor fans?
In some regions, licensed plumbers are allowed to perform basic electrical work for bathroom fixtures, including extractor fans. However, in many places, only electricians can handle the wiring. Always check with your local council or builder to confirm who is authorized to do the electrical connection. If the plumber does not mention wiring, assume they will only handle the physical mounting.
How much does it cost to have an extractor fan installed?
Costs vary widely. A simple like-for-like replacement by a pro might cost $250-$400 NZD. A new installation requiring ducting and electrical work can range from $500 to $900 NZD. Kitchen range hoods are more expensive, often costing $800-$1,500+ due to complex ducting requirements. DIY installations only cost the price of the fan unit, typically $80-$150.
What happens if I install an extractor fan incorrectly?
Incorrect installation can lead to several serious issues. Poor ducting can cause moisture to build up in your walls or attic, leading to mold growth and structural damage. Electrical errors can cause fires or electrocution risks. Additionally, improper venting might blow moist air back into your home through windows or other openings. Finally, incorrect installation may void your home insurance policy if damage occurs.
Do I need a permit to install an extractor fan?
For a simple like-for-like replacement, you usually do not need a permit. However, for new installations that involve altering electrical circuits or cutting through exterior walls or roofs, you may need a building consent or electrical permit. Check with your local council. Licensed professionals often handle the paperwork for you, ensuring compliance with local regulations.