A busted washing machine can throw your whole week out of sync, but here's the thing—quite a few fixes are way simpler than you think. Did you know most washer breakdowns are caused by stuff like clogged filters, stuck doors, or a tripped circuit? These are the kind of repairs that don't require a toolbox full of fancy equipment or an engineering degree.
Before you reach for the phone to call in a repair guy, it pays to check a few basics. Sometimes it's just a loose hose, a blocked drain pump, or even a sock jammed where it shouldn't be. Catching these issues early can save you a ton of money and frustration. And let's be real, there's something pretty satisfying about solving the problem yourself.
This isn't about tearing your washer apart or dealing with electrical stuff that feels above your pay grade. It's about simple, hands-on steps anyone can try with a little confidence and the right info. You don't need to be a DIY legend—just someone willing to follow directions and check off an easy list of possible issues before bringing in the pros.
- Washing Machine Problems You Can Probably Fix
- Simple Tools and Safety Tips
- Common DIY Fixes and How-To's
- When to Call a Pro Instead
- Realistic Costs and Parts to Watch Out For
- Smart Maintenance to Prevent Breakdowns
Washing Machine Problems You Can Probably Fix
It's surprising how often a washing machine repair just needs a basic check or minor tweak. Loads of washer issues show up because of common stuff—clogs, loose wires, bad connections, or something stuck where it shouldn’t be. Here’s a look at the typical problems people fix at home without much hassle.
- Washing machine won’t start? This often points to a tripped circuit breaker, a door that isn’t shut all the way, or the machine being a bit off-balance. Check if the plug is fully in and make sure the door clicks when you close it.
- Water not draining? Drain pumps and hoses love to trap things like coins, hairpins, and lint. Pop open the washer’s filter access (usually at the bottom front), put down a towel, and see what’s hiding inside.
- Strange noises or shaking? Unusual banging usually means the load inside is uneven. Try redistributing clothes or check for loose drum weights. Sometimes, it's just the washer leaning slightly; a quick adjustment to the feet can fix that.
- Leaky machine? This is almost always because of a blocked hose, loose connection, or worn door gasket. Run your finger around the rubber seal for tears and look under the washer for puddles and see where they're coming from.
- Smelly washer? Musty smells happen when detergent, dirt, or fabric softener builds up. Running an empty cycle with hot water and some regular white vinegar can freshen things up fast.
Troubleshooting doesn’t take forever. In fact, according to a 2023 home appliance survey, nearly 65% of U.S. households managed to fix their washing machine’s minor issues in under an hour—no pro needed.
| Problem | DIY Success Rate | Typical Fix Time |
|---|---|---|
| Not draining | 80% | 20-45 mins |
| No power | 70% | 10-25 mins |
| Leaking water | 60% | 15-40 mins |
| Loud noises | 75% | 15-30 mins |
If the fix isn’t working or you hit electrical or flooding problems, stop there. That’s when it’s smarter (and safer) to call someone who knows their stuff. But those quick fixes above? Give them a shot before you reach for your wallet.
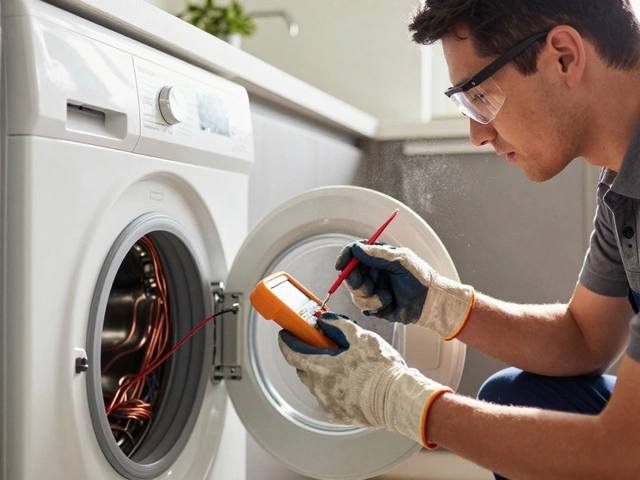
Simple Tools and Safety Tips
You don't need to raid the hardware store just to tackle basic washing machine repair. Most issues are fixable with stuff you probably already have in your toolkit—or can borrow from a neighbor.
- Screwdrivers: A basic Philips and flathead screwdriver will open most washer panels and undo hoses.
- Pliers: Great for loosening hose clamps, pulling out lint, or disconnecting parts that are just stuck.
- Flashlight: You'll want this for peeking into those awkward, dark corners behind or under the washer.
- Towels or a small bucket: Water leaks happen during repairs. Lay down a towel or have a bucket ready to catch any rogue drips.
- Adjustable wrench: Particularly handy if you need to tighten or loosen nuts on hoses or valve connections.
Now, let's talk safety because, honestly, even a simple job can turn ugly fast if you skip the basics. Always unplug your washer before you do anything—doesn’t matter if you’re just checking the filter. Washing machines can still hold a residual electric charge, so don't get cocky.
- Make sure your hands are dry before touching anything electrical.
- Never use your washing machine if it’s sitting in a puddle—water and power don’t mix.
- If you feel even slightly out of your depth, it’s smarter to step aside and call an expert.
To put things in perspective, here’s a quick look at the most common at-home repair accidents from a 2023 home safety report:
| Accident Type | Percent of DIYers Affected |
|---|---|
| Electric shock | 5% |
| Hand cuts | 23% |
| Water leaks/flooding | 42% |
| Appliance falls/tip-over | 7% |
Bottom line: get the right tools, play it safe, and you’re in way better shape to fix that washer yourself—no heroics needed.
Common DIY Fixes and How-To's
Most washers break for the same handful of reasons, and you don't need to be an expert to deal with them. Here are a few jobs you can actually do at home, with clear steps and minimal tools:
-
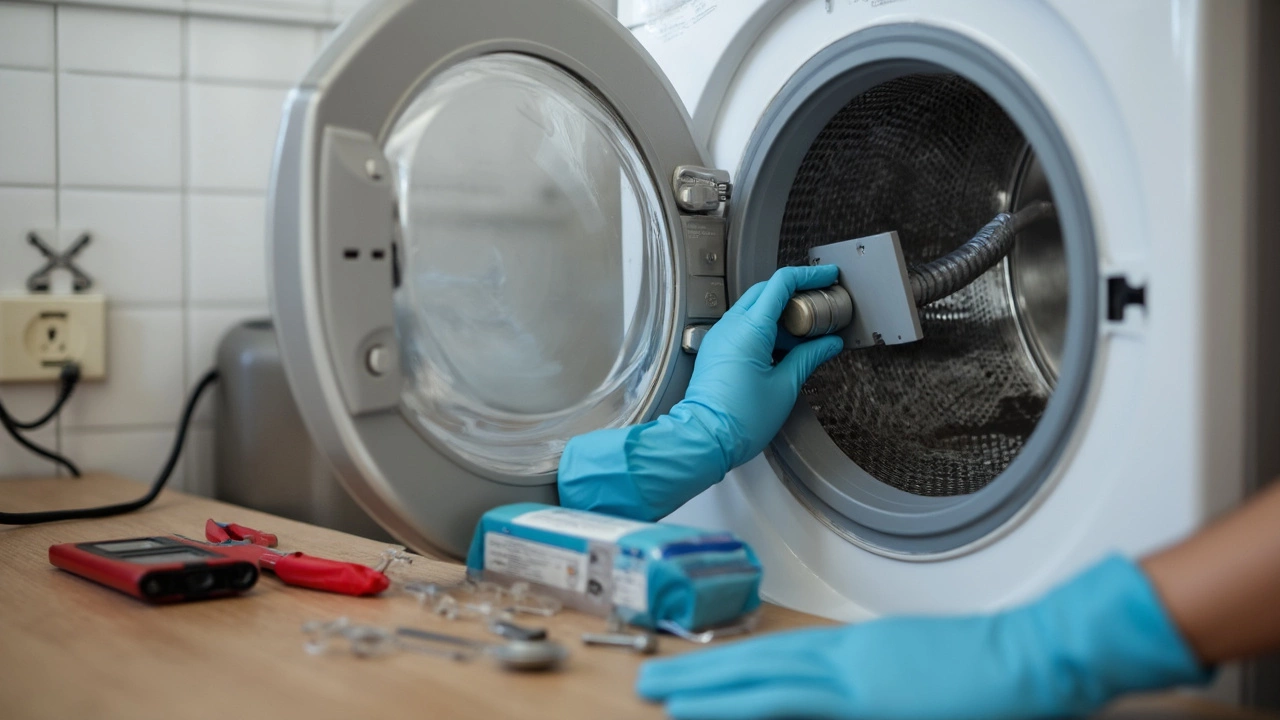
Unblocking the Filter – Lint, coins, and even small socks can clog the filter. To clear it:
- Unplug the washer (never skip this!).
- Find the filter—usually at the front behind a small panel near the floor.
- Place a towel or shallow tray for water spills. Twist open and pull out the filter.
- Rinse out debris. Slot it back in, tighten up, and close the panel.
-
Fixing a Washer That Won’t Drain – Most drain issues are from blockages or kinks:
- Check the drain hose for bends, clogs, or buildup. Pull it off if you need and wash it through.
- Check the filter as above—the two go hand-in-hand.
-
Door Won’t Open? – Sometimes the machine locks when there’s still water inside. Try this:
- Let the washer sit unplugged for 5-10 minutes (some locks reset themselves).
- Manually drain the washer with the filter hose (if fitted) or by tilting and scooping out water.
- Check if your machine has a manual release tab near the filter or behind the detergent drawer.
-
No Power or Not Starting – Simple stuff catches people out:
- Try the washer on a different socket (don’t just trust a power bar).
- Double-check the door is actually shut—sensors are touchy.
- Reset home circuit breaker if tripped.
If in doubt, check your washer’s manual. Most brands keep theirs online now, and they often list quick troubleshooting tricks you won’t find anywhere else.
Here’s a quick look at how often common washing machine repair issues pop up, according to appliance tech service requests in 2023:
| Issue | Percentage (%) |
|---|---|
| Drain/Spin Problems | 38 |
| Door Lock Failure | 21 |
| No Power | 19 |
| Leaking | 12 |
| Foul Smell/Residue | 10 |
So, most issues aren't caused by electrical faults or major mechanical failures. Instead, it's basic stuff—clogs, door latches, or simply getting rid of gunk. Get your hands dirty, and you might avoid a big bill.
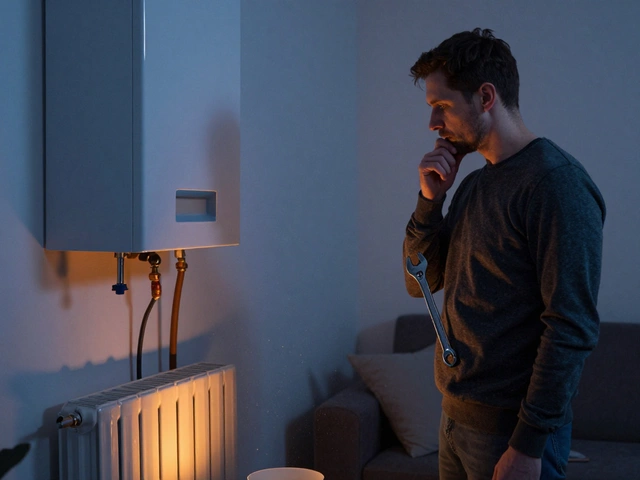
When to Call a Pro Instead
Some washing machine fixes just aren't meant to be DIY, and that's okay. There are real safety issues and money concerns if you try to tackle the wrong repair. The big red flag: if the issue goes beyond basic mechanical parts—like belts, hoses, and filters—it's usually time to bring in someone who knows what they're doing.
Anything to do with the electronic control board, sealed bearings, or the motor itself is off-limits for most people. Trying to mess with wiring or electricity without proper knowledge can cause a shock or even a house fire. One of the top reasons for appliance repair-related injuries is homeowners working on electrical problems without turning off the power at the breaker.
- Water leaks that come from inside the drum, not just hoses or pump filters
- Strange smells like burning plastic (could mean electrical issues)
- Drum won’t spin even after resetting or checking the drive belt
- Washer trips the circuit breaker
- Display lights flash error codes or nothing happens when you press start
If you're not confident, or the repair involves taking off the back or bottom panel, stop and call a pro. A study by HomeAdvisor in 2024 showed that the average cost for an in-home washer repair is about $200, which is still cheaper than buying a new one. Plus, most repairs from pros come with a short-term guarantee, so if something fails, you’re not shelling out even more cash.
| Problem | DIY Friendly? | Should Call a Pro? |
|---|---|---|
| Clogged drain pump | Yes | No |
| Leaking drum seal | No | Yes |
| Electronics not responding | No | Yes |
| Belt replacement | Yes | No |
| Broken motor | No | Yes |
Here’s the bottom line: if a washing machine repair feels risky, confusing, or needs special tools, it's wise to call someone qualified. You’ll avoid headaches, extra costs, and stay safe. Sometimes, leaving it to the experts just makes sense.
Realistic Costs and Parts to Watch Out For
Repairing a washing machine doesn’t have to drain your wallet—if you know what to expect. Most repairs, when tackled yourself, cost a lot less than hiring a technician. But it helps to understand what you’re actually paying for, and how much you save by skipping the pro.
Let’s break down the usual suspects. Here are some common parts you might need, plus the average price range you’ll see online or at your local hardware store:
| Part | Typical Cost (USD) | Notes |
|---|---|---|
| Drain pump | $25–$60 | DIY-friendly if you can reach it |
| Door latch/lock | $15–$45 | Causes door errors or won’t start |
| Water inlet valve | $20–$50 | For filling problems & slow fills |
| Belt | $10–$25 | Common on older models |
| Filter | $5–$15 | Inexpensive; clean or replace to prevent clogs |
| Control board | $90–$260 | More complex; often a job for pros |
Some repairs only need a new filter, a $10 part. Others, like a new control board, can cost as much as a quarter of a brand-new machine. If you find yourself looking at parts over $120, weigh the price against your washer’s age. If your machine is over 8 years old and giving you trouble, it might be more cost-effective to replace it than keep throwing money at repairs.
Heads-up: labor from a repair tech usually runs between $75–$150 an hour, plus the cost of any parts. Doing the job yourself—especially simple stuff—offers huge savings over paying someone else to fix it.
While you’re shopping for parts, always grab your washer’s model number so you don’t end up with the wrong thing. Buying directly from the manufacturer may cost a bit more, but it cuts down on guesswork. Avoid super cheap, no-name brands for big pieces like pumps and control boards—they’ve got a nasty habit of failing early.
Sticking to common fixes—like unclogging a drain, swapping a filter, or replacing a door lock—means low costs and quick wins. Big repairs, or expensive parts, are where you’ll want to think twice before going full DIY on your washing machine repair.
Smart Maintenance to Prevent Breakdowns
If there’s one thing that keeps your washing machine humming along for years, it’s regular, down-to-earth maintenance. Forget those complicated checklists—most washers stay in good shape with a few easy habits.
Start by cleaning the filter and drain pump every couple of months. Lint, coins, and even small socks love to hide there, slowly clogging things up. A clogged filter can make your machine act sluggish or stop draining altogether. Just pop the filter cap open (usually at the bottom front), pull it out carefully, and rinse off whatever gunk you find. Toss anything you pull out in the trash, not down the drain.
Another no-brainer? Leave the washer door and soap drawer slightly open after every wash. This lets air flow in and keeps mold and odor-causing bacteria from taking over. A 2023 Consumer Reports test found 38% of front-load washers developed musty smells because owners kept them sealed up tight—not a fun stat if you've got laundry to do.
Don’t go overboard with the detergent, either. Most modern washers need surprisingly little soap, and too much actually makes the problem worse by building up sticky residue inside the drum and hoses. Always check the recommended amount on the bottle or your washer’s manual, and measure it out—don’t just eyeball it.
- Wipe the rubber door seal and inside the glass after each use to stop grime and mold from piling up.
- Every 30-40 washes (about every two months), run a hot empty cycle with a bit of white vinegar or a washer cleaner tablet to flush out any leftover gunk.
- Inspect the water hoses twice a year. Look for cracks, bulges, or leaks—these are signs it’s time to swap them. Replacing hoses every 5 years is a solid move to dodge floods and headaches.
| Maintenance Task | Suggested Frequency | Failure Rate if Neglected |
|---|---|---|
| Clean filter/pump | Every 2 months | 35% more clogs |
| Check hoses | Twice a year | Up to 50% more leaks |
| Leave door open | After every wash | 38% develop mold/odor |
Look, a little routine care will save you big time on washing machine repair bills and keep your laundry routine painless. No one likes surprise puddles or weird smells. Keep your washer happy, and it’ll return the favor for years.