Water Heater Maintenance Calculator
Determine Your Optimal Flush Schedule
Enter your water heater details to calculate the best flush frequency for your home.
Enter your details to see your recommended maintenance schedule.
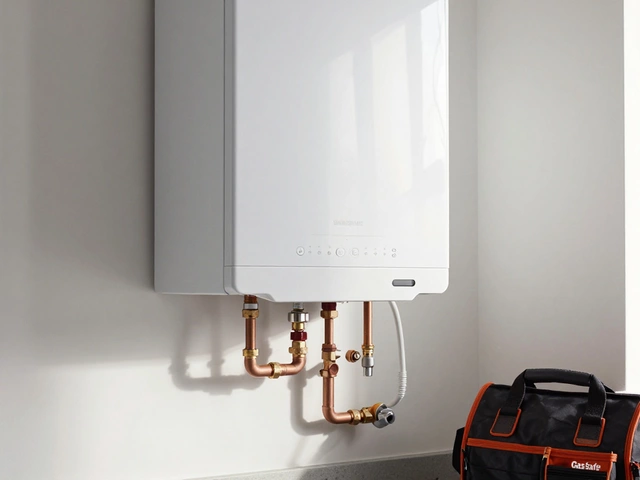
When it comes to home comfort, the Water Heater is the appliance that stores and heats water for showers, dishes, and laundry. Over time, minerals and rust settle at the bottom of the tank, reducing efficiency and even causing strange noises. The big question many homeowners ask is: can I flush my water heater myself? The short answer is yes - with the right tools, a bit of caution, and a clear step‑by‑step plan, you can do it without calling a plumber.
Why Flush Your Water Heater?
Even in places with relatively soft water, sediment builds up. In Wellington's coastal water, the occasional hard‑water spike adds calcium deposits that look like sand at the tank’s base. When that layer gets thick, three things happen:
- Heat transfer drops - the burner (or element) works harder, raising energy bills.
- Water takes longer to reach your desired temperature, leaving you with lukewarm showers.
- The tank’s interior can corrode, shortening its lifespan from the typical 10‑15 years to just a few years.
Regular flushing keeps the heater running efficiently, saves money, and extends the unit’s life.
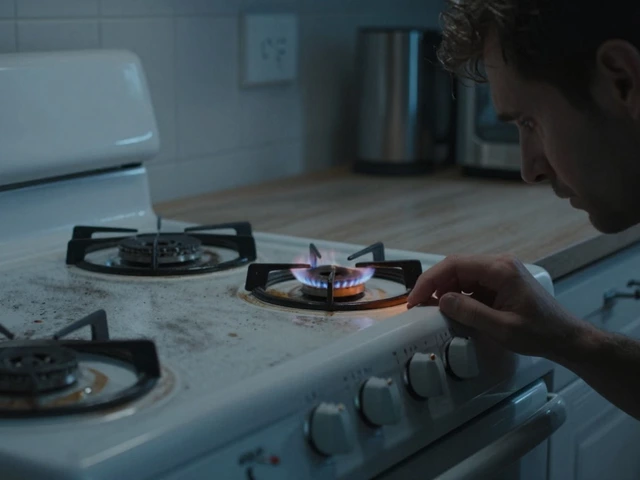
Safety First: Shut Off Power, Gas, and Water
Before you touch anything, make sure the heater is completely offline. For an electric model, turn the breaker off at the main panel. For a gas unit, locate the gas shut‑off valve (usually a lever on the gas line) and turn it to the perpendicular position. Then, close the cold‑water supply valve on top of the tank. Finally, open a hot‑water faucet somewhere in the house to relieve pressure.
Tools and Materials You’ll Need
Gather these items before you start. The list includes both common household tools and a few plumbing‑specific pieces:
- Garden Hose - long enough to reach the drain valve and the floor drain.
- Plumbing Wrench (often a ½‑inch adjustable wrench) to loosen the drain plug.
- A large Bucket (5‑gallon or larger) for catching any stray water if the hose doesn’t reach.
- Protective gloves and safety glasses - sediment can be gritty, and hot water can splash.
- Optional: a Plunger or manual pump if the drain valve is stubborn.

Step‑by‑Step: Flushing the Tank
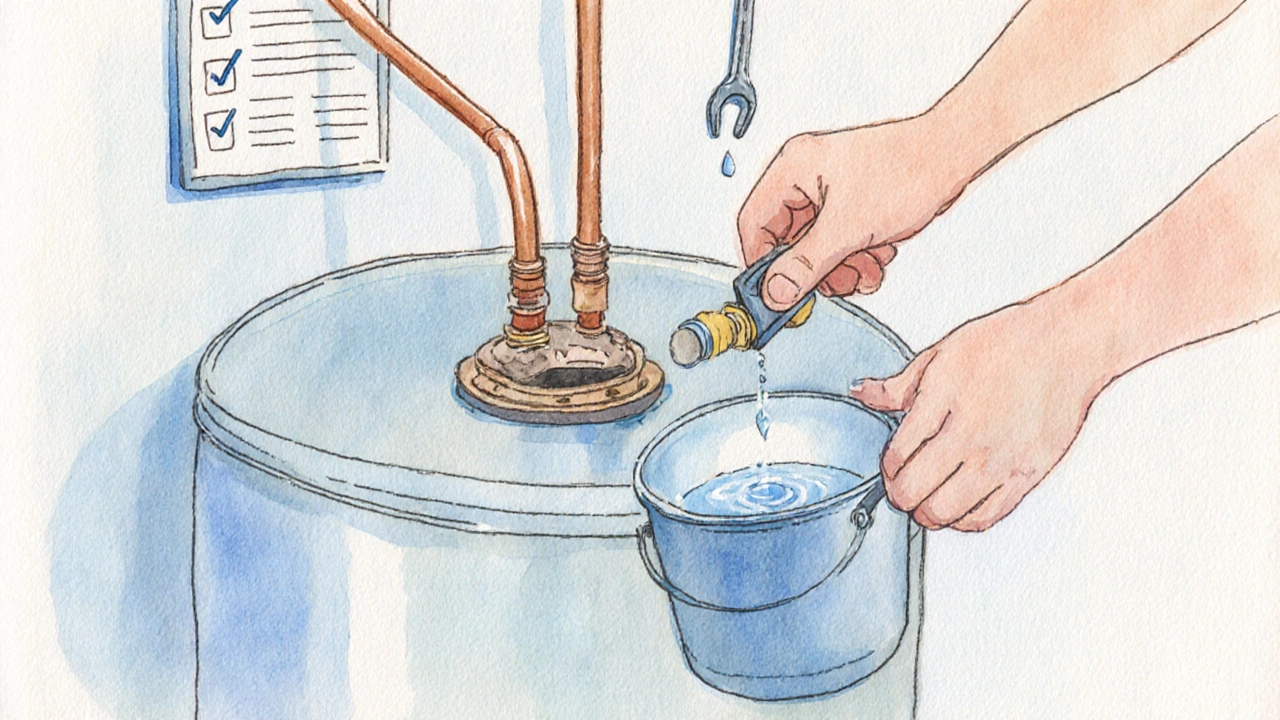
- Locate the drain valve. It’s a brass or plastic knob near the bottom of the heater, often labeled “Drain” or “Drain Plug.” If you can’t find it, check the manufacturer’s manual - most modern units place it on the side, right above the floor‑level outlet.
- Attach the garden hose. Screw the hose’s fittings onto the drain valve’s outlet. Make sure it’s snug to avoid leaks.
- Open the valve. Using the wrench, turn the valve counter‑clockwise. Water will begin to flow out through the hose. Direct the hose into a floor drain, bathtub, or outside if you have a safe discharge location.
- Let it run. Allow the tank to empty completely. You’ll hear the flow slow as the sediment layer settles. This can take 5‑15 minutes depending on tank size.
- Flush with cold water. Once the water runs clear, close the drain valve, remove the hose, and reopen the cold‑water supply. The fresh water will push remaining particles out of the tank. Keep the supply running for another 2‑3 minutes until the water exiting the tank is clear.
- Check the Pressure Relief Valve. Place a bucket under the valve, lift the test lever, and ensure water spills out smoothly. If it drips continuously, the valve may need replacement.
- Restore power or gas. Turn the cold‑water supply back on fully, close the hot‑water faucet you opened earlier, and then restore electricity at the breaker or reopen the gas valve. Give the heater a few minutes to pressurize before using hot water.
That’s the core of a successful water heater flushing session. Most homeowners find the whole process takes under an hour.
What You Might Find Inside the Tank
While the water is draining, keep an eye on the sediment that surfaces. If you notice a thick, rust‑colored layer, it may be time to inspect two other key parts:
- Anode Rod - a sacrificial metal rod that attracts corrosive elements. If it’s heavily corroded (more than 50% eaten away), replace it. A fresh anode can add years to the heater’s life.
- Expansion Tank - found in many closed‑system homes. If the tank shows water leakage or the air bladder feels water‑filled, it may need re‑pressurizing or replacement.
Maintenance Schedule: How Often Should You Flush?
For most NewZealand homes, a yearly flush suffices. If you have particularly hard water (excess calcium carbonate), consider flushing twice a year. Document the date, any observations, and when you replace the anode rod - this simple log helps you track the heater’s health.
When to Call a Professional
Even with a DIY mindset, some scenarios call for a licensed plumber:
- The drain valve is rusted shut and won’t budge, even with penetrating oil.
- Leaking occurs around the Thermostat or the electrical connections of an electric heater.
- Gas‑line issues arise, such as a faulty pilot light or suspect smell of gas.
- You discover a cracked tank - this is a non‑repairable condition that requires replacement.
Quick Checklist Before You Start
- Turn off power or gas and close the cold‑water supply.
- Gather hose, wrench, bucket, gloves, and safety glasses.
- Locate drain valve, attach hose, and ensure it’s aimed at a proper drainage point.
- Open valve, let water empty, then flush with fresh water.
- Inspect anode rod and pressure relief valve.
- Restore utilities, test hot water, and note the date.
Frequently Asked Questions
How often should I flush my water heater?
A yearly flush is enough for most households. If you have hard water, aim for twice a year.
Can I flush a gas water heater the same way as an electric one?
Yes. The flushing steps are identical; just remember to shut off the gas valve and wait for the burner to cool before starting.
What if the drain valve is stuck?
Apply a penetrating oil (like WD‑40) and let it sit for 10‑15 minutes. Gently tap the valve with a hammer. If it still won’t turn, call a plumber - forcing it can damage the tank.
Do I need to replace the anode rod after flushing?
Only if it’s heavily corroded. A visual check will show a white, metallic core that’s mostly gone. Replacing it every 3‑5 years is a good rule of thumb.
Is flushing enough to stop noisy rumbling?
Often, yes. Sediment creates the rumble. After a thorough flush, the noise should subside. Persistent sounds could mean a failing heating element or burner, which needs professional attention.