Water Heater Diagnostic Checker
Click each item to mark it as completed. This interactive checklist helps you determine if your water heater is working properly.
Complete the checklist to assess your water heater's condition.
If you detect gas odors, persistent low temperatures, corrosion, or any electrical issues, contact a licensed plumber immediately.
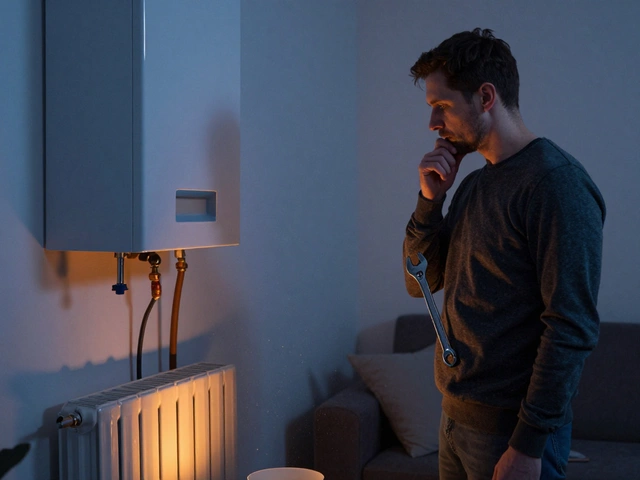
When your showers feel lukewarm or the hot water suddenly disappears, you start wondering if the water heater is a large appliance that heats and stores water for household use has given up. Before you call a plumber, there are a handful of quick checks you can do yourself. This guide walks you through the safest, most effective steps so you can tell if the unit is healthy or if it needs professional help.
Key Takeaways
- Verify power or gas supply first - a dead switch often looks like a broken heater.
- Check the thermostat the control that sets the desired water temperature and temperature display for correct settings.
- Inspect the heating element (electric) or burner (gas) for signs of wear or failure.
- Make sure the pressure‑relief valve and vent are clear and functioning.
- If anything feels unsafe or you hit a dead end, call a qualified plumber a licensed tradesperson who can service water heating systems.
1. Confirm Power or Gas Is On
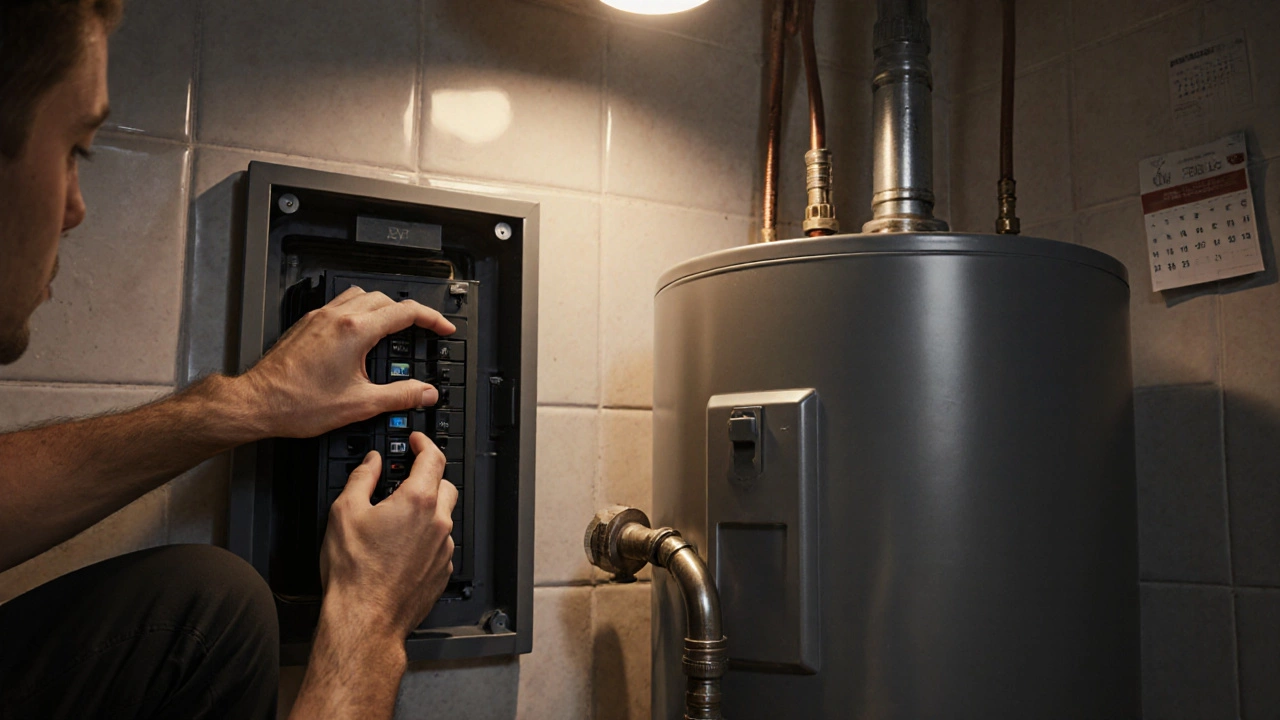
For electric heaters, locate the circuit breaker or fuse box. The dedicated breaker should be in the “on” position. Flip it off, wait a few seconds, then turn it back on - this resets the circuit and can revive a tripped breaker.
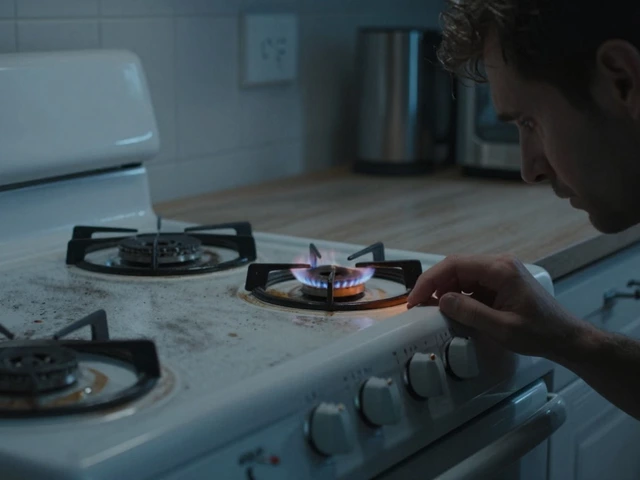
For gas‑fired units, make sure the gas valve behind the heater is fully open. The valve handle should be parallel to the pipe (pointing straight). If you smell gas, shut the valve, ventilate the area, and call emergency services immediately - never try to light the burner yourself.
These simple steps eliminate the most common cause of a cold shower: no fuel or electricity reaching the heater.
2. Test Hot Water at the Faucet
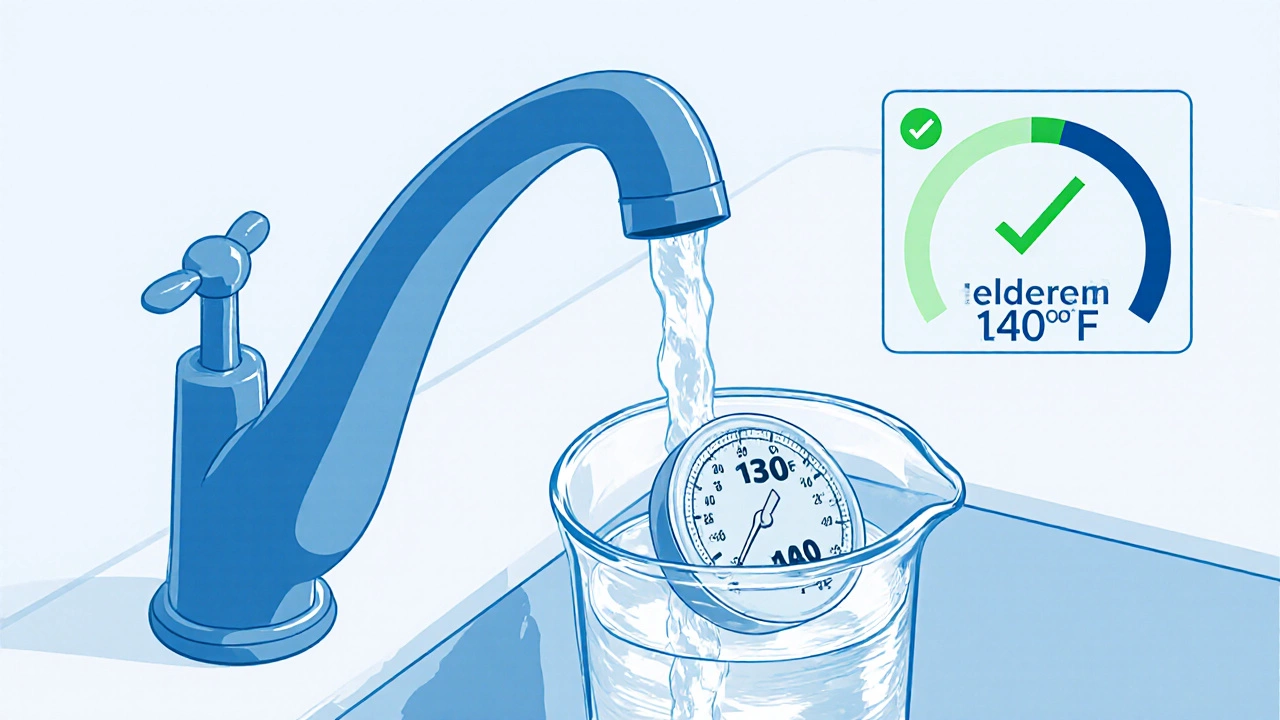
Turn on the hottest tap in the house and let it run for about a minute. Use a kitchen thermometer to measure the water temperature. A properly working heater should deliver water between 120°F (49°C) and 140°F (60°C). If the temperature stays below 110°F (43°C) even after a minute, the heater is likely not heating water effectively.
3. Examine the Thermostat and Temperature Setting
Open the heater’s access panel - usually a small door on the side. Inside, you’ll see the thermostat a dial or digital readout that tells the heater when to turn on. Make sure it’s set to the recommended range (often 120°F/49°C for most homes). If the dial is stuck, cracked, or shows an error code, the thermostat may need replacement.
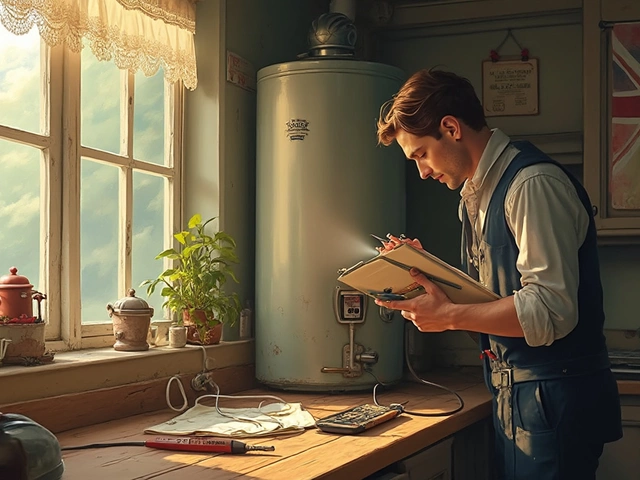
4. Look at the Heating Element (Electric) or Burner (Gas)
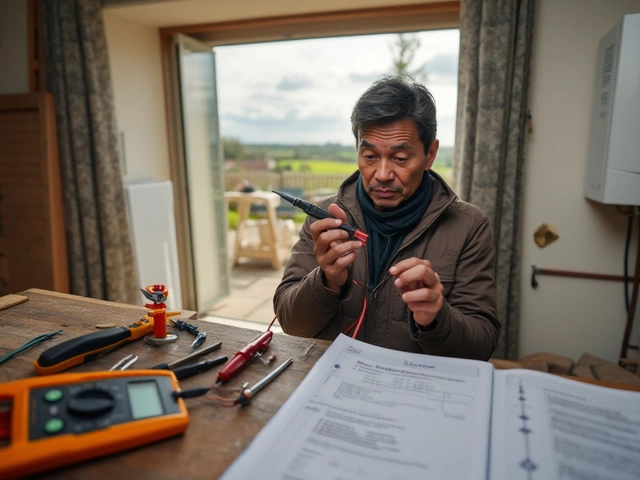
Electric units have one or two metal heating elements coil‑like parts that convert electricity into heat. With the power off, use a multimeter set to “ohms.” Touch the probes to the element terminals - a reading between 10 and 30 ohms indicates the element is healthy. Anything higher or “infinite” means the element is burned out and must be swapped.
Gas heaters use a burner assembly. Look for a steady, blue flame when the unit fires. A yellow or flickering flame signals incomplete combustion, often caused by a dirty burner or clogged vent. Clean any soot with a soft brush, but if the flame stays yellow, call a plumber.
5. Check the Temperature and Pressure (T&P) Relief Valve
The pressure relief valve a safety valve that prevents excess pressure from building inside the tank is usually a brass knob on the top or side of the tank. Pull the lever gently; you should hear a brief rush of water. If no water comes out, the valve is stuck and needs replacement - a faulty T&P valve is a serious safety hazard.
6. Inspect the Vent and Flue (Gas Heaters)
For gas models, the vent pipe carries exhaust gases outside. Make sure it’s not blocked by debris, nests, or snow. A blocked vent can cause carbon monoxide buildup inside the house. If you notice a strong gas smell or feel light‑headed, shut the gas valve and seek professional help immediately.
7. Listen for Unusual Noises
When the heater is running, you might hear a faint humming (normal for electric). Loud popping, rumbling, or screeching can point to sediment buildup at the tank bottom. Sediment causes the heating element or burner to overheat, eventually leading to failure. Flushing the tank can solve this problem (see maintenance tips below).
8. Look for Leaks
Visually scan the tank and all pipe connections. A small drip from the T&P valve or the top inlet/outlet indicates a seal problem. Leaks often mean the tank is corroded and may need replacement.
9. Safety First - When to Call a Professional
Even if you’ve run through the above checks, some issues require a licensed plumber a tradesperson certified to work on water heating systems. Call them if you encounter any of the following:
- Strong gas odor or carbon monoxide suspicion.
- Persistent low temperature after confirming power/gas is on.
- Corroded tank, large leaks, or rust on the exterior.
- Faulty T&P valve that won’t release pressure.
- Any electrical work beyond checking a breaker or element resistance.
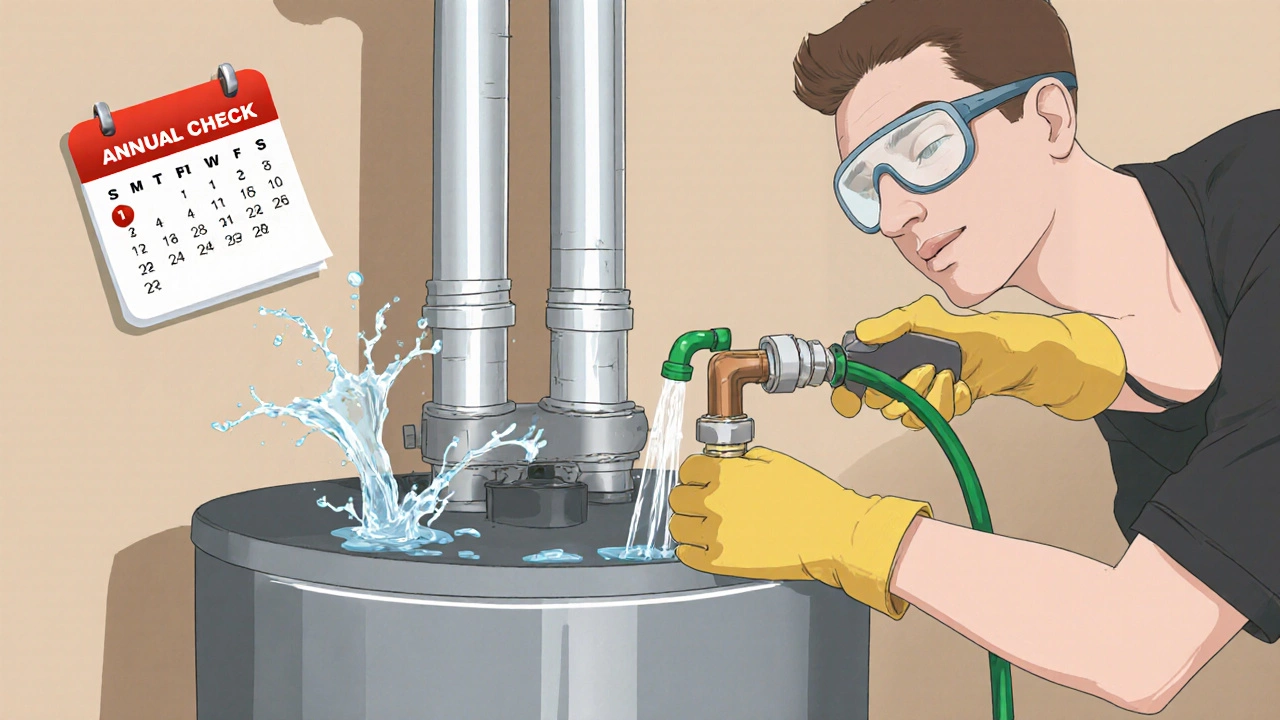
10. Routine Maintenance to Keep Your Heater Healthy
Regular care can prevent most of the problems listed above. Here’s a quick monthly‑to‑yearly checklist:
- Monthly: Check the temperature setting, look for leaks, and ensure the vent is clear.
- Every 6 months: Test the T&P relief valve by pulling the lever.
- Annually: Flush the tank to remove sediment. Turn off power/gas, connect a garden hose to the drain valve, open a hot water faucet, and let water flow until it runs clear.
- Every 2‑3 years: Have a plumber inspect the burner (gas) or heating elements (electric) and replace the thermostat if it shows signs of drift.
Following these steps extends the life of the unit and reduces the chance of a cold shower surprise.
Quick Reference Checklist
- Power/gas on?
- Hot water temperature within 120‑140°F?
- Thermostat set correctly?
- Heating element resistance 10‑30Ω (electric) or blue flame (gas)?
- T&P valve releases water when tested?
- Vent free of blockages?
- No unusual noises or leaks?
- Call a plumber if any safety concerns arise.
Frequently Asked Questions
Why is my water heater making a popping sound?
Popping usually means sediment is burning off at the bottom of the tank. Flushing the heater removes the buildup and stops the noise.
Can I replace a heating element myself?
Yes, if you turn off the power, drain the tank, and use a multimeter to test the element. Replace it with a matching watt‑rating element. If you’re unsure, let a plumber handle it.
What temperature should I set my thermostat to?
120°F (49°C) is the recommended setting. It’s hot enough for most uses and reduces energy use and scald risk.
How often should I flush my water heater?
At least once a year, more often if you have hard water. Regular flushing keeps efficiency high and extends the tank’s life.
My heater leaks from the bottom - what does that mean?
A bottom leak typically signals a corroded tank. It’s usually not repairable, so you’ll need a replacement.