Oven Element Resistance Tester
Enter the resistance reading (in ohms) from your multimeter test to determine if your oven element is functioning properly.
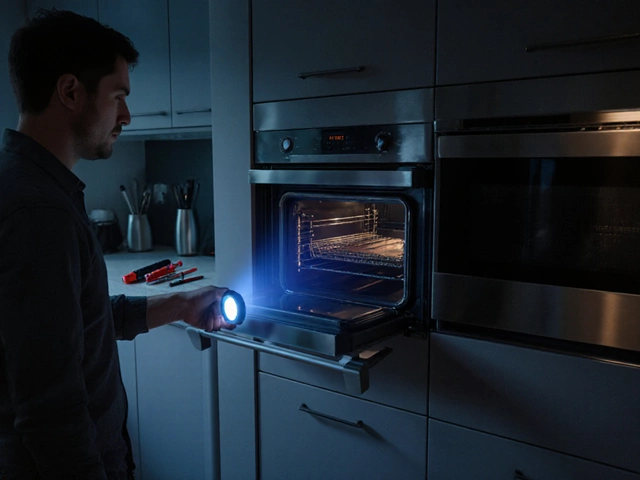
When your oven refuses to heat, the first thing most people wonder is whether the electric oven element has given up. A faulty element can leave you with a cold oven, a burnt‑out smell, or uneven baking results. Below you’ll find a step‑by‑step guide to confirm if the element is the culprit, how to test it safely, and when it makes sense to replace it yourself or call a pro.
What the electric oven element actually does
Electric oven heating element is a resistive metal coil that converts electrical energy into heat inside the oven cavity. Most modern ovens have at least two elements: a bake element at the bottom for even cooking, and a broil element on the top for high‑heat searing.
The element is wired to the oven’s power supply through a thermostat or electronic controller, which tells it when to turn on and off based on the temperature you set.
Common signs that an element has failed
- The oven stays cold even though the display shows it’s pre‑heating.
- You hear a faint clicking sound when you turn the oven on, but no heat is produced.
- There’s a faint burnt or metallic odor coming from the back of the oven.
- Only one part of the oven heats - for example, the broil element works but the bake element does not.
- The oven trips the circuit breaker frequently.
These symptoms can also be caused by a bad thermostat, a broken temperature sensor, or a faulty power cord, so it’s worth ruling out the element first.
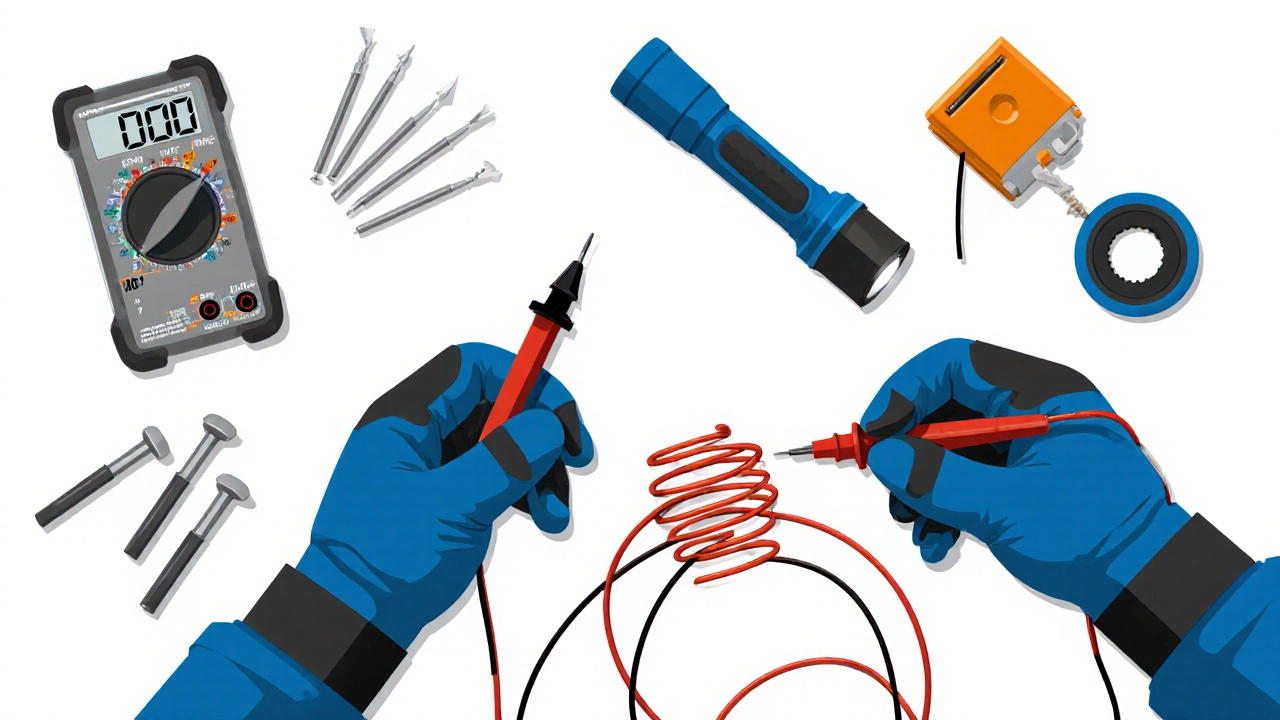
Tools you’ll need for a quick diagnosis
Before you start, gather a few basic tools. Most of them are already in a typical DIY toolbox.
| Tool | Why you need it |
|---|---|
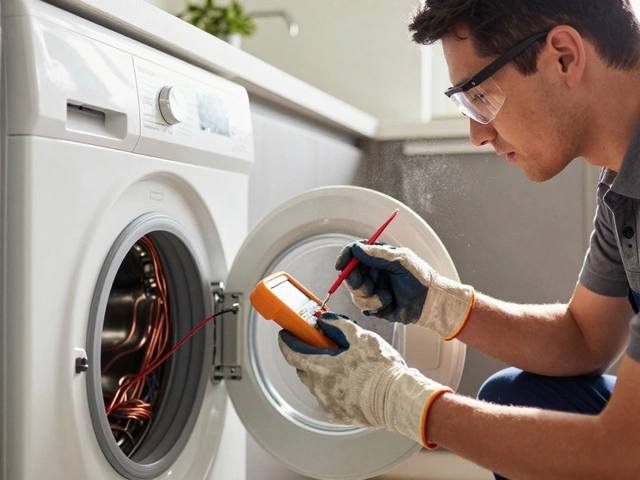
| Multimeter (multimeter) | Measures continuity and resistance of the element. |
| Screwdriver set | Removes the element’s mounting screws. |
| Safety gloves | Protects you from sharp edges and hot surfaces. |
| Flashlight | Improves visibility inside the oven cavity. |
| Replacement element (optional) | Needed if you confirm the element is dead. |
Step‑by‑step: How to test the element
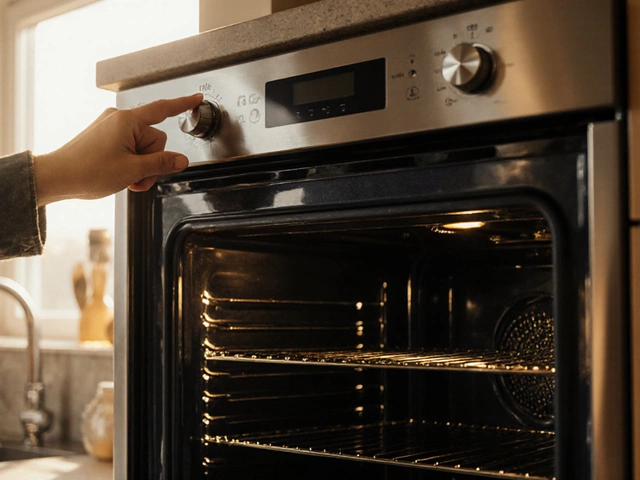
- Unplug the oven. Safety first - disconnect the appliance from the wall socket or turn off the dedicated circuit at the breaker panel.
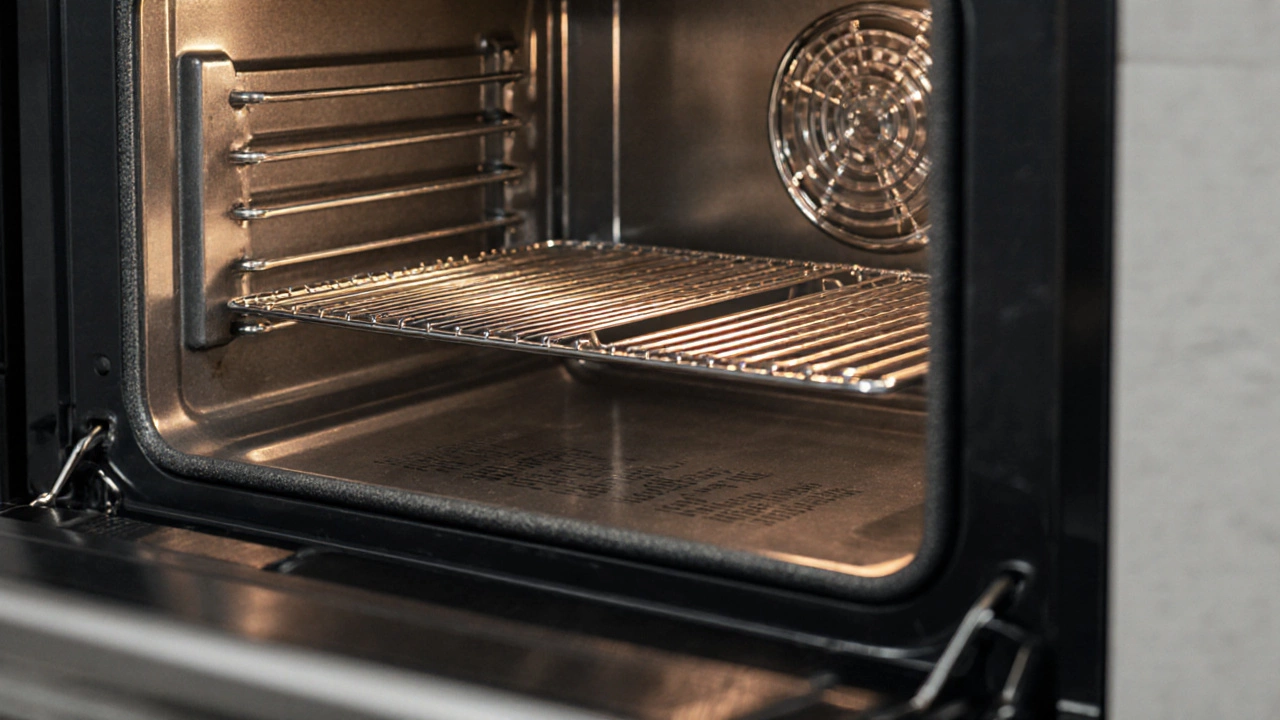
- Remove the oven racks and locate the element you want to test. The bake element sits on the bottom wall; the broil element is attached to the top interior.
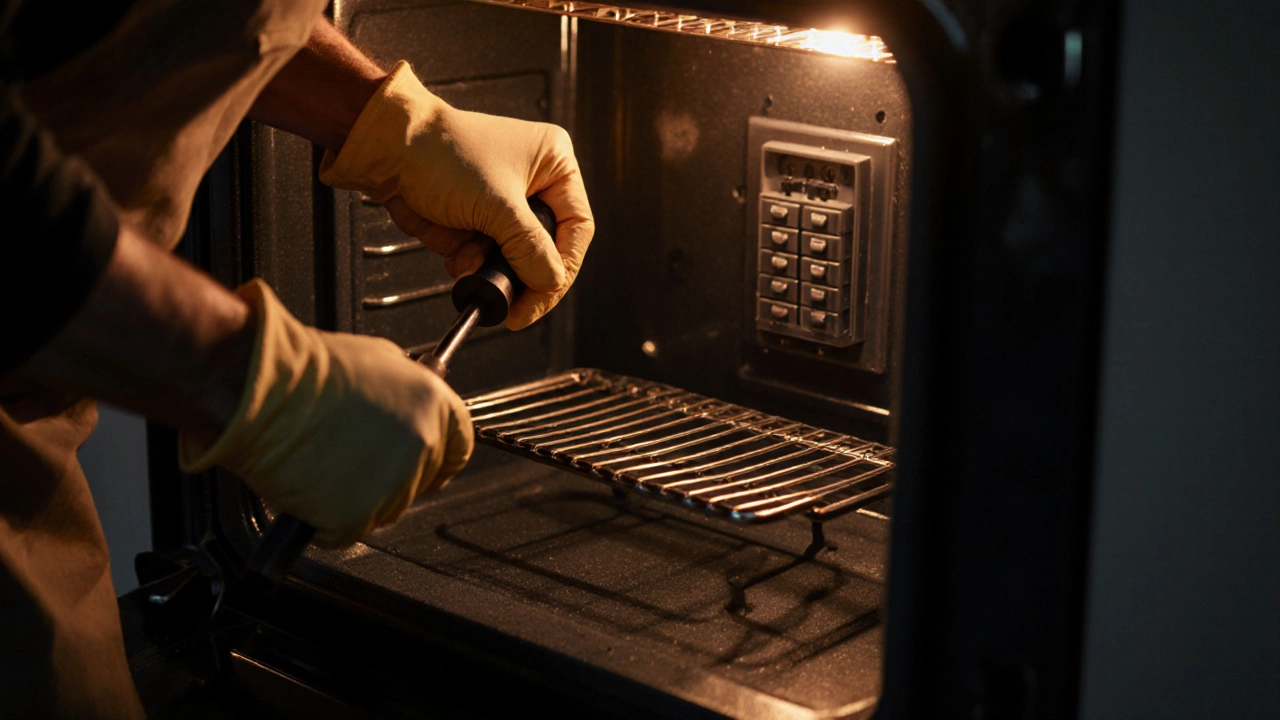
- Unscrew the mounting brackets. Some ovens have clips; gently release them with a screwdriver.
- Pull the element out enough to see the two terminal connectors.
- Set your multimeter to the lowest resistance (ohms) setting.
- Touch one probe to each terminal. A healthy element typically reads between 10 Ω and 30 Ω depending on its wattage. No reading or an infinite resistance (often shown as “OL”) means the element is open and needs replacement.
- If you get a reading within the expected range, the element is electrically sound. The problem may lie elsewhere (thermostat, sensor, wiring).
- After testing, reinstall the element, secure the brackets, and restore power.
- If the oven still won’t heat, next check the thermostat or temperature sensor.
Testing takes less than 15 minutes and doesn’t require any special certifications as long as you keep the power off.
When the element is truly dead - replacement tips
If the multimeter confirms an open circuit, you’ll need a new element that matches the oven’s make, model, and wattage. Here’s how to install it safely.
- Buy a genuine replacement part. OEM numbers are usually printed on the back of the old element.
- Wear gloves and use a screwdriver to detach the old element completely.
- Place the new element in the same position, align the mounting holes, and re‑secure the brackets.
- Reconnect the terminals - most elements use a simple push‑in connector. Double‑check that the contacts are tight.
- Slide the oven racks back in, plug the oven back in, and run a quick 10‑minute heating test at 350 °F (180 °C). The oven should warm up within a few minutes.
If the new element still doesn’t heat, the issue may be a broken power cord, a tripped circuit breaker, or faulty wiring inside the oven’s control board.
Diagnosing other common culprits
Before you order a new element, consider these quick checks:
| Symptom | Possible cause |
|---|---|
| Oven heats unevenly | Partially failed element, damaged oven insulation |
| No heat at all | Open element, blown fuse, faulty thermostat |
| Only broil works | Burned‑out bake element, broken wiring to bake element |
| Frequent breaker trips | Short circuit in element, damaged power cord |
| Error codes on display | Failed temperature sensor, control board issue |
Most homeowners can confidently replace a heating element. If you run into tangled wiring, a damaged control board, or persistent breaker trips, it’s wise to call a qualified appliance technician.
Safety reminders you shouldn’t skip
- Always disconnect power before touching any internal components.
- Check the oven’s manual for specific torque values on mounting screws - over‑tightening can crack the element.
- Use a multimeter with fresh batteries; a weak meter can give false “open circuit” readings.
- Dispose of the old element according to local electronic waste regulations. In Wellington, many council depots accept metal coils.
Following these steps keeps you safe and helps the oven last longer.
Mini‑FAQ
Can I test an oven element with just a screwdriver?
No. A screwdriver only checks for physical damage. To know if the element is electrically functional you need a multimeter that measures resistance.
What resistance range indicates a good element?
Most 1500‑watt residential elements read between 10 Ω and 30 Ω. Check the oven’s technical sheet for the exact spec.
My oven trips the breaker every time I try to heat - is the element the problem?
A shorted element can cause a breaker trip, but a frayed power cord or loose wiring can do the same. Test the element first; if it shows continuity, inspect the cord and connections.
Do I need to calibrate the thermostat after replacing an element?
Usually not. The thermostat works independently of the element. However, run a temperature‑verification test with an oven thermometer to be sure the oven reaches the set temperature.
How long does a replacement element typically last?
With normal use, a quality element can last 8‑12 years. Frequent high‑heat broiling or power surges can shorten its life.
Armed with a multimeter and a bit of patience, you can quickly confirm whether the heating element is the problem and get your oven back in action. If the diagnosis points elsewhere or you hit a wiring snag, don’t hesitate to call a local appliance repair professional.