Oven Control Board Diagnostic Tool
Select the primary issue you are experiencing.
Open the panel and look at the circuit board. Do you see any of these?
Test A: Incoming Power
Measure voltage at L1/L2/N terminals.
Test B: Output Signal
Set to Bake. Measure output to heating element.
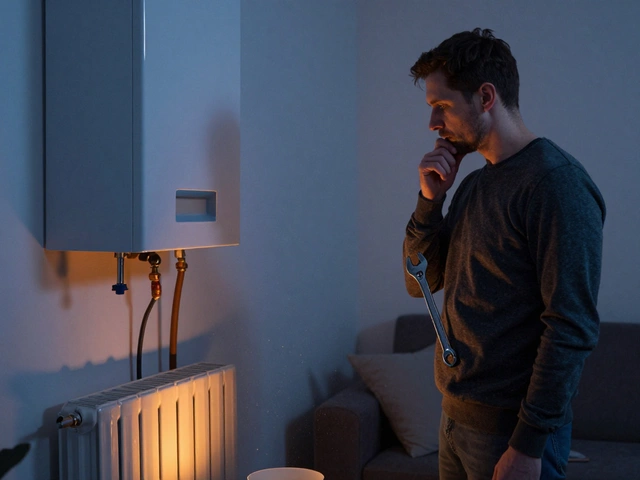
Your oven is dead silent. You press the start button, but nothing happens. Or maybe it’s running a marathon-preheating forever without ever reaching the set temperature. Before you call a technician and hand over your credit card, there is one component that deserves your suspicion first: the control board, also known as the main control panel or electronic control board. It is the brain of your appliance. When it fails, the whole system goes chaotic.
Replacing a control board is expensive, often costing between $150 and $400 depending on the brand. You don’t want to buy one just to find out the problem was a loose wire or a broken sensor. This guide cuts through the noise. I will show you exactly how to diagnose a failing control board, what symptoms point directly to it, and how to verify the fault before spending money.
The Quick Summary: Key Takeaways
- Symptoms are specific: A bad control board usually causes total power loss, erratic display codes, or failure to heat despite working elements.
- Rule out the easy stuff first: Always check the thermal fuse, door switch, and temperature sensors before blaming the board.
- Visual inspection matters: Look for burn marks, melted plastic, or blown capacitors on the circuit board itself.
- Multimeter testing is definitive: Checking for incoming voltage and outgoing signals confirms if the board is sending commands.
- Safety is non-negotiable: Always disconnect power at the breaker before touching internal components.
Understanding the Role of the Control Board
To know if the board is bad, you first need to know what it does. In an electric oven, the control board acts as the central processor that receives input from buttons and sensors, then sends high-voltage signals to heating elements, fans, and lights. Think of it like the engine computer in a car. If the gas pedal (your button) works and the wheels (the heating element) are fine, but the car doesn’t move, the computer isn’t telling the fuel injectors to fire.
The board manages three main jobs:
- Input processing: Reading your temperature settings and timer inputs.
- Sensor validation: Monitoring the temperature sensor, which is a thermistor that changes resistance based on heat.
- Output execution: Sending 120V or 240V power to the relays that switch on the heating elements.
Top 5 Symptoms of a Failing Control Board
You can narrow down the suspect list by observing behavior. Here are the most common signs that point specifically to the control board rather than other parts.
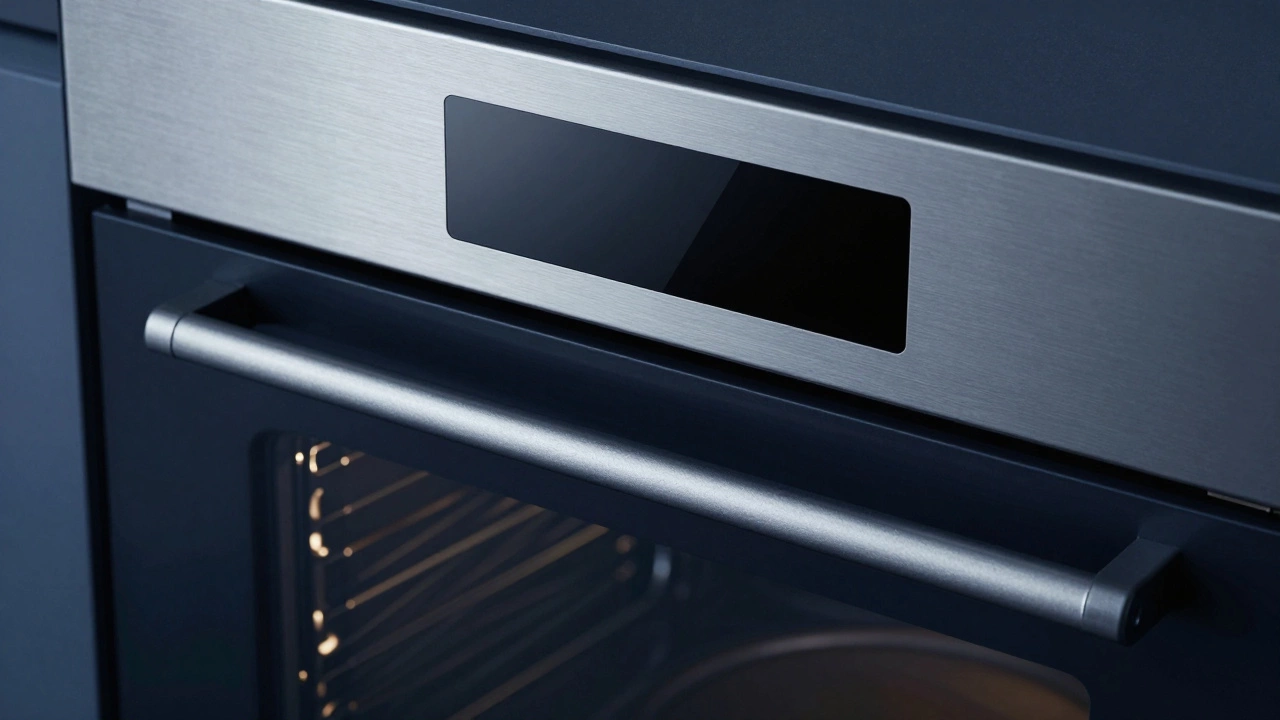
1. The Display Is Blank or Erratic
If you plug the oven in and the digital display remains completely dark, the issue could be the power supply, the clock module, or the board. However, if the display flickers, shows random characters, or displays error codes like "F9" or "E6" repeatedly, the control board is likely corrupting data. These codes often indicate communication errors between the board and its sub-components.
2. Oven Won’t Heat, But Elements Are Good
This is the trickiest symptom. You might think the heating element is broken because the oven stays cold. But if you have tested the element with a multimeter and it has continuity (it’s not open), yet it still doesn’t get hot when you run a bake cycle, the control board isn’t sending the signal to energize it. The relay on the board may be stuck open.
3. Oven Heats Continuously Without Turning Off
Conversely, if the oven gets scorching hot and never shuts off, even after the timer ends, a relay on the control board might be welded shut. This is dangerous and can lead to food burning or fire hazards. Immediate power disconnection is required here.
4. Buttons Don’t Respond
If pressing the 'Start' or 'Bake' buttons yields no reaction, the touchpad membrane might be faulty. However, if the entire interface is unresponsive while the clock still runs, the board’s processor may have crashed. Some boards have a reset procedure (unplugging for 5 minutes), but persistent unresponsiveness usually means replacement.
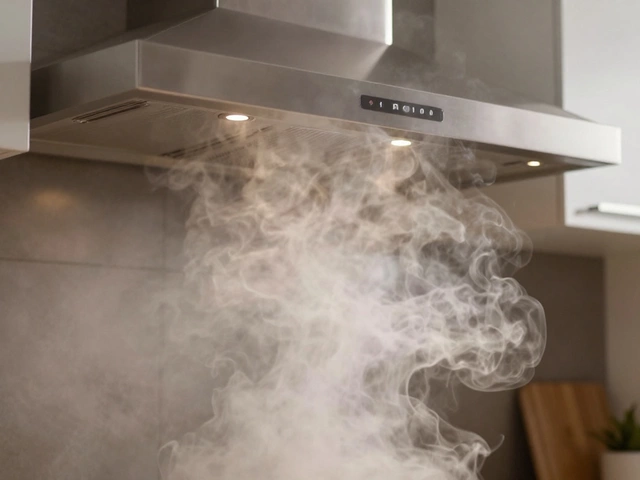
5. Strange Noises or Smells
A buzzing sound coming from the back of the oven where the board is located can indicate a failing capacitor or arcing electricity. A burnt plastic smell is a clear sign that components on the board are overheating and melting. Do not ignore these sensory warnings.
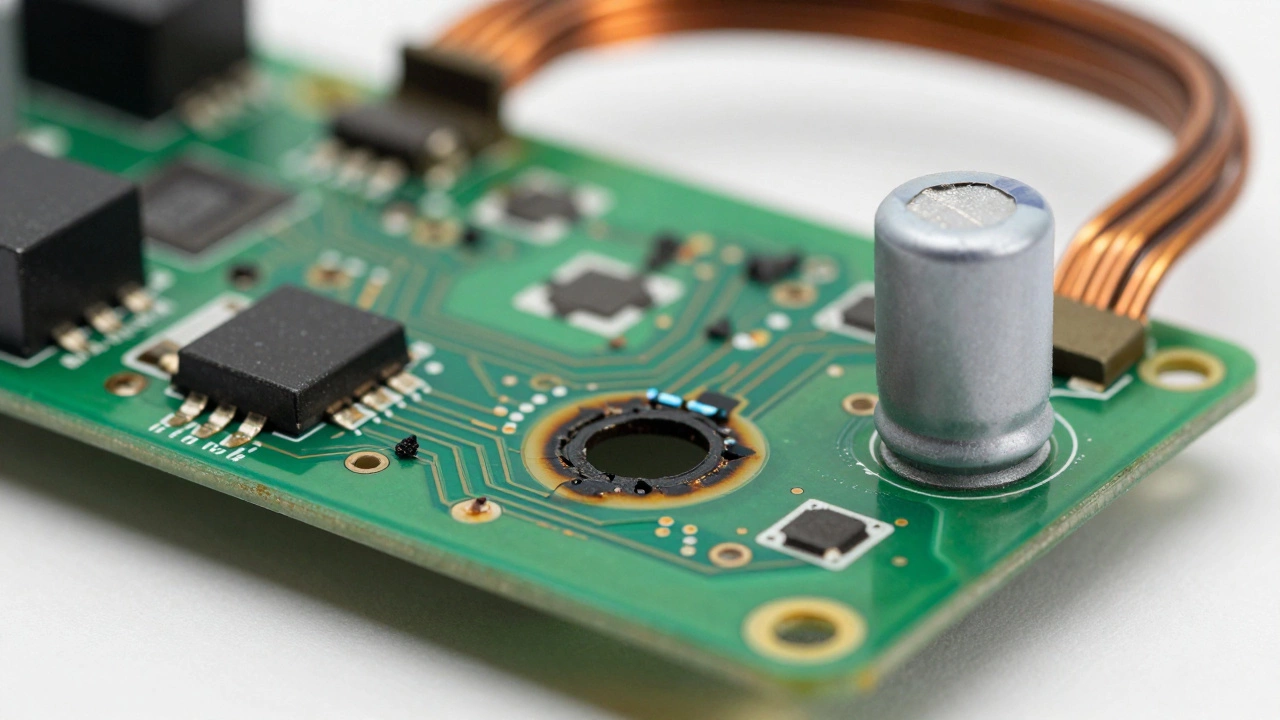
Visual Inspection: What to Look For
Before doing electrical tests, look at the board physically. Accessing the control board usually involves removing the top rear panel or the front bezel of the oven. Once exposed, inspect the green or black printed circuit board (PCB).
- Burn Marks: Black spots on the board indicate electrical arcing or overheating. If you see charred areas near the relays or power connectors, the board is damaged beyond repair.
- Melted Components: Capacitors (cylindrical components) should stand upright. If they are bulging, leaking, or melted, the board has failed.
- Corrosion: White or green crusty residue around solder joints suggests moisture damage. This breaks electrical connections.
- Loose Connectors: Sometimes the issue isn’t the board itself, but a wire harness that popped off during a vibration. Ensure all plugs are seated firmly.
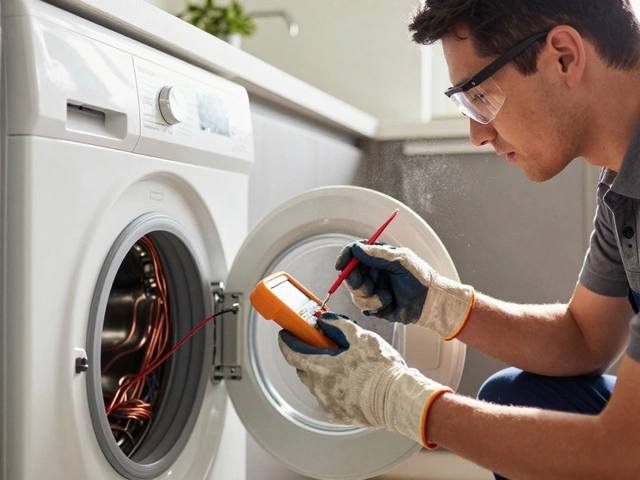
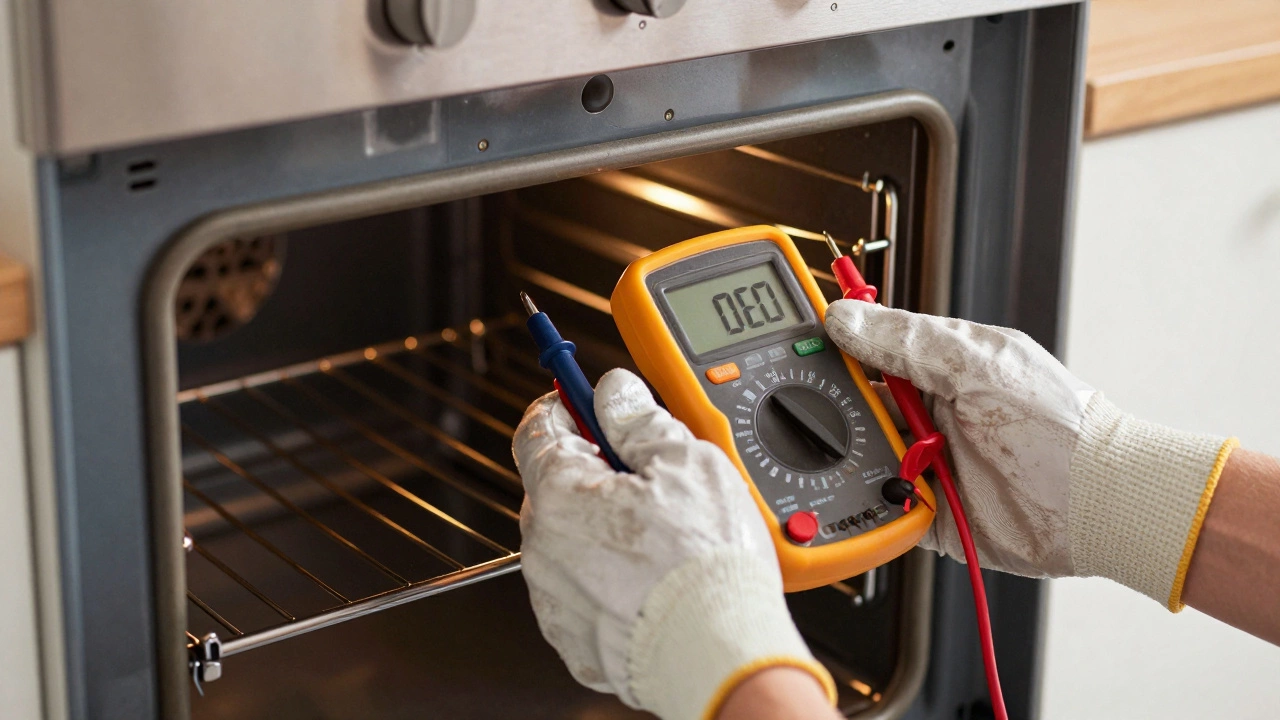
Step-by-Step Electrical Testing
If the board looks clean, you need to use a multimeter, a tool used to measure voltage, current, and resistance. This requires basic electrical knowledge. Always turn off the power at the circuit breaker before opening the oven. Turn it back on only when actively measuring voltage, keeping hands clear of live terminals.
Test 1: Check for Incoming Power
The board needs power to function. Locate the main power wires connecting to the board (usually labeled L1, L2, or N). Set your multimeter to AC Volts (200V range or higher). Carefully probe the incoming terminals.
- If you read 0V, the problem is upstream. Check the thermal fuse, which is a safety device that blows if the oven overheats. Also check the door switch and wiring harnesses.
- If you read 120V or 240V (depending on your model), the board is receiving power. If the oven still doesn’t work, the board is likely bad.
Test 2: Check Output Signals to Heating Elements
Set the oven to Bake at 350°F. Wait for the preheat cycle to engage. Using the multimeter set to AC Volts, probe the output terminals that connect to the bake element.
- If the element is supposed to be on but you read 0V at the output terminals, the board is not sending power. The board is bad.
- If you read 120V or 240V, the board is working. The problem lies in the element, the wiring, or the connection to the element.
Test 3: Test the Temperature Sensor Input
The board relies on the temperature sensor to regulate heat. Unplug the sensor from the board. Set your multimeter to Ohms (Resistance). Probe the two pins of the sensor connector on the board side (if accessible) or test the sensor directly.
- A typical thermistor reads about 108,000 ohms at room temperature.
- If the reading is infinite (open loop) or zero (short circuit), the sensor is broken, not the board. Replace the sensor first.
- If the sensor reads correctly, but the oven behaves erratically, the board’s analog-to-digital converter may be failing to interpret the signal.
| Symptom | Likely Cause | Diagnostic Tip |
|---|---|---|
| No Power / Blank Display | Thermal Fuse or Power Cord | Check continuity of thermal fuse first; it’s cheaper and easier to replace. |
| Oven Doesn’t Heat | Heating Element or Relay | Test element for continuity. If good, test board output voltage. |
| Erratic Temperatures | Temperature Sensor | Measure resistance of sensor; compare to manufacturer specs. |
| Error Codes (F/E series) | Control Board Communication | Reset oven. If codes persist, board likely needs replacement. |
| Buzzing Noise | Fan Motor or Blown Capacitor | Inspect board capacitors for bulging; listen for fan obstruction. |
Common Mistakes to Avoid
Many homeowners jump to conclusions too quickly. Here is what you should avoid:
- Ignoring the Thermal Fuse: This small component sits near the back of the oven cavity. If it blows, the oven loses all power. It mimics a dead control board. Always test this first.
- Assuming the Element is Broken: Elements fail often, but they are cheap ($20-$50). Boards are expensive. Test the element’s continuity before buying a new board.
- Skipping the Reset: Modern ovens are computers. They glitch. Unplugging the oven for 60 seconds clears temporary memory errors. Try this before tearing anything apart.
- Buying the Wrong Part Number: Control boards are model-specific. Even within the same brand, different years have different boards. Use the exact model number found on the rating plate inside the door frame.
When to Call a Professional
If you are uncomfortable working with 240V electricity, stop. Electric ovens carry lethal voltages. Arc flashes can cause severe burns. If your multimeter tests confirm the board is bad, but you lack the confidence to swap it, hire a certified appliance repair technician. They have insulated tools and experience with high-voltage circuits. Additionally, if the oven is under warranty, DIY repairs may void the coverage. Check your manual before opening the chassis.
FAQ: Frequently Asked Questions
How much does it cost to replace an oven control board?
The cost varies widely by brand. Generic boards can cost $100-$150, while premium brands like Bosch, Wolf, or GE Profile can range from $200 to $500. Labor for installation typically adds another $100-$150 if you hire a professional.
Can a bad control board cause a tripped breaker?
Yes. If a relay on the control board shorts internally, it can create a direct path for electricity, causing excessive current draw. This trips the household circuit breaker immediately as a safety measure.
Is it safe to use the oven if the control board is acting up?
No. If the board is failing, it may send incorrect power signals to the heating elements, leading to overheating, fire risk, or uneven cooking that ruins food. Disconnect power until repaired.
How long does a control board last?
A well-maintained control board can last 10-15 years. However, heat exposure, power surges, and humidity can shorten its lifespan. Relays wear out over time due to mechanical switching stress.
Can I repair a control board instead of replacing it?
Generally, no. While skilled electronics technicians can sometimes re-solder joints or replace individual capacitors, the cost and risk usually outweigh the benefits. Replacement ensures reliability and safety.