Imagine you're set to bake your favorite lasagna, timer set, but after an hour, it's still half-raw. Or, maybe your cookies come out either charred or pasty every time. Sounds like sabotage, but the villain is usually your oven: the element, the thermostat, or both. Getting to the core of this issue isn’t just for appliance geeks—it can save your next meal and your wallet.
Identifying the Symptoms: How Your Oven "Talks" to You
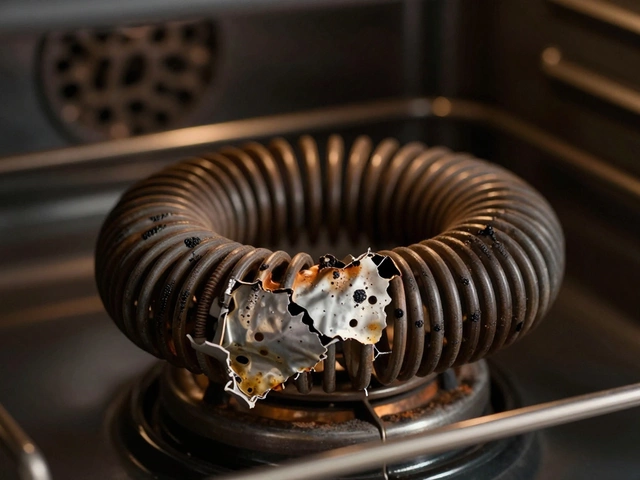
Your oven never texts you, but it gives some clear signs when things go sideways. If you notice your electric oven takes forever to preheat, or only the top or bottom heats up, your element’s probably crying for help. With a broken element, you'll sometimes see visible damage—burn marks, blisters, or even cracks. The classic sign? Your oven doesn’t heat at all, or heats unevenly, with food burning on one side and raw on the other.
If you have an issue with the thermostat, the game changes. Now you might find the oven constantly overshooting or never reaching the right temperature. You dial in 180°C, but the oven keeps climbing or doesn't get hot enough. Bad thermostat logic leads to undercooked or overcooked meals. Thermostats tend to fail silently. There’s no drama—just dinnertime misery. It’s sneaky: the light on your oven may stay on or off at the wrong times, fooling you into blaming the recipes, not the hardware.
Lights flickering, fuses blowing, or tripping breakers can indicate an electrical short from a faulty heating element—something you don’t want to ignore. Physical inspection is more revealing on the element side: the classic warped, split, or pitted look means it’s cooked. Thermostats, though, rarely show anything on the outside. Sometimes, an oven that never turns off points directly to a stuck thermostat—a classic but nasty sign.
Real case: A friend of mine, Jamie, went months blaming his banana bread recipe, then realized the entire time his upper oven element had snapped in two behind the pan. A home cook’s nightmare, right there.
One tell-tale myth: If you shut the door and see arcing or sparking, don’t keep using the oven! That means a live wire or broken element—both fire risks. Get it checked immediately.
Testing Your Oven Element: Getting Hands-On (Safely!)
Suspect the element? It’s your first suspect for a reason. Most electric ovens have two main heating elements—one at the top for broiling and one at the bottom for baking. When they go, it messes up everything. The first thing you should do: make sure the oven is unplugged or switch off the breaker. No one needs a shock to learn a lesson.
Next, take a flashlight and inspect the element. Does it look blistered, has burnt spots, cracks, or discoloration? If yes, it’s likely dead. Run your hand a few centimeters away (don’t touch)—does it smell burnt even when cold? Another red flag.
To gather real answers, you need to do a continuity test. Get a multimeter—cheap at any hardware store. Set it to the "continuity" or lowest ohms (Ω) setting. Carefully detach the element from its connectors at the back. Place a probe on each terminal. If the reading is infinite (no beep or display), the element is blown. If your multimeter beeps or shows a low resistance (often 10-100Ω), your element’s alive.
Typical element life is 8–15 years, depending on usage. According to the Association of Home Appliance Manufacturers, “Oven elements are built to tolerate regular high-heat stress, but a single power surge can kill them instantly.”
Don’t forget: sometimes, elements die halfway—they heat unevenly, so parts of your oven work, parts don’t. Your brownies come out half-baked and half-crispy. Sounds familiar?
If replacing, make sure you get an exact match—installing the wrong element is like fitting bike brakes on a car. Not fun, and pretty risky. And yes, order from a real manufacturer or a trusted supplier—not a sketchy online shop. Cheap knockoffs can break or start fires.
Thermostat Trouble: When the Brain Goes Haywire
Now, the thermostat controls the temperature. If it’s busted, you’re pretty much cooking blind. Here’s the kicker: thermostats rarely break in obvious ways—they tend to go "off" slowly. Your lasagna used to cook in 45 minutes; now it’s underdone or burnt, for no reason you can figure out. It’s not you—it’s the hardware.
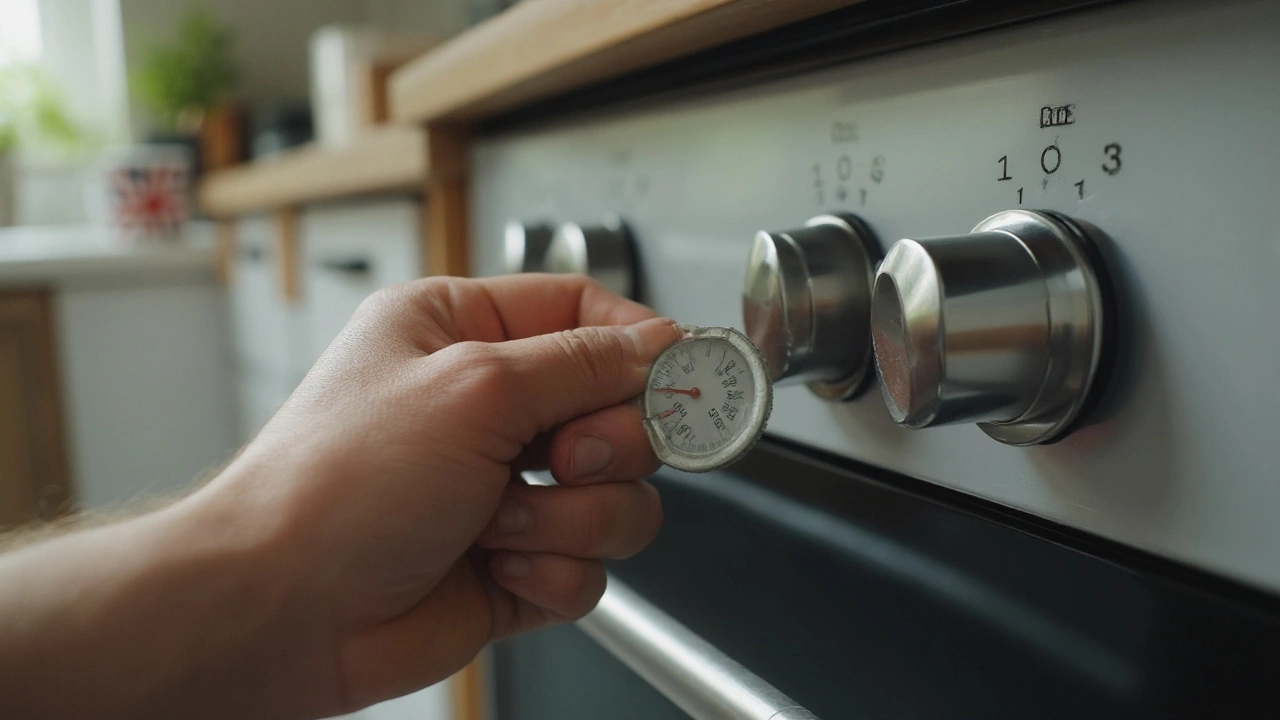
One approach: buy a simple oven thermometer. Place it inside the oven and set the oven to a specific temperature—say, 180°C (or 350°F). Does the oven thermometer show a number wildly more or less than what you set? That’s a thermostat warning. If you have to crank it up or down significantly to get results you used to get—yup, the thermostat’s on its way out.
A classic mistake is jumping to replace the element, when it's actually the thermostat acting up. Here’s a tip: if both upper and lower elements heat but the temp is always wrong, suspect the thermostat first.
Testing a thermostat at home isn’t always easy, since you need to check electrical resistance and sometimes even temperatures at different settings. If you’re electrically savvy, you can do it with a multimeter, same as the element. But thermostats can fail in different ways—shorts, getting "stuck" closed so the oven overheats, or open so it never heats. Some modern ovens use digital sensors—those you’ll need a pro or at least a wiring diagram for, so you don’t fry the control board.
Professional repair techs often use a process of elimination: Check the element first. If that’s good, and the wiring is intact, move to the thermostat. Don’t waste money shotgun-replacing both parts unless needed.
“The most common cause of uneven cooking in an electric oven is a faulty thermostat, not the element, as most homeowners think,” says Martin Howes, senior technician at FixMyAppliance.com.
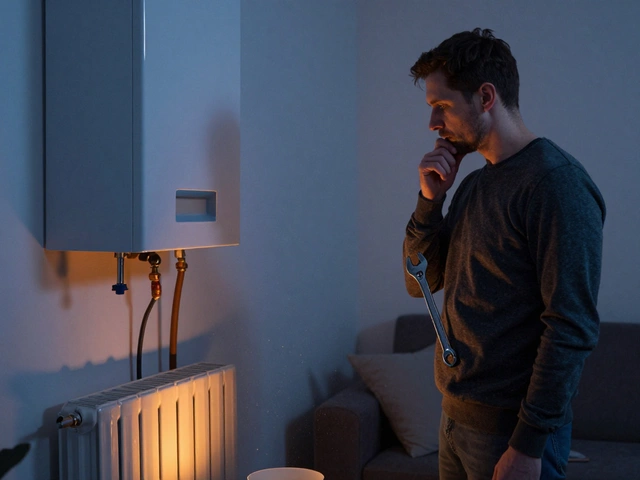
DIY or Call a Pro? Making the Fix (and Staying Safe)
If you’ve narrowed things down, you’re halfway there. Heating element replacement is a classic DIY fix—if you’re careful. The job is mostly about getting the right part and not zapping yourself. Unplug the oven, unscrew the old element, pull it out, disconnect the wires (taking pictures helps you remember which is which), pop in the new element, reverse the steps, and you’re golden. Reconnect power only after double-checking every step.
Swapping a thermostat is sometimes simple, sometimes not. In old ovens, it’s just a matter of reaching behind the panel and swapping a unit with a capillary tube. With modern models or ranges, you’ll need to open up the control panel, disconnect wires, and sometimes recalibrate. It sometimes trips up even confident DIYers, since miswiring can cause shorts or fuses to blow. If in doubt, call a repair service—it’s cheaper than frying a control board. Never work on anything live; always unplug your oven before poking around.
Sometimes the trouble isn’t with the parts, but with the wiring or the oven’s control board. If you can see obvious blackened wires or smell burnt plastic, call a pro immediately. Fiddling with electronics, especially in European or UK ovens, can be dangerous. Don’t risk your safety.
If your oven is still under warranty, never open it yourself—let the shop handle it, or you’ll void the coverage.
- Double-check your oven’s model and serial number before ordering parts.
- Take photos as you remove panels and wires to make reassembly easier.
- Wear gloves, especially when handling old elements—they can be sharp or brittle.
- Use a genuine part for replacements. Cheap copies are notorious for early failure or causing shorts.
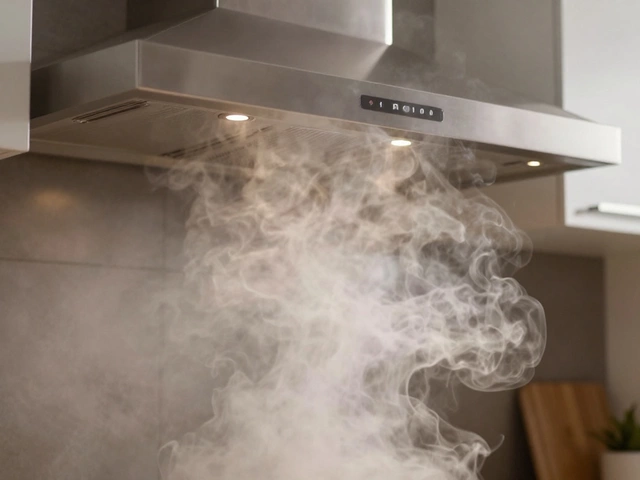
- If your oven or kitchen fills with smoke during a test run, switch off the power and double-check everything.
Usually, a new element or thermostat brings your oven back to life. But if the wiring is degraded or your circuit breaker keeps tripping, you need an electrician, not DIY fixes.

Keeping Your Oven in Top Shape: Smart Maintenance and Weird Habits to Avoid
One thing people forget: an oven isn’t just a big hot box; it’s a hard-working tool with parts that face extreme heat every day. Treating it right means less drama later. Don’t slam the oven door. It rattles the elements and can jar old thermostats out of alignment. Keep the oven interior clean—spilled sauces or food can burn onto elements and cause hot or cold spots or even corrosion.
Once a month, give your oven a good look. Check both elements for weird shapes, black spotches, or warping. Use your oven thermometer to check temperature accuracy. If you feel the oven is slow to heat or food never comes out the same, trust your gut—don’t gaslight yourself thinking it’s your fault. Ovens that are used heavily, like for big holiday dinners or regular batch cooking, will wear out elements and thermostats faster.
If you get in the habit of checking your oven when something seems off, you’ll save money and skip the last-minute panic before parties and family gatherings. Another tip: always turn off the oven at the breaker before cleaning anywhere near the elements. Moisture and live wires don’t mix.
If your oven is over 15 years old and has gone through several elements, consider replacing it. Odd odors, repeated short circuits, or a wildly swinging temperature can mean the whole unit is aging out. Modern ovens are more efficient and have better safety cutoffs—sometimes it’s just time for an upgrade.
Prevention beats repair. You wouldn’t drive your car with warning lights blazing, so don’t ignore what your oven “says” either. Learn its quirks. If it takes longer to heat, or bakes unevenly, check it before it fully breaks down.