Hot showers and heated water flowing from your faucet—these small luxuries make life a tad more comfortable. But lurking within your water heater's tank is an unsung hero: the anode rod. This essential component defends the metal tank from rusting away, prolonging the life of your water heater. Without it, that dream of endless hot showers might be shorter-lived than you'd like.
If you're asking yourself how to determine when your anode rod has reached its end, you're in the right place. In this article, we'll navigate through the visual and functional signs of a failing rod, share tips for regular inspections, and guide you through a simple replacement process. A little knowledge goes a long way in keeping your home's hot water system running smoothly without unexpected outages. It's time to become well-acquainted with the part that keeps your interaction with rust at bay.
- Understanding the Anode Rod's Role
- Common Signs of Anode Rod Failure
- Why Regular Maintenance Matters
- Methods to Inspect Your Anode Rod
- Steps for Replacing the Anode Rod
- Pro Tips for Water Heater Care
Understanding the Anode Rod's Role
At the heart of your water heater's design lies an ingenious yet straightforward method to combat corrosion: the anode rod. Crafted usually from a blend of aluminum, magnesium, or zinc, this rod sacrifices itself to protect the inner lining of the tank. Its job? To attract corrosive elements and take on their damaging effects, hence prolonging the life of the tank itself. Imagine it as the knight in shining armor for your water heater, one that absorbs the hit so the steel lining does not have to. This process, known as galvanic corrosion, ensures that by the time your rod has seen better days, your tank remains relatively unscathed.
Installed at the top of the water heater's tank, the anode rod inserts vertically into the water storage area. As the tank constantly fills and empties, water heats up, and minerals in the water accumulate. This is where the magic of the sacrificial anode comes into play. Magnesium tends to offer effective protection in areas with soft water, whereas aluminum can sometimes fare better in harder water areas. The choice of material is not merely incidental; it's optimized for dealing with specific water types prevalent in different regions. A robust understanding of your local water quality can aid in choosing the most efficient anode for your heater.
Pete Miller, a prominent expert in home plumbing systems, once remarked, "The unsung hero of any hot water system is often the anode rod; losing sight of this simple fact can lead to untimely heater failures."
To appreciate the anode rod’s function is to understand a bit more about chemistry and physics. As it dissolves, or rather, sacrifices its material, it doesn't go gently into the night without providing a bit of a warning signal. When its outer coat starts to wear thin, the tank may begin to show signs through water discoloration or a metallic taste. On average, a good anode rod will last about 3 to 5 years, but this greatly depends on the quality of water and the frequency with which the heater is used. In areas with high mineral content, known as hard water, the rod may need replacement more frequently.
The Science Behind the Sacrifice
The anode rod’s chemical makeup plays a crucial role in its capacity to protect. Why magnesium or aluminum? It really comes down to electricity. These metals are more 'active' compared to the steel in the tank, meaning they suffer the electric burden of oxidation more readily. Essentially, they corrode first and delay the tank from doing so. The process creates an electrochemical cell, similar to a battery, where the anode, being the electrically positive piece, takes on the brunt of the corrosion process. Knowing the science behind this noble sacrifice helps in selecting the right one and caring for your water heater in the long run.
By focusing on the role of the anode rod, homeowners can take proactive steps to ensure their water heaters remain functional and efficient for years to come. Checking the anode rod annually and replacing it when necessary may just be the secret ingredient for stretching the lifespan of your water heater by several extra years. It’s a small and relatively low-cost measure that pays dividends in terms of preserving the efficiency and functional integrity of one of the most essential pieces of home equipment.
Common Signs of Anode Rod Failure
Recognizing the telltale signs of an anode rod on its last legs can save homeowners from the unwelcome surprise of a rusted water tank. A water heater’s anode rod is typically composed of magnesium or aluminum, designed to combat rust by sacrificing itself. This sacrificial nature means it’s actively corroding—and is supposed to—while the less noble metals of the tank remain intact. Over time, however, it can become completely corroded and unable to fulfill its essential role.
A noticeable change in water quality is often one of the first indicators. If your hot water begins to emit a foul smell, much like that of rotten eggs, it could be the signal of a failed anode rod. This unpleasant odor usually occurs due to hydrogen gas reacting with bacteria found in water, particularly in the presence of a depleted magnesium or aluminum rod.
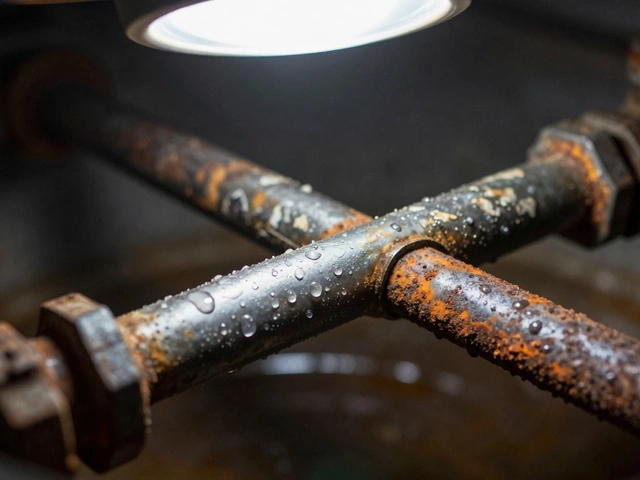
A second, but equally alarming sign, is when your water heater starts producing water that's brown, rusty, or has sediment. This visible degradation means that the tank itself may be begin to corrode internally. The anode rod's purpose is to attract corrosive elements, sparing them from attacking your iron or steel tank. When it fails, these elements start feasting on your tank, leading to discolored water.
If you notice increased noise emanating from your water heater, it might not be as innocent as trapped air or occasional expansion noises. Sediment build-up, caused by an ineffective anode rod, can lead to popping or knocking sounds as water bubbles its way through layers of accumulated minerals. These noises are more than just a nuisance—they’re an alarm bell that your water heater isn't functioning optimally.
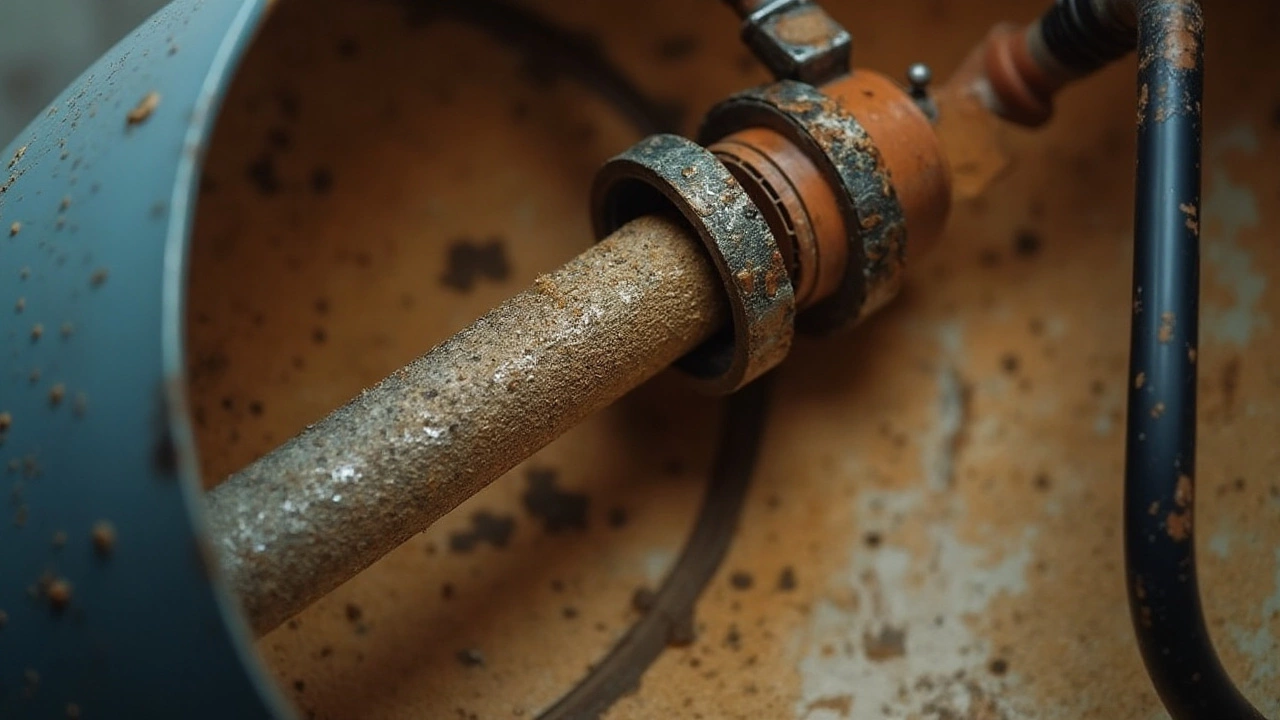
Water heater maintenance is crucial, and a comprehensive inspection every year can be a lifesaver. One way to check an anode rod is by physically removing it for an inspection. If the rod is less than half an inch thick or visibly coated with calcium deposits, it’s an indicator that it needs replacement. A study by the American Society of Home Inspectors revealed that about one in three water heaters over five years old have anode rods worn to the point of necessity for replacement.
"Water heaters, when maintained well, can last over a decade. Anode rods are the unsung heroes here, extending that lifespan substantially." - Home Maintenance Weekly
In sum, being vigilant about these signs of anode rod failure is essential. A proactive approach can save not just the heartache of appliance replacement but also the economic impact felt through premature, costly repairs. By listening and observing these key signals, you maintain the health of your water heater, preserving the high quality of life you enjoy with hot water readily available.
Why Regular Maintenance Matters
The heart of every properly functioning water heater lies in the diligent upkeep of its key components, chief among them being the anode rod. When people skip regular maintenance, they may find themselves grappling with unpleasant surprises such as sudden cold showers, or even worse, hefty repair bills due to rust damage. This simple action, often overlooked, is pivotal in shoring up the fidelity and longevity of any water heater. Through consistent checks, you extend the appliance's life, ensuring it serves you faithfully for years to come. Regular maintenance prevents the build-up of sediment, which can insulate and degrade the heating element, leading to inefficiencies or dangerous overheating.
Neglecting this component's maintenance can accelerate the breakdown of your heater. An unprotected water tank often sees rapid corrosion, thanks to rust's relentless march. This rust, given time, not only reduces the performance of your water heater but can also lead to leaks that spell the end of its service. This makes replacing and checking the anode rod every few years a can't-miss agenda on any homeowner’s list. It's akin to wearing a raincoat in a downpour. It acts as a shield, sacrificing itself to the corrosive elements and keeping the tank pristine. According to data from a 2022 study, regular inspection can extend a water heater's life by up to 10 years. That’s a substantial return on investment for a relatively minor maintenance effort!
For those still wrestling with the idea of regular upkeep, consider the financial implications—a new water heater installation might set you back a significant sum, compared to the pocket change required for a replacement anode rod. Clive Anderson, a hydraulic engineer noted, "A simple inspection, every two years, saves homeowners thousands in the long run."
“By maintaining our equipment today, we spare ourselves multifaceted headaches in the future,” states Clive Anderson, respected hydraulic engineer.
Think of this task as part of an overall home wellness routine; just like you routinely check your fire alarms or change your car’s oil, the water heater deserves the same attentive care. Prioritizing regular maintenance fosters better energy efficiency, saving you on utility bills while protecting natural resources. Embrace the opportunity to learn the ins and outs of your water heater, and you may find peace in avoiding the drama of appliance disaster. Empower yourself with knowledge, and watch as you transform potential setbacks into smooth sailing.
Methods to Inspect Your Anode Rod
Embarking on the task of inspecting your water heater's anode rod might seem daunting at first, but with a bit of patience and attention to detail, it becomes a manageable process. A regular inspection every two to three years can do wonders in safeguarding your tank from decay. To begin, it’s essential to gather the right tools: a socket wrench, a garden hose, and possibly a step ladder, depending on your water heater’s location. Preparing the area is crucial—ensure it's well-lit and that there's sufficient space for maneuvering around your water heater to prevent any accidental bumps or spills.
Start by turning off the power or gas valve for safety reasons. Unplug the water heater if it uses electricity, or switch the gas valve to ‘pilot’ mode. Then, it’s wise to cut the cold water supply by twisting the valve located at the top of the heater. Allowing the tank to cool for a few hours is a smart move to avoid any risk of burns from the hot water or steam. A temperature and pressure relief valve can often be opened to release excess heat and pressure carefully.
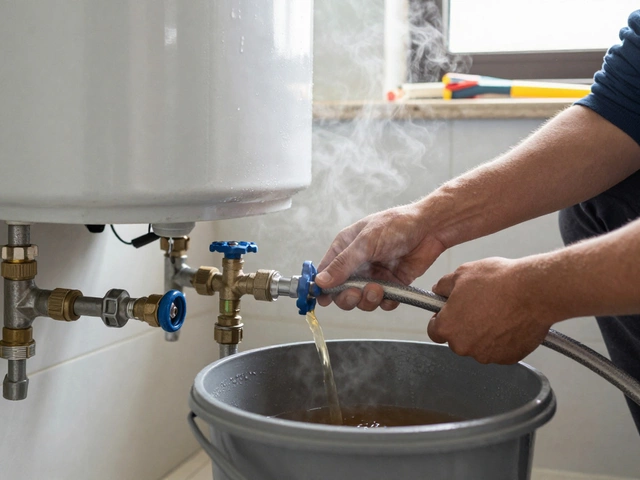
After ensuring your comfort and safety, attach a garden hose to the drain valve at the bottom of the tank, directing the other end to a safe drainage point. This step prevents potential water damage and aids in draining a few gallons of water to relieve internal pressure. It’s also not unusual—or alarming, for that matter—to encounter some discolored water if you haven't drained your tank in a while. This could hint at sediment buildup, something worth addressing during your maintenance routine.
Now, with a socket wrench at hand, locate the anode rod on top of the heater. It’s often recessed within a hexagonal fitting. Applying firm, steady pressure, unscrew the rod. It’s not uncommon to encounter some resistance if it's been a while since the heater's last maintenance session. Steady yourself on a step ladder, if needed, for extra leverage. If this feels like a Herculean task, a few gentle taps with a hammer can sometimes assist in loosening the threads.
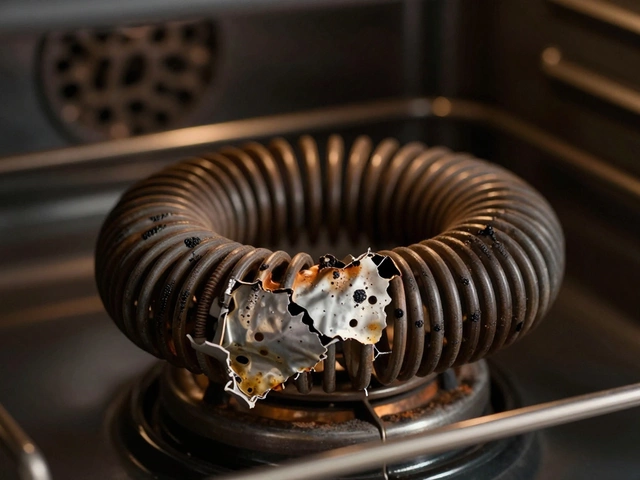
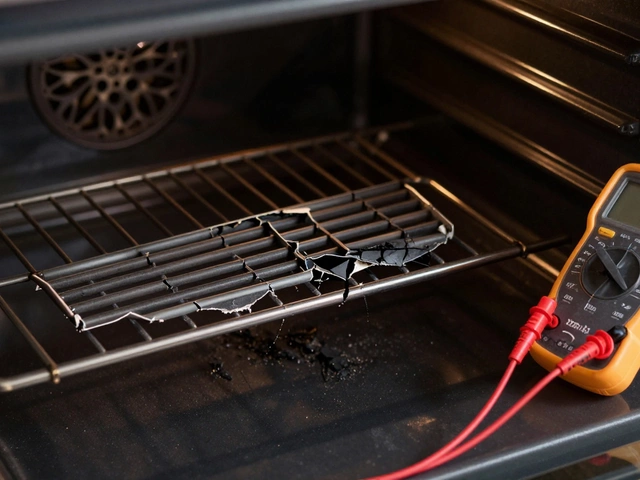
Once you've successfully extracted the anode rod, it's time for a thorough inspection. Look for visible signs of wear: heavy corrosion, large missing chunks, or a rod reduced to a mere steel wire. Typically, an anode rod that has eroded to a thickness of less than half an inch, or is calcified beyond easy recognition, should be replaced. And don’t be alarmed by these changes; it simply means the rod has been diligently doing its job of protecting your tank. In agreement with a well-put quote in Home Repair Journal, "A replaceable anode rod is a small price for a longer-lasting water heater."
For those with a penchant for detail, a visual representation often helps. Below is a simplified table depicting the average lifespan and condition of anodes based on water quality:
| Water Quality | Anode Lifespan | Condition |
|---|---|---|
| Soft Water | 1-2 Years | Highly Worn |
| Moderate Water | 2-5 Years | Moderately Worn |
| Hard Water | 5-10 Years | Lesser Wear |
With the inspection complete, reinsert the anode rod or replace it with a new one, reversing the earlier steps. Refill your tank by opening the cold water valve and restore power or gas supply. Allow some time for the water heater to reheating its contents, and then indulge in the satisfaction of this successful DIY endeavor—a crucial step toward extending the life of your beloved water heater!

Steps for Replacing the Anode Rod
Replacing the anode rod isn't as daunting as it might first appear, even if you're not the handiest person around. With a wrench in one hand and a bit of patience in your pocket, you can ward off rust and extend the life span of your water heater. To begin, you'll need to gather a few basic tools: a socket wrench, Teflon tape, a new magnesium or aluminum anode rod, and potentially a second pair of hands. The right rod depends on your water heater's make and model, so ensure you have this key detail on hand when shopping for parts.
Before diving into the task, safety is your priority. Shutting off the power to your water heater is crucial, be it electric or gas. For electric heaters, switch off the circuit breaker, and for gas ones, simply turn the gas valve to the 'pilot' setting. Drain a few gallons from the tank or the entire unit if you're changing the rod for the first time. This not only minimizes water spillage but also gives you an opportunity to clear out sediments that impair efficiency. Attach a hose to the drain valve at the bottom of your heater tank, letting the water run into a nearby floor drain or outside if convenient.
Removing the Old Anode Rod
The anode rod typically screws into the top of the tank, accessible by removing a plastic cover if present. Use your socket wrench to loosen it—this step often calls for considerable muscle, thanks to mineral build-up that can cement it into place.
According to Jeff Gorton of Family Handyman, "A short length of pipe slipped over your wrench handle offers greater leverage when loosening stubborn rods."This is where a buddy may come in handy to stabilize the tank while you apply force. A gentle rock or two can eventually sway even the most stubborn rods, but be mindful not to tip the tank.
Installing the New Anode Rod
Once the old rod is unscrewed and removed, compare its condition to a new one. The wear will show you why replacement is so crucial. Wrap Teflon tape around the threads of your new rod to guard against leaks. Carefully insert and tighten the new anode rod into the vacant spot atop the tank—it should sit snug and straight. Never over-tighten, as this risks thread damage. Lastly, restore the plumbing panels and switch the water supply back on. Before powering up, let the tank fill completely to prevent the heating element from burning out.
Around this point, you may feel a certain competency swelling inside—a mix of DIY achievement and knowing you're fending off rust for that much longer. While replacing the anode rod isn't a monthly chore, marking your calendar every three to five years ensures you're aiding your water heater's longevity and service performance. Remember, a proactive approach translates to fewer surprises and a hot shower at your command.
Pro Tips for Water Heater Care
Taking care of your water heater means you'll often save yourself from unwelcome surprises like cold bursts during showers. To keep things running smoothly, regular maintenance is key. One of the most important preventive actions is to inspect the anode rod annually. This quick check can spare you from future headaches, as it identifies worn-out rods before they fail entirely. If invisible rust specks are turning your water brownish, that's a sign of possible major corrosion, signaling it's time for an anode rod update. Checking the rod involves removing it from the tank and examining for excessive wear or mineral crusts. Most of the rod should still be intact, and if it's mostly eroded or coated heavily in calcium, it's time for a swap. Investing in periodic replacements may extend the lifespan of your water heater.
Here's another great tip—flush your water heater at least once a year. Sediment buildup is common and can reduce the efficiency of your unit, making it work harder and use more energy. Draining a few gallons can remove these sediments. Attach a hose to the drain valve and open it up to let the water flow out until it runs clear. A practiced habit of yearly flushing preserves the heating element and enhances the warmth of your lovesly baths without fail. Keep an eye on your thermostat settings too, maintaining it at a balanced 120 degrees Fahrenheit. This prevents scalding and saves energy while reducing wear on the heater itself.
Daily habits can also impact your water heater. Try using cold water for laundry loads when possible and install low-flow fixtures to reduce the overall demand on your system. Every little action contributes to the bigger picture of saving energy and costs. Leaks are pesky issues that can develop into big troubles. If you ever hear odd noises coming from your water heater, take immediate action. Such moans and groans are often a result of mineral buildup, which can be addressed adequately with the right care. Remember, a silent water heater is a happy one, and any unusual sound could be a cry for help.
Moreover, insulating your water heater's tank and pipes is another savvy energy-saving maneuver. Jackets or blankets specially designed for insulation can conserve heat, letting the heater take breathers more often instead of constantly warming up. This reduces wear and decreases the energy bill significantly over time.
"Simple routines like checking components and flushing the system can significantly extend the life of your water heater," says home maintenance expert Brian Patton. "Think of it like keeping the engine healthy in your car."Transparency tables regarding maintenance frequency and care options often suggest future costs and benefits, and becoming familiar with these can be empowering. Maintaining your water heater involves creativity, common sense, and above all, a dash of routine. Embrace these practices as part of your home care rituals and enjoy the benefits of consistent hot water and peace of mind.


