DIY Extractor Fan Fix: How to Get Your Fan Working Again
If your kitchen or bathroom fan has gone quiet, makes a weird noise, or just won't turn on, you don’t have to rush to a contractor. With a few tools and some basic know‑how you can often solve the problem yourself. This guide walks you through the most common causes and shows you a step‑by‑step repair plan that takes under an hour.
Common Reasons Your Extractor Fan Stops Working
Before you pull anything apart, think about what usually goes wrong. Most fans fail for one of these reasons:
- Power off – a tripped breaker or a loose wire.
- Clogged filter or duct – dust builds up and stalls the motor.
- Worn motor bearings – the fan hums but the blades don’t spin.
- Bad switch or relay – flick the wall switch and nothing happens.
- Loose connections – a wire that came loose inside the housing.
Knowing which symptom you see will point you to the right fix. For example, a humming sound usually means the motor is alive but the blades are stuck, while a total silence often points to power or wiring.
Step‑by‑Step DIY Repair Guide
1. Safety first – Turn off the circuit breaker for the fan. Double‑check that the power is gone with a voltage tester.
2. Remove the cover – Most extractor fans have a simple snap‑on or screw‑on grill. Use a screwdriver or gently pry it off.
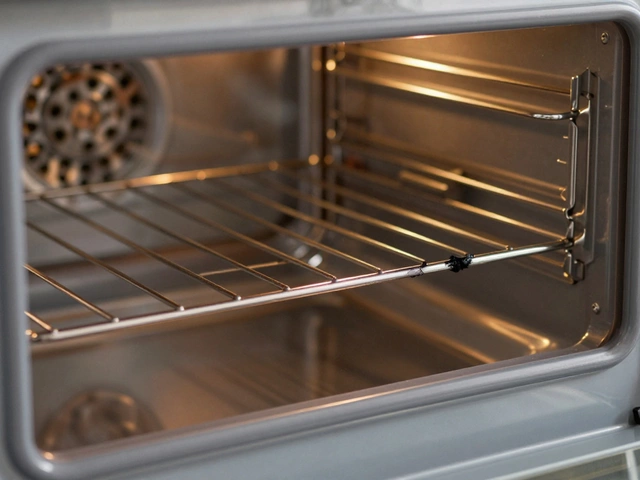
3. Clean the filter and duct – Take out the metal or carbon filter and vacuum any dust. If the duct looks blocked, use a flexible brush to clear it.
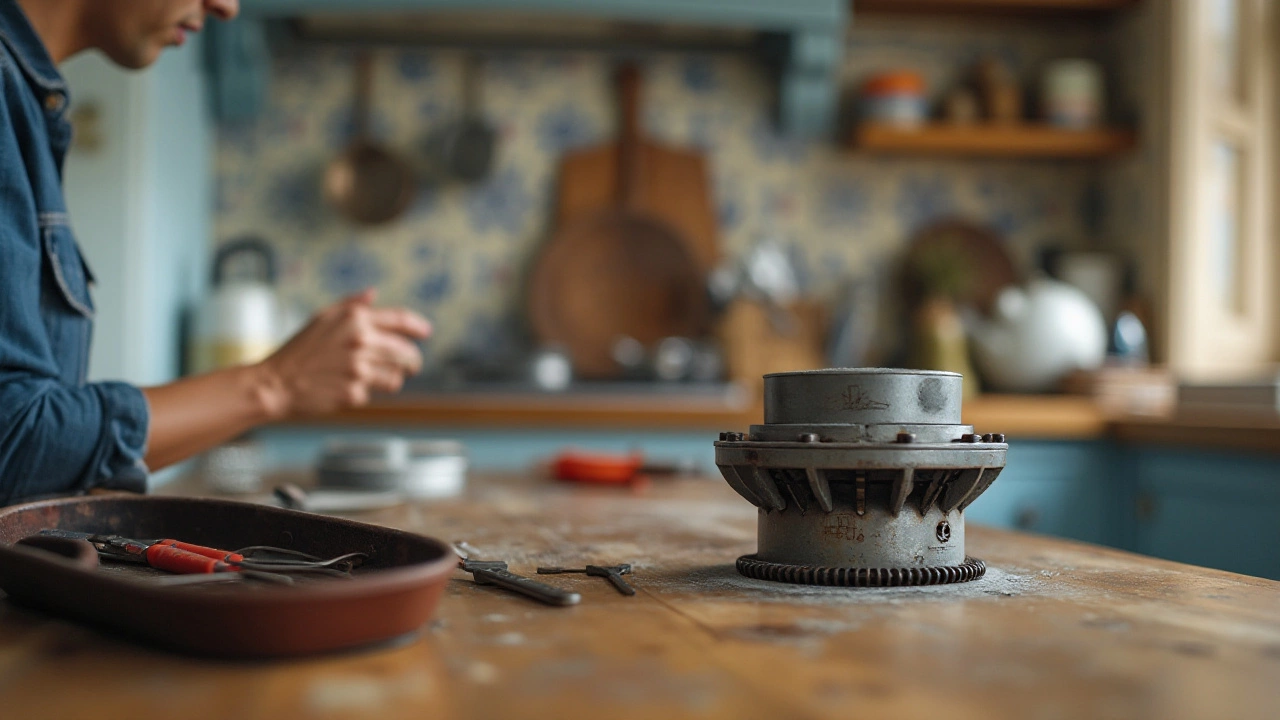
4. Inspect the motor – Look for obvious signs of wear: burnt marks, loose wires, or a motor that feels gritty when you turn the blade by hand.
5. Test the motor – With the fan still disconnected from power, connect a 12 V battery (or a bench power supply) to the motor leads. If it spins, the motor is fine; if not, you’ll need a replacement.
6. Check the switch – Remove the wall switch from the box and use a multimeter to see if it’s passing voltage when turned on. A faulty switch should be swapped out.
7. Tighten loose connections – Re‑seat any loose wire nuts and make sure all terminals are snug.
8. Reassemble and test – Put the cover back, restore power, and flip the switch. Your fan should run smoothly.
If after these steps the fan still won’t work, the motor or the whole unit is likely beyond cheap repair. At that point calling a professional is the safest move.
Tools you’ll need: screwdriver set, voltage tester, multimeter, vacuum, soft brush, and possibly a replacement motor or switch (available at most hardware stores). Most of the parts cost under £20, and the whole job can be done in under an hour.
Doing the fix yourself saves money and gives you a better understanding of how your home ventilation works. Remember to always cut the power first and never force a stuck blade – patience prevents broken parts and extra repair bills.
4 January 2025
·
0 Comments
Replacing a kitchen extractor fan motor might sound intimidating but with the right guidance, it's a manageable DIY project. This article breaks down the process into simple steps, offering useful tips for a seamless repair experience. Learn how to identify a faulty motor, safely dismantle your fan, and install a new motor effectively. With practical advice and a few interesting tips, you'll be able to tackle this home repair task with confidence.
Read more