DIY Fan Maintenance: Simple Steps to Keep Your Extractor Fan Working
If your kitchen or bathroom fan has gone quiet or starts making rattling noises, you don’t need to call a pro right away. Most fan problems are caused by dust buildup, loose wires, or a blown motor, and they can be solved with a few tools and a bit of patience. This guide walks you through the most common fixes, so you can get the fan back to life without the hassle.
1. Clean the Fan and Duct Quickly
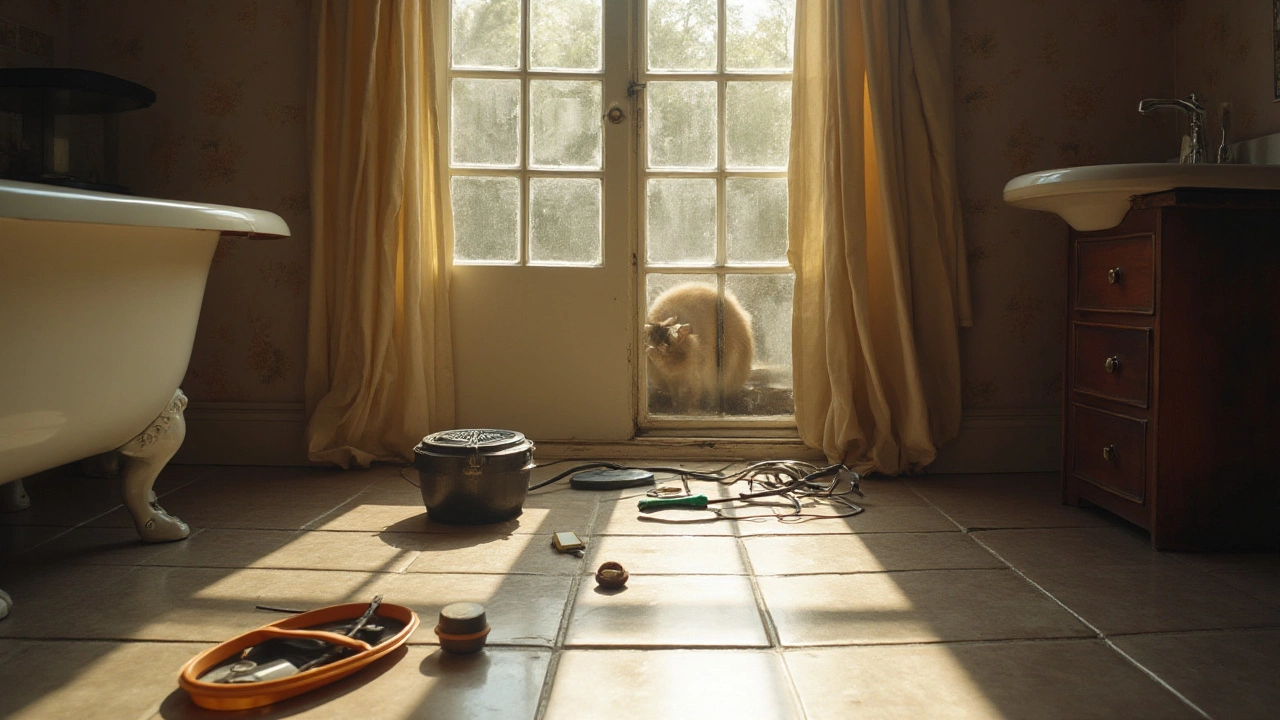
The first thing to check is the fan’s blades and the vent duct. Over time, grease, hair, and lint coat the blades, reducing airflow and making the motor work harder. Turn off the power at the breaker, remove the front grille, and use a soft brush or a vacuum with a narrow nozzle to pull out the debris. Wipe the blades with a damp cloth and let everything dry before you re‑assemble.
Next, look inside the duct. A clogged duct can cause the fan to overheat and shut off. Detach the duct from the vent if possible and shake out any dust. You can also spray a light mist of water mixed with a few drops of dish soap, let it sit for a minute, then wipe clean. This quick clean‑out often restores full airflow instantly.
2. Check Electrical Connections and the Motor
When cleaning isn’t enough, the issue may be electrical. With the power still off, inspect the fan’s wiring for loose connections or burnt marks. Tighten any loose screws on the motor terminals and make sure the wires are firmly seated. If you see frayed insulation, cut back to healthy wire and reconnect with a wire nut.
If the fan still won’t start, test the motor. Use a multimeter set to continuity and place the probes on the motor terminals. A reading of zero or infinite resistance indicates a bad motor that needs replacing. Motors are cheap and can be swapped in under an hour. Just note the make and model, buy a matching replacement, and follow the reverse steps of removal.
For fans that spin but don’t pull air, the capacitor might be faulty. The capacitor stores a small charge that gives the motor a boost at start‑up. A visual check for bulging or leaking can reveal a bad part. Replace it with the same voltage rating, and the fan should regain its power.
Finally, give the fan a test run. Turn the breaker back on, switch the fan on, and listen. A smooth hum and steady airflow mean you’ve succeeded. If the fan still hums without moving, double‑check the motor shaft for jammed debris and ensure the fan blades are properly balanced.
Regular maintenance prevents most of these problems. Schedule a quick clean‑out every three to six months, especially after cooking heavy meals or using the bathroom fan often. A tidy fan runs cooler, lasts longer, and saves you from unexpected breakdowns.
By following these steps, you’ll save time and money while keeping your home fresh. Remember: always turn off the electricity before working, keep a screwdriver and brush handy, and don’t hesitate to replace worn parts. A well‑maintained extractor fan is a small investment that pays off with quieter, more efficient performance every day.
26 January 2025
·
0 Comments
This article explores the ins and outs of repairing a bathroom extractor fan. From understanding common issues and troubleshooting steps to deciding when to DIY or call a professional, you'll gain practical knowledge. It also offers tips on maintaining your fan for longevity and efficiency. Perfect for homeowners looking to improve home ventilation and tackle basic repairs.
Read more