DIY Oven Fix: Quick Tips to Get Your Oven Working Again
When your oven stops heating or throws strange error codes, the first instinct is to call a technician. But many issues are simple enough to tackle on your own. With a few tools, a bit of patience, and the right safety steps, you can save time and money while getting dinner back on schedule.
Common Oven Problems and How to Spot Them
Most ovens break down in three predictable ways: the heating element (or coil) fails, the thermostat or temperature sensor goes bad, or the control board stops communicating. If the oven won’t heat at all, start by checking the element – look for visible cracks or a burnt‑out smell. A temperature that’s off by more than 25°F usually points to a faulty sensor, which you can test with a multimeter. Finally, if the digital display flickers or shows error codes, the control board may need a reset or replacement.
Step‑by‑Step Fixes You Can Do at Home
1. Safety first. Unplug the oven or switch off the circuit breaker. Even if you’re only handling a sensor, a stray voltage can give you a nasty shock.
2. Test the heating element. Remove the rear panel, locate the element, and use a multimeter set to ohms. A healthy element reads between 30‑50 Ω; infinite resistance means it’s broken. Swap it with a new part – most are priced under £30 and snap in place.
3. Check the thermostat or temperature sensor. The sensor is usually a thin rod screwed into the oven cavity. Remove it, test for around 1 kΩ at room temperature. If the reading is off, replace it. Calibration can sometimes be done by turning the knob a few clicks and watching the oven’s response on a separate thermometer.
4. Reset the control board. Some models have a hidden reset button behind the control panel. Press it for 10 seconds, then restore power. If the oven still misbehaves, you may need to order a new board – but many minor glitches disappear after a reset.
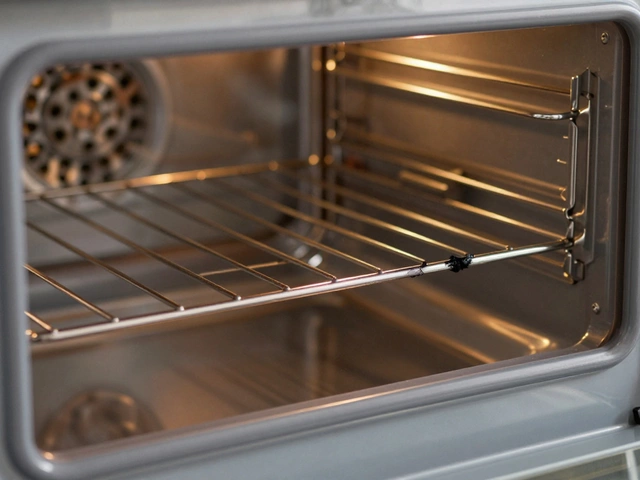
5. Clean the oven interior. Grease buildup can cause overheating and cut off power to safety sensors. Use a gentle kitchen cleaner, avoid harsh chemicals that could damage wiring, and wipe away any spills.
After each fix, run a short bake test to confirm the oven reaches the set temperature. If it still won’t heat, the issue may be deeper (like a failed gas valve on a gas oven) and it’s time to call a professional.
Remember, the goal of DIY oven repair isn’t to replace every part but to identify the simple, low‑cost culprits. With the right approach, most homeowners can handle element swaps, sensor checks, and basic resets without needing a service call. Keep a basic toolkit – screwdriver set, multimeter, and a few spare parts – on hand, and you’ll be ready for the next oven hiccup.
Still stuck? Our blog has detailed guides on “Oven Element or Thermostat Broken?” and “Should You Replace Your Oven Control Board?” that walk you through each diagnosis step. Use them as a safety net while you work, and you’ll avoid costly mistakes.
9 May 2025
·
0 Comments
Thinking about fixing that busted oven? Replacing an element in an electric oven doesn’t have to break the bank. This article walks you through typical costs, factors that raise or lower the price, and whether it's a project you can do yourself. Get real tips for saving money and see what pros actually charge in 2025. Don't waste cash or time—here’s what you need to know.
Read more