Electric Cooker No Power – What’s Wrong and How to Fix It
If you flip the switch and nothing happens, the frustration is real. A cooker that won’t power up can be caused by a tiny glitch or a major fault. The good news? Many of the reasons are easy to spot and fix yourself. Below we walk through the most common culprits and give you a step‑by‑step checklist before you book a repair tech.
Common Reasons Your Cooker Won’t Turn On
1. Tripped circuit breaker or blown fuse – The first thing to check is the electricity feeding the kitchen. A single overload can pop the breaker or melt a fuse, leaving the whole unit dead. Open the consumer unit, look for a breaker in the “off” position or a fuse that looks blackened. Flip it back on or replace the fuse and see if power returns.
2. Loose or damaged plug – Over time the plug can loosen, the cord can fray, or the pins can corrode. Pull the cooker out, unplug it and give the cord a quick visual inspection. If the plug feels wobbly or the cord is cracked, tighten the screws or replace the plug entirely.
3. Faulty internal safety switch – Most electric cookers have a safety thermostat that cuts power if it gets too hot. If the thermostat trips, the cooker stays dead even though the wall socket works. You can usually reset the switch with a button on the back or inside the control panel. Check your manual for the exact location.
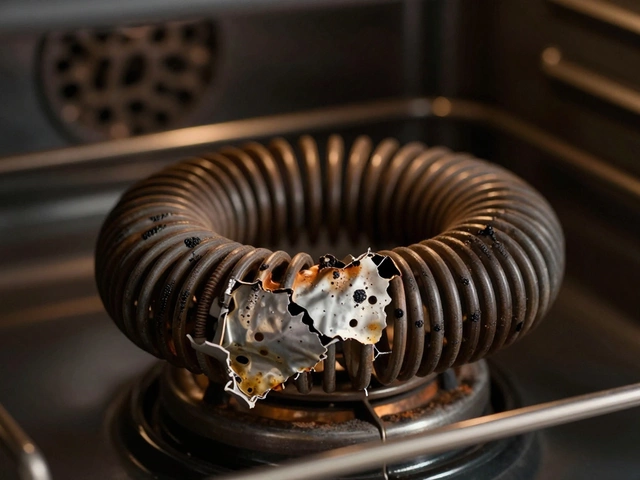
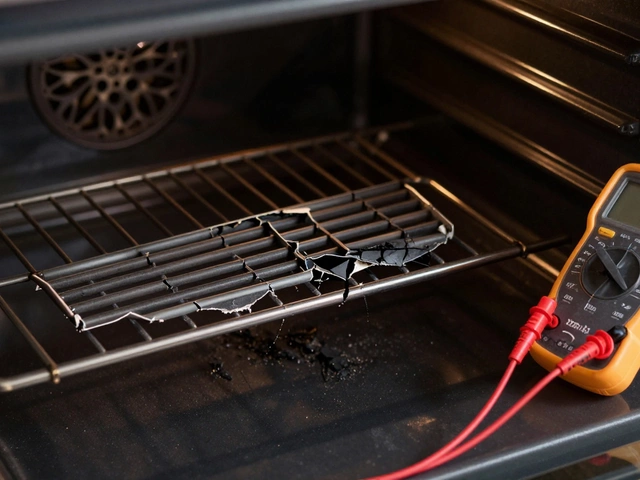
4. Burned‑out heating element – When an element fails, it often looks normal but the circuit is open, so no power flows. Use a multimeter on the ohms setting: a good element reads low resistance, a bad one reads infinite. If you’re not comfortable with a meter, a quick visual check for black spots or a burnt smell can be a clue.
5. Faulty control board or timer – Modern cookers rely on electronic boards to manage power. A board that’s fried will stop any heat from coming on. You might notice flickering lights or error codes on the display. This is usually a job for a qualified technician.
Step‑by‑Step Checks Before Calling a Technician
Step 1: Test the outlet – Plug a lamp or a hair dryer into the same socket. If it works, the outlet is fine. If not, try another socket or reset the GFCI (if you have one).
Step 2: Reset the breaker – As mentioned, locate the breaker for the kitchen circuit, turn it off for a few seconds, then back on. Give the cooker a minute to reset.
Step 3: Inspect the plug and cord – Look for cuts, exposed wires, or loose screws. A quick tighten or a new plug can solve the problem.
Step 4: Listen for clicks – Turn the knob to the highest setting and listen for a faint click from the safety thermostat. No click could mean a stuck safety switch.
Step 5: Try a manual reset – Some models have a reset button hidden behind the front panel. Press it and wait a few seconds before testing the cooker again.
If after all these steps the cooker still shows no power, it’s time to call a pro. A qualified appliance repair service can safely test the internal wiring, replace a faulty board, or swap out a broken element. Trying to open the cooker yourself can expose you to live voltage and void any warranty.
Remember, regular maintenance helps prevent power loss. Keep the cooker clean, avoid overloading the circuit, and schedule a professional check‑up every few years. With the right quick fixes, most “no power” issues get sorted without a costly callout, and you’ll be back to cooking in no time.
21 September 2025
·
0 Comments
Cooker suddenly dead? Use this NZ-safe guide to diagnose no power, no heat, tripping RCDs, gas ignition faults, and induction errors-plus when to call a pro.
Read more

