Extractor Fan Motor Replacement: What You Need to Know
If your kitchen or bathroom fan has gone quiet, smells are sticking around, or the blades wobble, the motor is probably the culprit. Replacing the motor isn’t a huge project, but you do need a clear plan so you don’t waste time or money. Below you’ll find the tell‑tale signs, a rough cost guide, and a step‑by‑step DIY route – plus tips on when it’s smarter to call a professional.
How to Identify a Failing Motor
First, listen. A motor that’s grinding, humming loudly, or making a high‑pitched whine is on its way out. Next, check airflow. Hold a piece of paper under the vent; if it barely moves, the motor can’t spin fast enough. Finally, look for visible damage – burnt smell, loose wires, or rusted bearings. Spotting these clues early prevents the fan from overworking and helps you decide if a simple motor swap will do.
Step‑by‑Step Motor Replacement
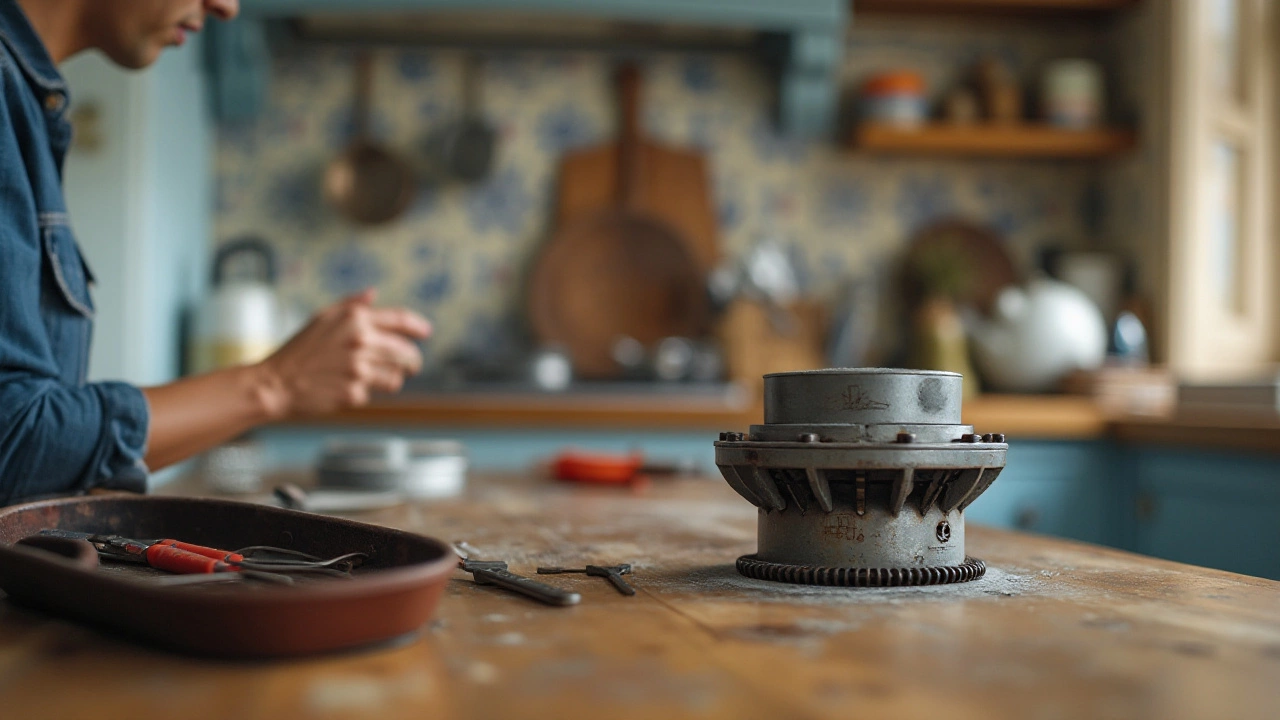
Tools you’ll need: screwdriver set, nut driver, flashlight, wire stripper, and the correct replacement motor (match make/model or check the fan’s label).
1. Turn off power. Switch off the circuit breaker or unplug the fan. Safety first – a live fan can shock you.
2. Remove the cover. Most fans have a few screws holding the grille. Take them off and set the cover aside.
3. Disconnect the old motor. Note how the wires are attached (take a photo if needed). Loosen the terminal screws and pull the motor out.
4. Swap in the new motor. Fit it into the housing, re‑attach the wires to the matching terminals, and tighten the screws.
5. Re‑assemble and test. Put the grille back, restore power, and switch the fan on. You should hear a steady hum and feel a strong airflow.
If anything feels off – strange noises, uneven spin, or the fan still won’t run – it’s time to call a local pro. A qualified technician from Hinckley Home Appliance Repair Services can diagnose wiring issues or deeper problems that a simple motor swap won’t fix.
Cost‑wise, a motor itself ranges from £30 to £80 depending on brand and size. Add £40‑£70 for labor if you hire someone. DIY can save you about £70‑£100, but only if you’re comfortable with basic electrical work.
To keep your fan running smoothly after the swap, clean the blades and housing every few months and check the motor for dust buildup. A quick vacuum or wipe down does wonders and can add years to the motor’s life.
So, whether you decide to roll up your sleeves or let a pro handle it, you now have a clear roadmap. A healthy extractor fan means a fresher home, fewer odors, and lower energy bills – all of which keep your Hinckley house running at its best.
4 January 2025
·
0 Comments
Replacing a kitchen extractor fan motor might sound intimidating but with the right guidance, it's a manageable DIY project. This article breaks down the process into simple steps, offering useful tips for a seamless repair experience. Learn how to identify a faulty motor, safely dismantle your fan, and install a new motor effectively. With practical advice and a few interesting tips, you'll be able to tackle this home repair task with confidence.
Read more