5 October 2025 · 0 Comments
How to Diagnose an Oven Problem: Step‑by‑Step Guide
Step‑by‑step guide to diagnose common oven problems, identify faulty parts, and decide when to DIY or call a professional.
Read moreWhen working with oven problem diagnosis, the process of figuring out why an oven isn’t heating, timing off, or showing error codes. Also known as oven troubleshooting, it involves checking core components and understanding how they interact. One of the first pieces you’ll encounter is the oven heating element, the metal coil that turns electricity into heat. Next comes the oven thermostat, the sensor that tells the oven when to stop heating. Finally, the oven control board, the electronic brain that manages temperature, timers, and safety checks often decides if a fault is electrical or mechanical. In short, oven problem diagnosis encompasses checking the heating element, requires a multimeter for accurate readings, and the thermostat influences temperature stability. Understanding these relationships helps you move from guesswork to a clear repair plan.
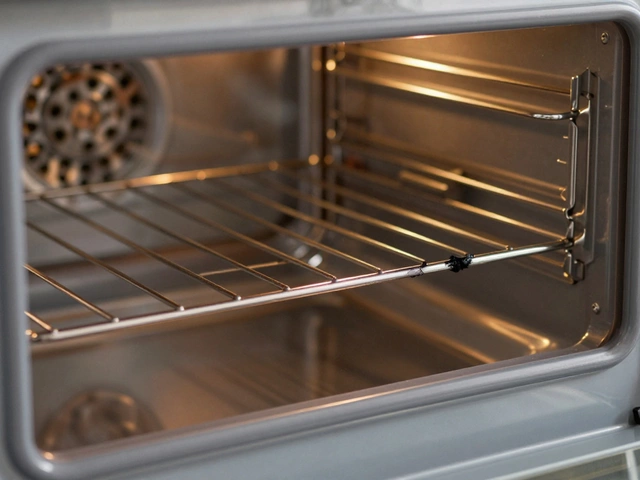
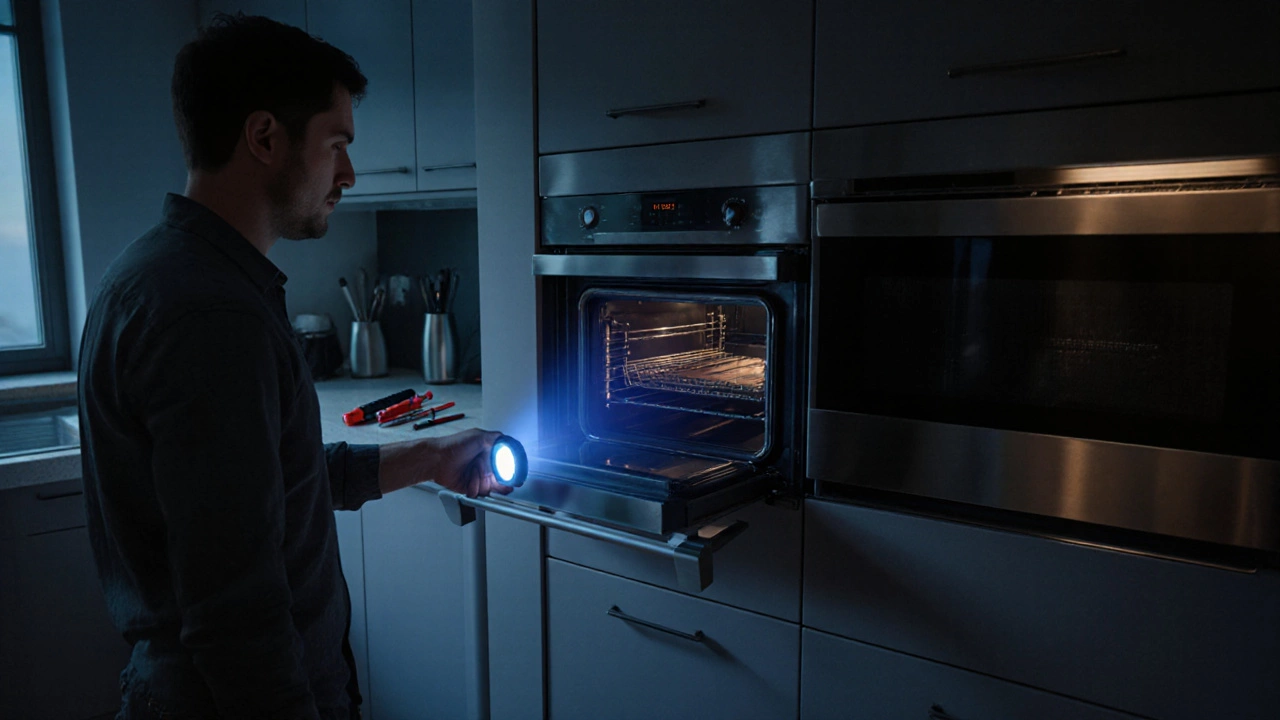
Most homeowners notice a problem when the oven won’t heat or the temperature is way off. Start by unplugging the unit and visually inspecting the heating element for visible breaks or burns. Using a multimeter, set it to resistance mode and test the element; a reading of infinite resistance means it’s failed. Next, locate the thermostat—usually a small metal strip or digital sensor near the oven cavity. Check its continuity; a faulty thermostat often shows erratic resistance that changes with temperature. If both parts test OK, the control board is the likely suspect. Look for burnt spots, swollen capacitors, or loose connectors. Many control boards have diagnostic LEDs that flash error codes; matching those codes to the manufacturer’s guide can pinpoint the issue fast. Remember, safety first: always verify the power is off before touching wires, and wear insulated gloves.
While the above steps cover the most common faults, a few other entities play supporting roles. The temperature sensor, for example, works hand‑in‑hand with the thermostat to fine‑tune heat output. A bad sensor can cause the oven to overheat or never reach set temperature. The door latch switch ensures the door is closed before heating starts; if it sticks, the oven thinks the door is open and won’t fire. Checking these ancillary parts can save you time and money. In many cases, a simple cleaning of contacts or a tight screw can restore proper function without replacing expensive components.
When you’ve run through the element, thermostat, control board, sensor, and latch checks and the oven still misbehaves, it’s time to call a professional. Certified technicians have the tools to test high‑voltage circuits safely and can replace sealed‑in parts like the control board without voiding warranties. They also know local regulations for appliance repairs, which can be crucial for compliance and safety. Many repair services, like our Hinckley Home Appliance Repair team, offer same‑day diagnostics so you won’t be left without a functioning oven for long.
Below you’ll find a curated set of articles that walk you through each of these steps in detail. From identifying a faulty heating element to deciding whether a control board replacement makes financial sense, the collection covers everything you need to diagnose and fix common oven problems. Dive in to get clear, actionable guidance and keep your kitchen running smoothly.
5 October 2025 · 0 Comments
Step‑by‑step guide to diagnose common oven problems, identify faulty parts, and decide when to DIY or call a professional.
Read more