8 October 2025 · 0 Comments
Oven Not Heating? Common Causes and DIY Fixes
Learn why your oven isn't heating, how to diagnose common faults like a faulty element or thermostat, and decide when DIY fixes are safe or a professional is needed.
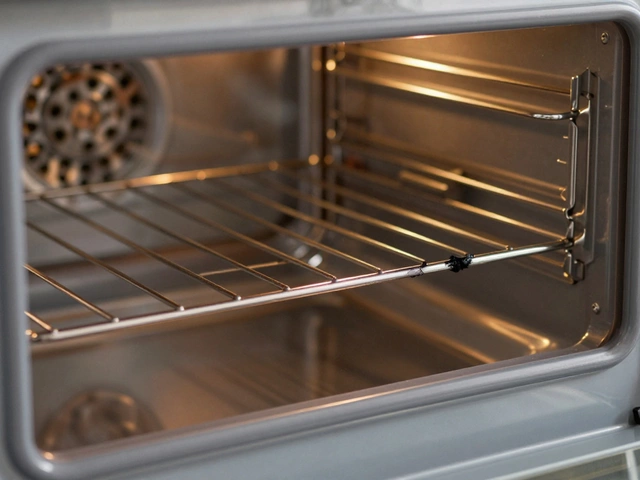
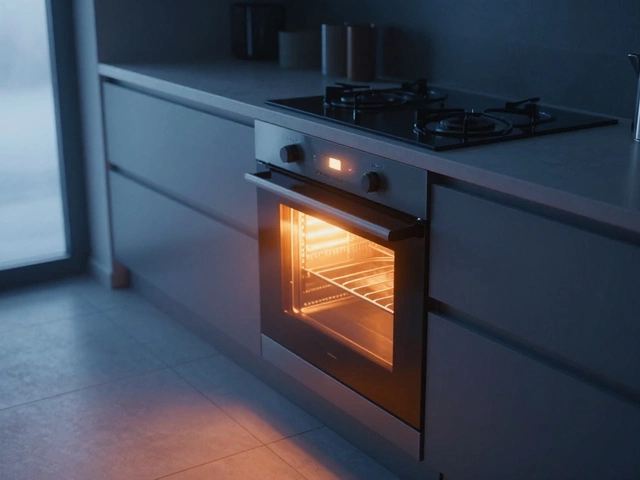
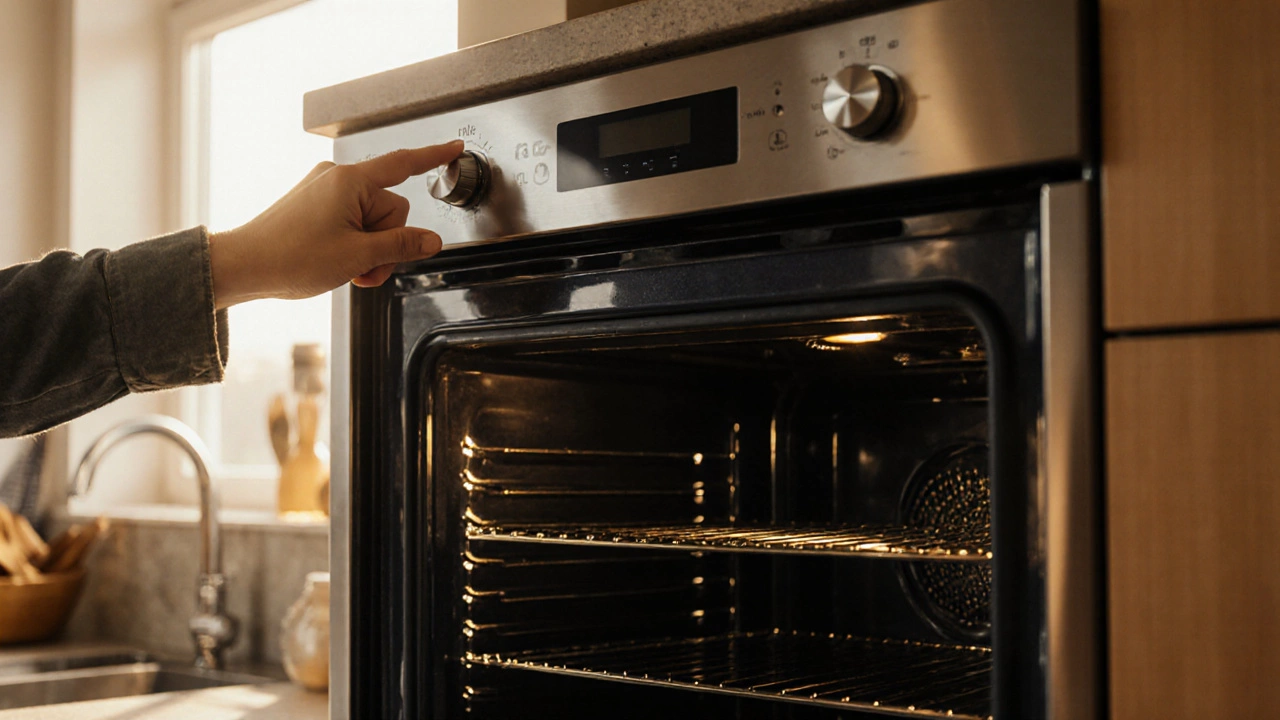
Read moreWhen dealing with an oven repair checklist, a step‑by‑step list that helps you pinpoint problems, stay safe, and avoid costly mistakes. Also known as a oven troubleshooting list, it guides you through safety checks, part tests, and final verification. A solid checklist prevents missed steps and makes the repair process smoother. Alongside the checklist, understanding core components matters. The oven element, the heating coil that turns electricity into heat often fails first, showing up as uneven baking or no heat at all. The thermostat, the sensor that tells the oven when to stop heating can cause temperature swings when it goes bad. Lastly, the control board, the electronic brain that runs the oven’s programs is the last line of defense; a faulty board may throw error codes or stop the oven from starting. Pairing these part insights with a reliable diagnostic guide, a reference that shows how to test each component creates a powerful combination: the checklist tells you what to do, the guide tells you how to do it, and the parts knowledge tells you why it matters. This trio forms a clear semantic chain – the checklist includes safety steps, the diagnostic guide influences accuracy, and the component checks ensure the oven works again.
Skipping steps is the cheapest way to end up with a bigger bill. A well‑structured checklist forces you to turn off the power, verify the breaker, and wear protective gloves before you even touch the wiring. Those safety actions are not optional – they protect both you and the appliance. After power is off, the next logical block is to test the heating element with a multimeter; if the resistance reads out of range, you know the element is the culprit. If the element checks out, the thermostat is the next suspect – a quick continuity test can confirm its health. Should both parts pass, the control board takes the spotlight; visual inspection for burnt components and a reset of any error codes often reveal the issue. Each of these steps connects back to the checklist, creating a logical flow: safety first, then component testing, then final verification. The checklist also reminds you to re‑assemble correctly, secure all connections, and run a test bake to confirm the oven reaches the desired temperature. By following this order, you cut down on guesswork and avoid the common trap of swapping parts that aren’t broken.
Below you’ll find a collection of articles that dive deeper into each piece of the puzzle. From diagnosing a faulty oven element to deciding whether a busted control board is worth fixing, the guides flesh out the checklist steps with real‑world examples and cost estimates. Whether you’re a DIY enthusiast or just want to know what the technician will do, these posts give you the confidence to tackle the repair or to speak knowledgeably with a professional. Ready to see the full range of tips, tests, and fixes? Keep reading to explore the detailed resources that will help you turn a broken oven back into a reliable kitchen workhorse.
8 October 2025 · 0 Comments
Learn why your oven isn't heating, how to diagnose common faults like a faulty element or thermostat, and decide when DIY fixes are safe or a professional is needed.
Read more