5 October 2025 · 0 Comments
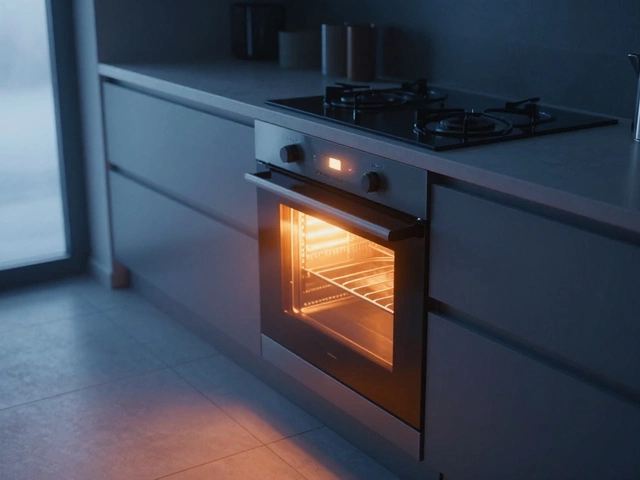
How to Diagnose an Oven Problem: Step‑by‑Step Guide
Step‑by‑step guide to diagnose common oven problems, identify faulty parts, and decide when to DIY or call a professional.
Read moreWhen working with oven repair guide, a curated set of tips, diagnostics and step‑by‑step fixes for household ovens. Also known as oven fix guide, it helps homeowners identify problems quickly and decide whether a DIY approach or a professional call is the right move.
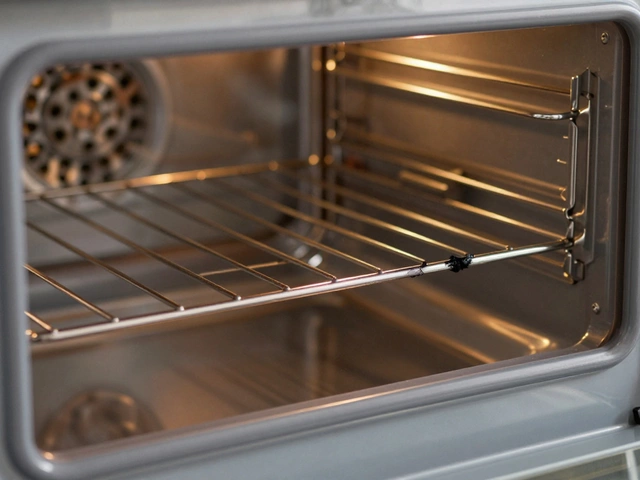
The most frequent culprits behind a misbehaving oven are the oven element, the heating coil that turns electricity into heat, a faulty thermostat, the sensor that regulates temperature inside the cavity, or a broken control board, the electronic brain that coordinates heating cycles and safety checks. Understanding how each part works makes it easier to pinpoint the exact failure and choose the right repair path.
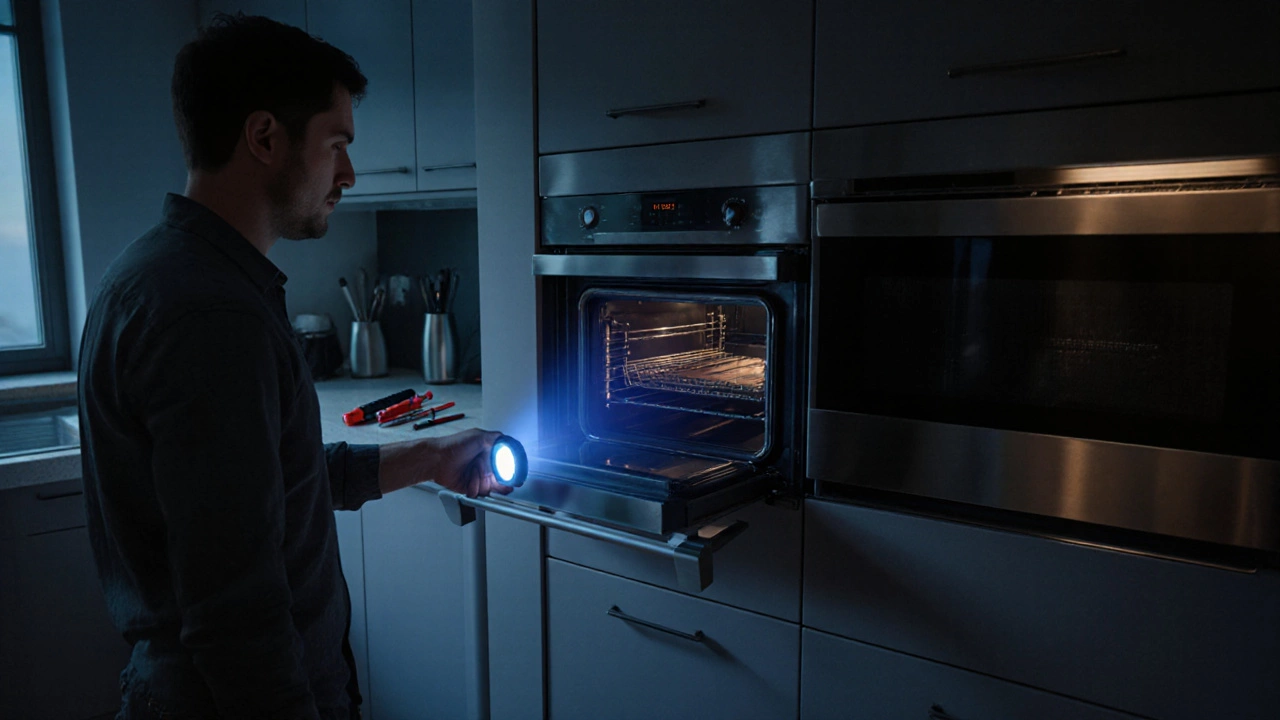
Safety comes first. Always unplug the appliance or switch off the dedicated circuit breaker before opening the oven cavity. A basic toolkit – screwdriver set, multimeter, and a pair of insulated gloves – is enough for most inspections. If you’re dealing with a gas oven, ensure the gas supply is shut off and check for any lingering odors before starting.
Diagnosis follows a simple flow: check for power, test the heating element with a multimeter for continuity, verify the thermostat’s resistance at room temperature, and finally scan the control board for visible burnt spots or error codes. Each step narrows down the fault, turning a vague “won’t heat” complaint into a clear component issue.
For many homeowners, swapping out a burned‑out oven element or replacing a cheap thermostat is a weekend project that saves a few hundred pounds. However, control board replacements often require soldering skills and specific calibration tools, making professional service the safer bet. Knowing the cost‑benefit line helps you avoid spending more on a fix that won’t last.
Regular maintenance can postpone major breakdowns. Keep the interior clean, wipe away food splatter before it hardens, and run a self‑clean cycle every few months if your model supports it. Periodic visual checks of the element and wiring for signs of wear will catch issues before they cause a complete outage.
When budgeting, factor in part prices, labour (if you hire a pro), and the oven’s age. A five‑year‑old unit with a single faulty element is usually worth repairing, while a 20‑year‑old appliance with multiple electronic failures might be better replaced. Comparing repair quotes against the price of a new, energy‑efficient oven ensures you make a financially sound decision.
Below you’ll find a hand‑picked collection of articles that dive deeper into each of these topics – from detailed element replacement guides to troubleshooting control board error codes. Whether you’re a first‑timer or a seasoned DIYer, the resources here will give you the confidence to tackle oven issues head‑on.
5 October 2025 · 0 Comments
Step‑by‑step guide to diagnose common oven problems, identify faulty parts, and decide when to DIY or call a professional.
Read more