Electric Hob Repair Pathway & Safety Checklist
Select your hob type below to see the recommended repair path.
Select a Step
Click on the steps on the left to view instructions, required tools, and safety warnings.
Estimated Cost Range
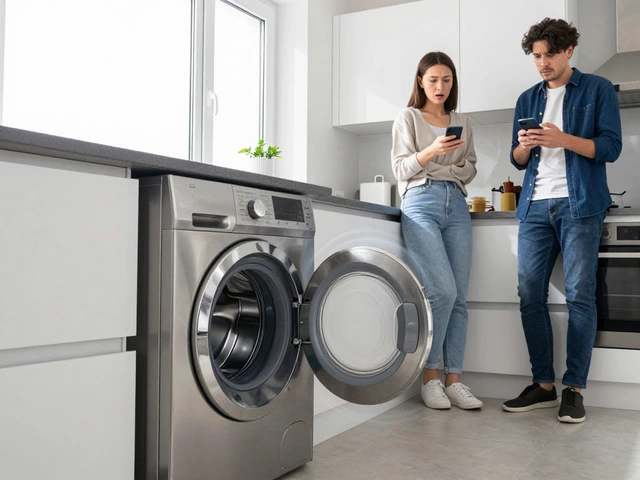
Nothing kills the momentum of a dinner party quite like a stove that refuses to heat up. You’ve got the ingredients prepped, the guests are arriving, and one specific burner on your electric hob is acting like a cold stone. It’s frustrating, but it doesn’t necessarily mean you need to buy a whole new kitchen unit. In many cases, the culprit is a worn-out heating element or a broken connection.
The short answer is yes, you can often replace an element on an electric hob yourself. However, "electric hob" covers two very different technologies: traditional solid plate hobs and modern ceramic (glass) hobs. The repair process for each is drastically different in terms of difficulty, tools required, and safety risks. Before you grab a screwdriver, you need to know exactly which type of hob you have and whether the problem is actually the element itself.
Identifying Your Hob Type: Solid Plate vs. Ceramic
The first step in any repair is knowing what you’re dealing with. Misidentifying your hob type can lead to wasted time or damaged equipment. Most older homes feature solid plate hobs, while newer installations typically use ceramic glass hobs.
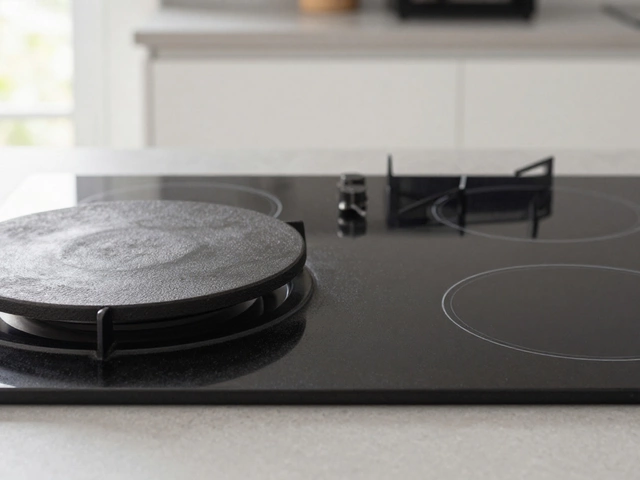
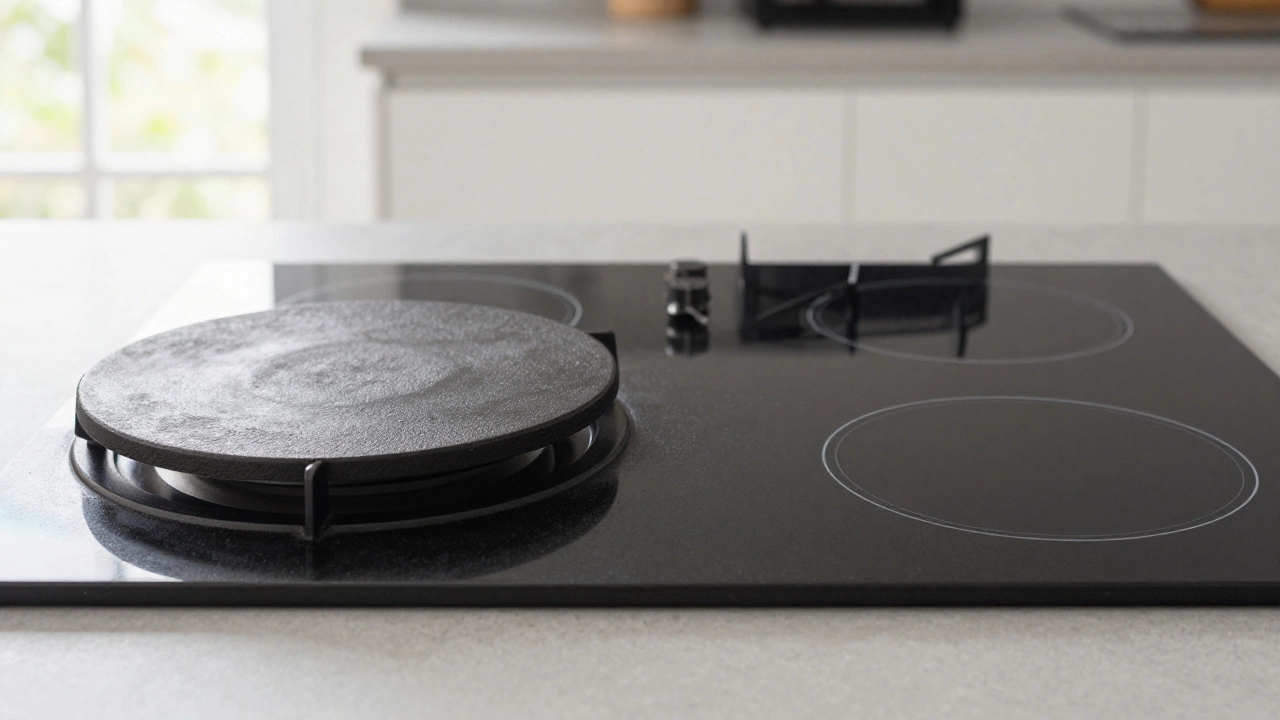
- Solid Plate Hobs: These have distinct, removable metal discs that sit in recessed slots. They look like heavy, black or silver plates. If the surface is raised slightly above the countertop level, this is likely your type. The elements here are usually separate units that plug into sockets underneath the hob.
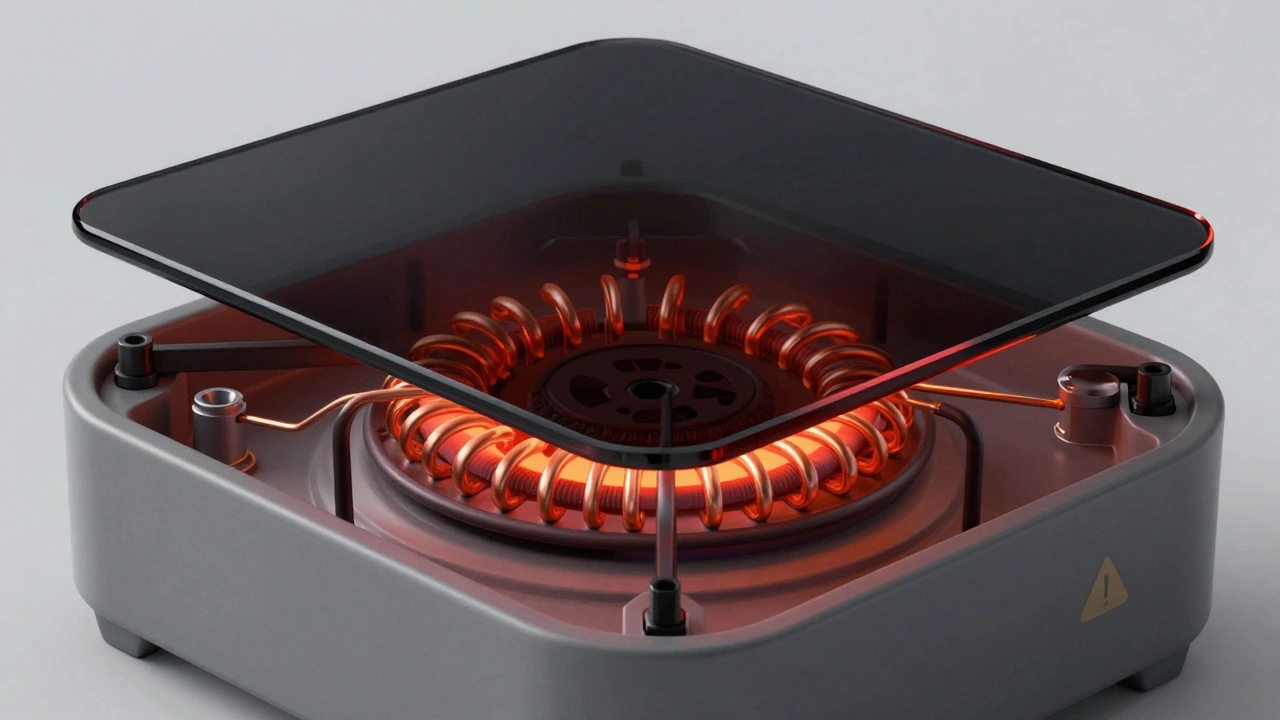
- Ceramic Glass Hobs: These have a flat, smooth glass surface with painted circles indicating where the burners are. The heating elements are sealed beneath the glass. You cannot simply lift out a disc here. If your hob looks like a sheet of black glass, you fall into this category.
There is also a third, less common type: induction hobs. Induction hobs do not have heating elements in the traditional sense; they use electromagnetic fields to heat the pan directly. If you have an induction hob, you cannot replace an "element." The entire glass-ceramic module or the underlying coil assembly must be replaced as a single unit, which is a more complex job.
Safety First: The Non-Negotiables
Working with electricity is dangerous. Even when a switch is off, capacitors in some appliances can hold a charge, and live wires can cause severe injury or death. Safety isn’t just a suggestion; it’s the foundation of this guide.
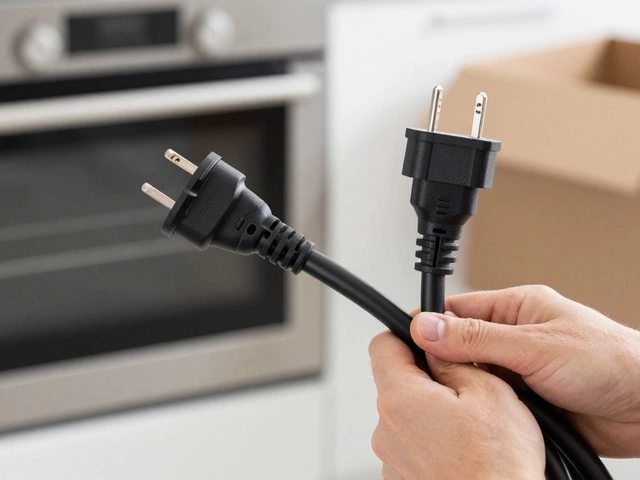
- Disconnect the Power: Do not just turn off the control knobs. You must isolate the power at the consumer unit (fuse box). Turn off the specific circuit breaker that supplies your hob. If you aren’t sure which one it is, turn off the main supply. Use a residual current device (RCD) tester if available to confirm there is no voltage.
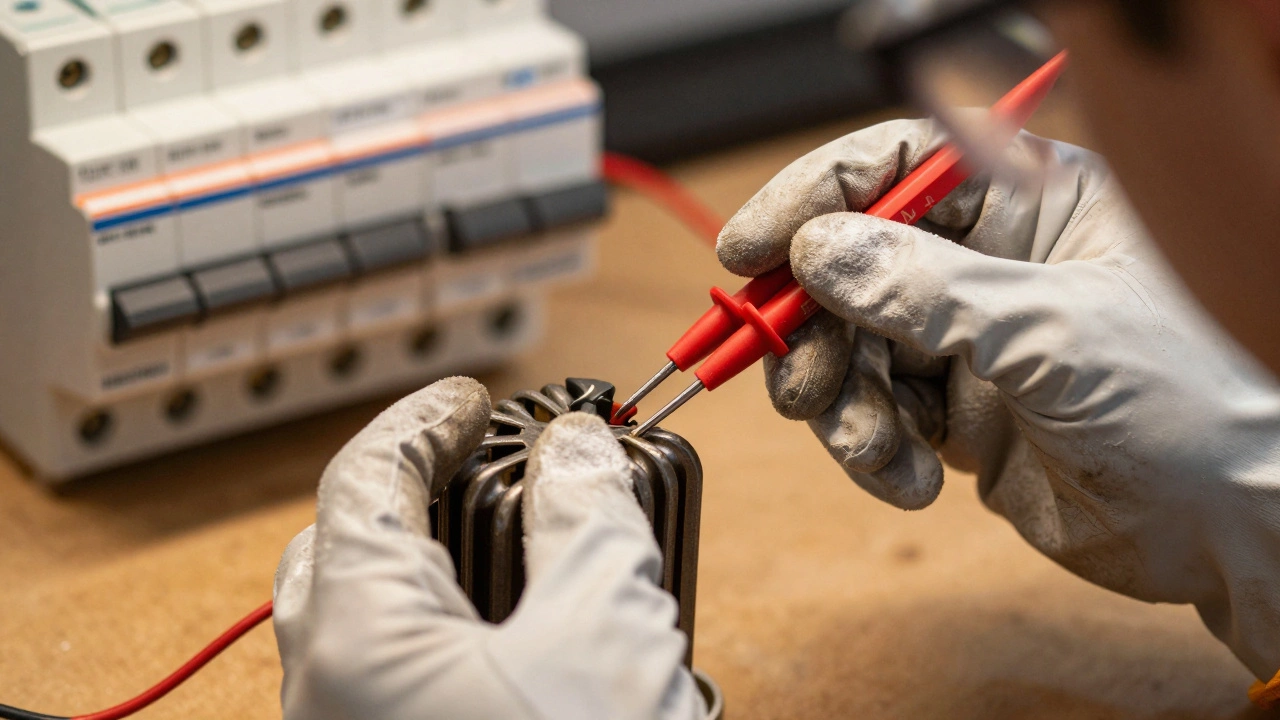
- Verify No Voltage: Use a multimeter to check for voltage at the terminal block under the hob. This is crucial. Never assume the power is off based on a light switch or a display screen being dark.
- Wear Protection: Wear insulated gloves and safety glasses. Ceramic glass shards are sharp, and old wiring can be brittle.
- Work Alone?: If you are unsure about any step, stop. Call a qualified electrician or appliance repair technician. It is better to pay for professional help than risk electrocution.
Replacing a Solid Plate Element
If you have a traditional solid plate hob, the repair is relatively straightforward. These elements wear out over time due to thermal expansion and contraction, leading to cracks or breaks in the internal resistance wire.
Tools Needed: Screwdriver set, multimeter, replacement element (ensure it matches the wattage and connector type), pliers.
Step-by-Step Process:
- Remove the Plate: Lift the solid plate out of its housing. Some models have a locking mechanism; twist the plate slightly counter-clockwise before lifting if it feels stuck.
- Access the Terminal Block: You will need to remove the front panel or the bottom cover of the hob to access the electrical connections. This usually involves unscrewing several screws along the edge.
- Identify the Faulty Element: Look at the back of the removed plate. There will be two prongs or a plug-in connector. Trace the wires from this point to the terminal block. Note the color coding or take a photo before disconnecting anything.
- Test the Old Element: Use your multimeter set to continuity mode. Place the probes on the two terminals of the element. If there is no beep (no continuity), the element is dead. If it reads infinite resistance, it is open circuit and needs replacement.
- Install the New Element: Disconnect the wires from the old element. Connect them to the new element in the exact same configuration. Tighten the screws securely but do not overtighten, as this can strip the threads.
- Reassemble: Put the front panel or bottom cover back on. Insert the new solid plate into the housing.
- Restore Power and Test: Turn the circuit breaker back on. Set the knob to high and wait a few minutes. The plate should glow red. If it doesn’t, double-check your connections.
Dealing with Ceramic Glass Hob Elements
Ceramic hobs are trickier. Because the heating coils are sealed under the glass, you cannot replace just the coil. Usually, if a zone stops heating, the issue is either the coil itself (which requires replacing the entire glass module) or the connection/socket underneath.
Common Symptoms of Ceramic Hob Failure:
- A specific zone does not heat up at all.
- The error code appears on the display (e.g., "E1", "F05").
- The glass surface has a visible crack or burn mark.
If the glass is cracked, do not attempt a repair. The structural integrity is compromised, and steam or water could reach live components. Replace the entire hob.
If the glass is intact but a zone is dead, follow these steps:
- Isolate and Remove the Hob: Unplug the hob or cut power. Remove the mounting brackets and carefully lift the hob out of the countertop. This is heavy; get help.
- Inspect the Sockets: Underneath the glass, you will see metal sockets where the heating coils connect. Look for signs of burning, melting, or loose wires. Sometimes, the socket itself fails rather than the element.
- Test the Coil: Using a multimeter, test the resistance of the coil through the access points underneath. Compare the reading to the manufacturer’s specifications (usually printed on a label inside the hob). A significant deviation means the coil is faulty.
- Replace the Module: If the coil is bad, you must replace the entire glass-ceramic top. This involves removing the old glass (breaking it safely in a controlled environment if necessary) and installing the new unit. Ensure all gaskets and seals are correctly positioned to prevent moisture ingress.
When to Call a Professional
While DIY repairs can save money, some situations require expert intervention. Consider hiring a certified appliance repair technician if:
- You lack electrical experience: If you are uncomfortable using a multimeter or working with live circuits, stop.
- The control board is faulty: If multiple zones are failing or the display is erratic, the issue might be the electronic control board, not the element. Diagnosing and replacing PCBs requires specialized knowledge.
- Warranty is active: Opening the hob may void the manufacturer’s warranty. Check your manual first.
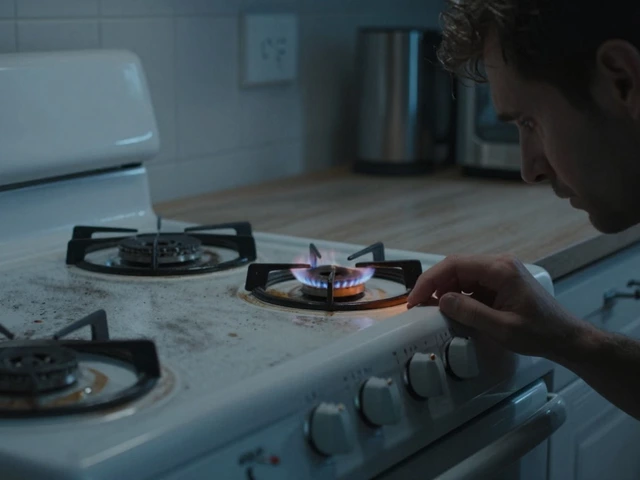
- Gas leaks are suspected: If you have a dual fuel cooker (gas oven, electric hob), ensure no gas lines were disturbed during removal.
Maintenance Tips to Extend Element Life
Prevention is cheaper than cure. Regular maintenance can significantly extend the life of your hob elements.
- Clean regularly: For ceramic hobs, use a dedicated scraper and cleaner to remove burnt-on food. Debris can insulate the element, causing overheating and failure.
- Avoid thermal shock: Do not place ice-cold pans on a hot ceramic surface. This can crack the glass.
- Check connections annually: If you are comfortable doing so, inspect the terminal block for loose screws or corrosion once a year.
- Use correct cookware: Ensure pans are flat and match the size of the heating zone. Small pans on large zones waste energy and stress the element.
How much does it cost to replace an electric hob element?
The cost varies by hob type. A replacement solid plate element typically costs between £10 and £30. For a ceramic hob, replacing the entire glass module can range from £100 to £300 depending on the brand and model. Labor costs for a professional repairer usually add another £50 to £100 for the call-out and service.
Can I replace just the heating coil in a ceramic hob?
No. In most modern ceramic hobs, the heating coils are sealed under the glass-ceramic top. If the coil fails, you must replace the entire glass module. Attempting to break out the coil will destroy the glass and create a safety hazard.
Why is my electric hob not heating up even though the indicator light is on?
This usually indicates a broken heating element, a loose connection at the terminal block, or a faulty triac (switch) on the control board. Start by testing the element for continuity with a multimeter. If the element is good, the issue is likely electrical connectivity or the control board.
Is it safe to clean a ceramic hob while it is still warm?
It is generally safe to wipe away spills after the hob has cooled slightly, but never use cold water on a hot surface. Thermal shock can crack the glass. Wait until the surface temperature drops below 60°C (140°F) before cleaning with standard cleaners.
What tools do I need to replace a solid plate element?
You will need a basic screwdriver set (Phillips and flathead), a multimeter for testing, and possibly pliers for gripping wires. Ensure you have the correct replacement element with matching wattage and connector pins.