So, your hot water heater's on the fritz? It's a pain when all you want is a warm shower, but let's tackle it together. Most of the time, the issue is something you can easily figure out and fix without calling a pro. First off, don't forget the basics: is the power supply okay? For electric heaters, a tripped breaker might just be the culprit. Head to your electrical panel, and ensure everything's in order there.
Now, if we're talking gas heaters, that's another story but equally simple. Check if the pilot light's out. A strong wind draft could blow it out or it may just need relighting. Maintaining that little blue flame is the key to a functioning gas heater. Don't worry if it's out; it’s usually just a matter of reigniting it.
Power Supply Check
Alright, let's get into checking the power supply. Don't overlook this simple step—often, it's the fastest way to get your hot water heater repair underway. For electric heaters, power interruptions are common culprits. First, head over to your circuit breaker panel. Look for any tripped breakers. If one’s out of line, flip it back and see if that does the trick.
Check the Circuit Breaker
Locate the breaker that's assigned to your water heater. Often, it’s labeled clearly. If it's tripped, it’ll be in the 'off' position, not aligned with other switches. Give it a reset and check your water. This minor hassle could solve your problem entirely!
Confirm the Heater's Switch
Some heaters have their own power switch, kind of like a light switch, which can be turned off accidentally, especially if it's in a storage area. Ensure it’s set to 'on.'
Inspect Electric Connections
If those didn't work, consider the wiring itself. Loose or damaged wires can't do their job properly. Disconnect power at the breaker first! Then, open the panel and check if everything looks tight and secure. If anything seems off, it's time to contact a professional.
Gas Heaters: Thermocouple Check
For gas heaters, make sure the gas valve is in the on position. If the pilot light won't stay lit, your thermocouple might need attention. This device senses whether the pilot light is burning. If it can’t detect a flame, it’ll shut off the gas as a safety measure.
Remember, safety first! Worked through all this and still no luck? Then it might be time to call in expert help. But often, these simple checks save a lot of hassle—and cash!
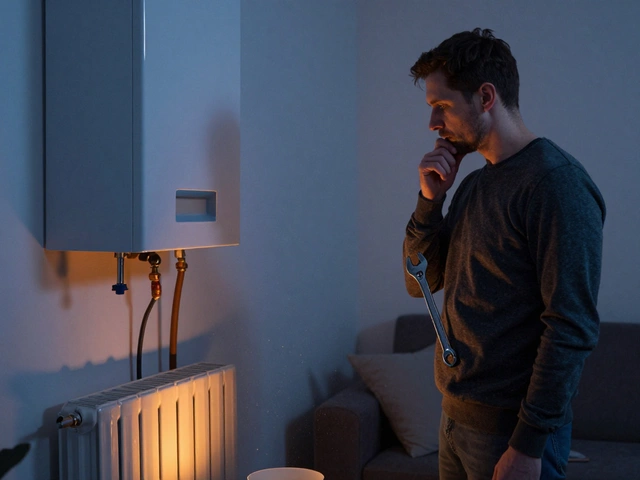
Thermostat and Settings
Alright, moving on to the thermostat—think of it as the brain of your hot water heater. If your water isn't heating up like it should, the thermostat's settings might be the root cause. A few tweaks here could make all the difference.
First off, take a look at the temperature setting. The standard recommendation is around 120°F (49°C) for good balance—hot enough for comfort but safe enough to avoid scalding. It's also energy efficient. If it's set too low, you're probably getting lukewarm water. Adjust this and see if it solves the problem.
Checking the Thermostat
If adjusting doesn't work, you might have to check if the thermostat itself is faulty. For this, you'll need to do some basic troubleshooting:
- Turn off the power supply at the breaker.
- Remove any covers protecting the thermostat and element.
- Using a multimeter, check for continuity on the thermostat. No continuity means you've found the problem—it’s busted and needs replacing.
If you're not comfy around electrical components, don't hesitate to call in a pro. Safety first, right?
Dual-Element Models
Some heaters have two thermostats—upper and lower. In dual-element setups, the upper thermostat heats water first, then the lower takes over. If you still have issues after tweaking settings, it might be worthwhile checking both.
| Setting | Recommended Temperature |
|---|---|
| Standard | 120°F (49°C) |
| Energy Efficient | 115°F (46°C) |
| Maximum Heat | 140°F (60°C)* |
*Exercise caution with hotter settings to prevent burns.
Get those settings right, and you’re well on your way to reliable hot water without any hassle!
Inspect the Pilot Light
Alright, if your hot water heater isn't doing its job, and you've got a gas unit, it’s time to check the pilot light. Start by gently removing the access panel to take a peek inside. Is the pilot light off? That little flame should be steady and blue. If it’s not lit or flickering, you've found your problem.
Relighting the Pilot Light
Before you get started, safety first. Make sure the gas valve is turned off, then wait a few minutes for any gas to disperse before proceeding. Once that's clear:
- Turn the gas valve to 'Pilot' mode.
- Hold down the reset button, which is usually red or black, and bring a lit match or lighter close to the pilot opening.
- Once the flame is steady, continue holding the button for around 30 seconds to ensure the thermocouple is heated properly—this is the copper rod that senses the flame.
- Return the gas valve to the 'On' position, and replace the panel.
Why the Pilot Light Matters
The pilot light being out is more than just an inconvenience. It's a sign that the gas valve may be faulty, the thermocouple is worn out, or the air pressure was too high. Also, if it repeatedly goes out, it might mean something’s blocking the gas flow.
Fun fact: about 33% of all water heater repair calls for gas units are related to the pilot light and thermocouple.
| Problem | Probable Cause |
|---|---|
| Pilot light won't stay lit | Dirty or faulty thermocouple |
| Weak flame | Gas line issues |
Fixing the pilot light can seem daunting, but once you know what you're doing, it's a piece of cake. Plus, you’ll save yourself from cold showers and a repair bill!
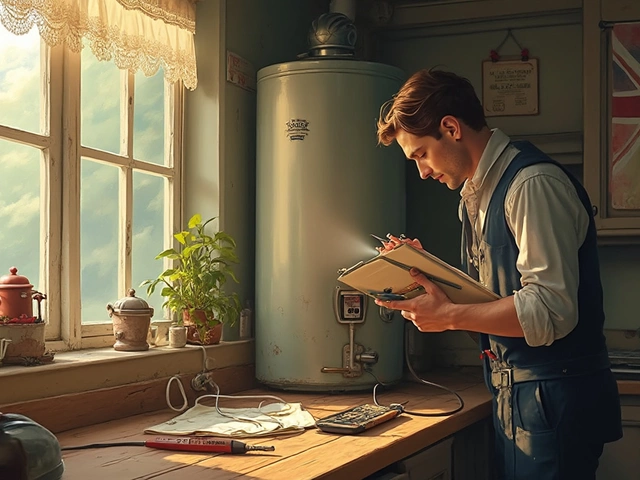
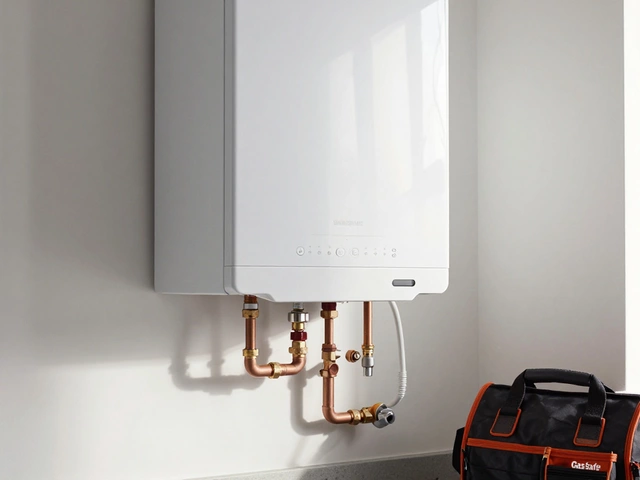
Assess for Leaks
Checking for leaks in your hot water heater might seem straightforward, but it can save you a lot of stress and money down the line. Leaks are usually an obvious sign that something’s not quite right, and acting quickly can prevent larger issues.
First off, do a visual inspection around the heater's base. Water puddles or dampness are a dead giveaway. But sometimes, leaks aren’t always so evident if the site’s well ventilated. Look near the connections and the tank.
Common Leak Spots
- Pressure Relief Valve: This valve is designed to release pressure and could be the source of a leak if it’s not seating properly. If it’s dripping, it might just be doing its job if the pressure in the tank is a bit high. But a constant leak may mean it needs replacing.
- Inlet and Outlet Connections: These are where the pipes meet the heater. Make sure they’re tightly connected. Wrapping them in plumber’s tape might work if they feel loose, but persistent leaks may need professional attention.
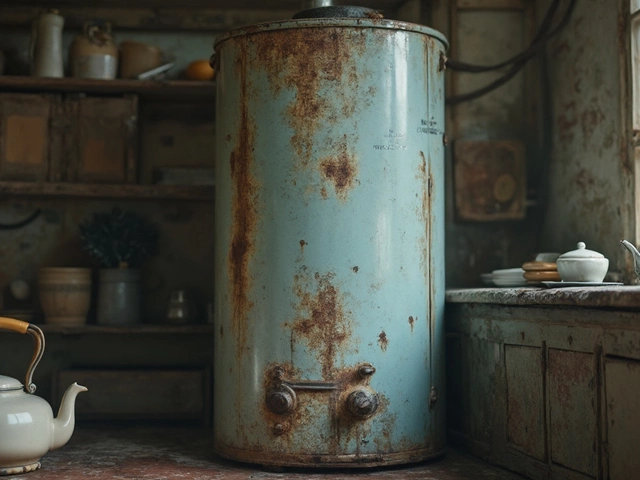
- The Tank: Over time, sediment can build up at the bottom of the tank and cause corrosion leading to leaks. Unfortunately, if it’s the tank itself, it could mean replacement sooner than later.
Regular checks are a great way to keep tabs on your water heater’s health. Even if you're not spotting any leaks, a quick monthly glance can catch little issues before they become big headaches.
Why Addressing Leaks Matters
A small water leak may not seem urgent, but water damage is no joke. Left unattended, it can lead to mold, floor damage, and even compromise the structural integrity of your home! Besides, a leaking heater usually works harder to maintain the same output, hiking up those energy bills.