Exhaust Fan Guide: How to Install, Fix and Keep It Running Smoothly
If you’ve ever stood in a steamy kitchen or a musty bathroom, you know a good exhaust fan is a lifesaver. It pulls out moisture, odors and stale air, leaving your rooms fresh and dry. In this guide we’ll walk through choosing the right fan, getting it installed, and sorting out the most common hiccups. No jargon, just clear steps you can follow yourself or use when you call a pro.
Choosing the Right Exhaust Fan for Your Space
First thing: size matters. A fan that’s too small will struggle, while an oversized one can be noisy and waste electricity. Measure the room’s square footage, then check the fan’s CFM (cubic feet per minute) rating – a good rule of thumb is 1 CFM per square foot of floor area, plus a little extra for high‑humidity rooms.
Next, think about the location. Kitchen fans often need higher CFM because of cooking fumes, while bathroom fans just need to clear steam. Look for models with a built‑in thermostat or humidity sensor if you want the fan to turn on automatically.
Installing an Exhaust Fan – What You Need to Know
Most homeowners can handle a basic install with a few tools: a drill, screwdriver, wire strippers, and a ladder. Turn off the circuit breaker before you start – safety first.
1. **Mark the opening** – Cut a hole in the ceiling or wall that matches the fan’s dimensions. Use a drywall saw for a clean edge.
2. **Mount the fan** – Secure the housing to the joists with the screws provided. Make sure it sits flat; a crooked fan can wobble and make noise.
3. **Run the wiring** – Connect the fan’s green ground wire to the home’s ground, then match the black (hot) and white (neutral) wires. If the fan includes a light, connect the extra wires accordingly.
4. **Vent to the outside** – Attach the duct, keeping it as short and straight as possible. Seal all joints with foil tape to prevent leaks.
5. **Test it out** – Turn the breaker back on and flip the switch. The fan should start quietly and pull air without rattling.
If any step feels unsure, especially running ductwork through walls, it’s wise to call a qualified installer. A proper install saves you from future headaches.
Troubleshooting Common Exhaust Fan Problems
Even the best fans can act up. Here are the three most frequent issues and quick fixes.
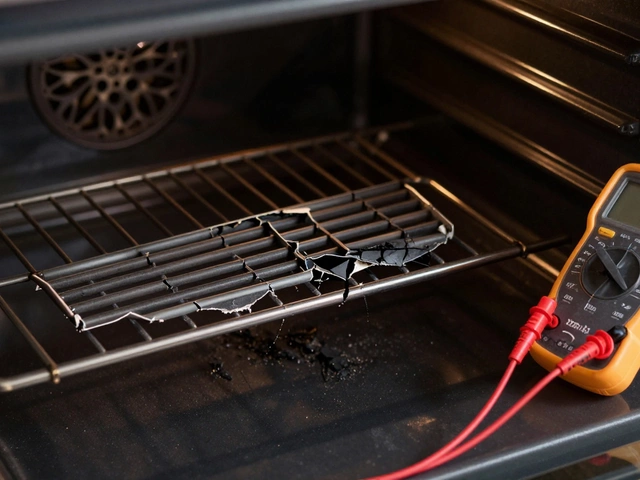
- Fan won’t turn on. Check the circuit breaker and the wall switch. If both are fine, test the fan with a voltage meter; a dead motor usually means a replacement.
- Noise or wobble. Tighten any loose mounting screws. Sometimes the fan blades get dirty – give them a gentle wipe with a damp cloth.
- Weak airflow. Clean the vent grille and duct. A clogged duct can cut the fan’s efficiency by half. Also, replace the fan filter if it’s washable.
When you’ve tried these steps and the fan still misbehaves, it’s time to call a professional. Trying to disassemble the motor yourself can be risky and may void the warranty.
Keeping your exhaust fan in top shape takes just a few minutes a year: dust the grill, check the duct for blockages, and listen for unusual sounds. Regular care prevents larger repairs and keeps your home fresh.
Need a fast, reliable fix? Our Hinckley Home Appliance Repair team can handle any fan issue, from wiring troubles to motor replacements. Give us a call and get your fan humming again in no time.
1 February 2025
·
0 Comments
Exploring the possibility of repairing exhaust fans can save you time and money. Whether it's a bathroom fan not clearing steam or a kitchen hood failing to remove cooking odors, understanding the fundamental aspects of troubleshooting can make a difference. This article provides practical advice, tips for identifying common issues, and possible solutions for various types of exhaust fans. Knowing when to repair and when to replace can empower homeowners to make the right decision for their specific situation. Dive into these expert strategies and become skilled at maintaining your exhaust fan.
Read more


