Fixing Fans: Simple Steps to Get Your Fan Running Again
If your kitchen extractor, bathroom vent, or standing fan suddenly stops, you’re probably wondering why. The good news is most fan issues are easy to spot and fix without calling a technician. In this guide we’ll walk through the most common reasons fans quit, what tools you need, and exact steps you can take right now.
Why Fans Stop Working: The Usual Suspects
First, figure out what type of fan you have – electric motor, rechargeable, or ducted extractor. Most problems boil down to three things: power supply, motor blockage, or worn‑out parts.
- Power problems: Loose plug, tripped breaker, or a dead battery can stop a fan dead in its tracks. Check the outlet with another device, reset any GFCI switches, and verify the fuse isn’t blown.
- Blocked blades or motor: Dust, grease, and debris build up quickly, especially in kitchen fans. A clogged motor heats up and shuts off to protect itself.
- Worn bearings or belts: Small fans use rubber belts; over time they stretch or snap. Larger fans may have bearing noise that signals the need for lubrication or replacement.
Pinpointing the cause saves time because you won’t waste effort on the wrong fix.
Step‑by‑Step Fixes You Can Do Today
1. Safety first. Unplug the fan or turn off the circuit breaker. Even if the fan isn’t wired, a quick safety check avoids shocks.
2. Clean the blades. Remove the grille (most just snap off). Use a soft brush or a vacuum with a brush attachment to clear dust. Then wipe each blade with a damp cloth and a little mild detergent.
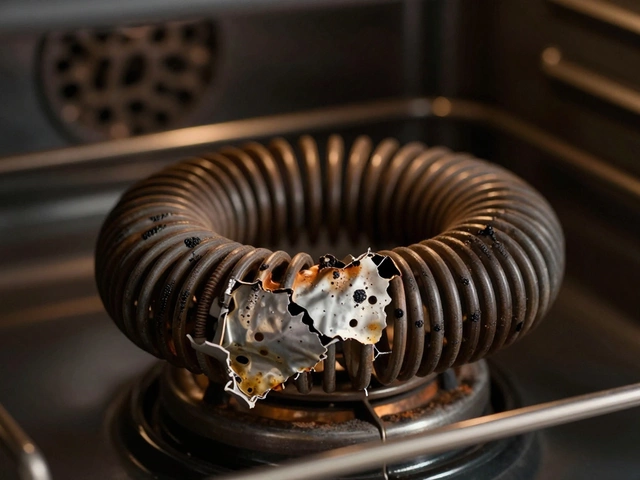
3. Check the motor. Look for visible signs of wear – scorch marks, odd smells, or a stuck fan hub. Gently spin the motor by hand; it should turn freely. If it feels gritty, spray a few drops of light machine oil into the bearing holes (avoid over‑lubricating).
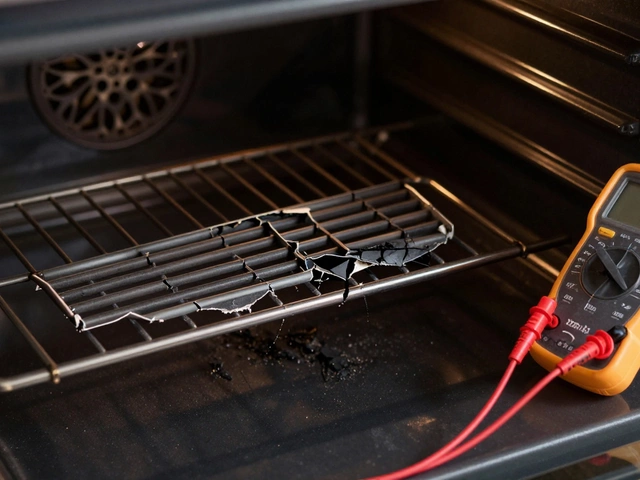
4. Test the capacitor (for larger fans). A faulty start capacitor can prevent the motor from kicking in. If you have a multimeter, set it to “capacitance” and compare the reading to the value printed on the component. Replace it if it’s off by more than 20%.
5. Inspect and replace belts. Pull the belt away from the motor pulley. If it’s cracked, frayed, or stretches beyond the pulley width, buy a replacement belt that matches the length and width specs.
6. Reset the overload switch. Many extractor fans have a built‑in overload protector that trips after overheating. After cleaning and cooling, press the reset button (usually a small black square) and test the fan.
7. Re‑assemble and test. Put the grille back, plug the fan in, and turn it on. Listen for smooth, steady airflow. If it hums but doesn’t spin, the motor may need a professional rebuild.
If you’ve tried all these steps and the fan still won’t work, it’s time to call a local repair service. Professionals can safely diagnose motor winding failures, replace sealed bearings, or handle wiring issues that require certification.
Remember, regular maintenance – a quick wipe‑down every month – can prevent most breakdowns. A clean fan runs cooler, lasts longer, and saves you the hassle of emergency repairs.
Got a stubborn fan that just won’t cooperate? Follow the checklist above, and you’ll likely have it humming again in under an hour. When in doubt, Hinckley Home Appliance Repair Services is just a call away for fast, reliable fan fixing.
1 February 2025
·
0 Comments
Exploring the possibility of repairing exhaust fans can save you time and money. Whether it's a bathroom fan not clearing steam or a kitchen hood failing to remove cooking odors, understanding the fundamental aspects of troubleshooting can make a difference. This article provides practical advice, tips for identifying common issues, and possible solutions for various types of exhaust fans. Knowing when to repair and when to replace can empower homeowners to make the right decision for their specific situation. Dive into these expert strategies and become skilled at maintaining your exhaust fan.
Read more


