Water Heater Flushing: Why It Matters and How to Do It
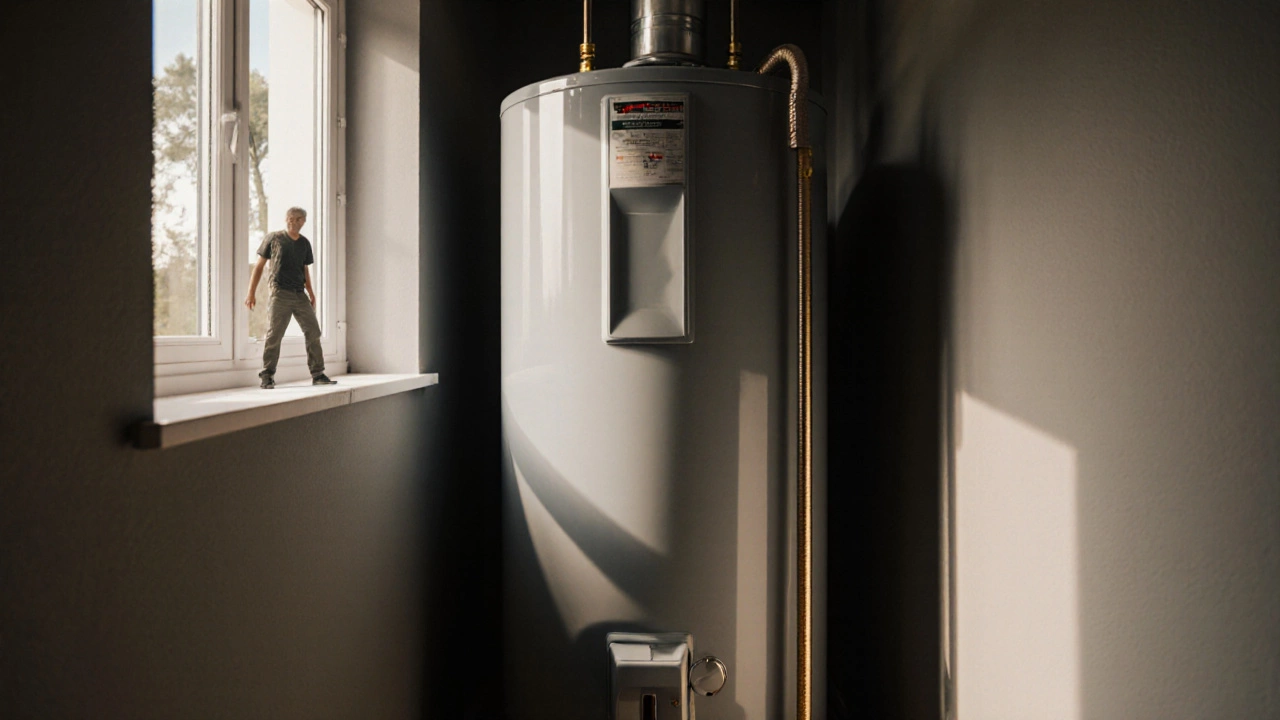
When dealing with Water Heater Flushing, the process of cleaning the interior of a hot‑water tank to eliminate mineral deposits and debris. Also known as tank cleaning, it helps keep the system running smoothly and saves you money on energy bills. Water heater flushing isn’t a fancy chore – it’s a practical step anyone with a tank‑type heater can handle.
Another key player in this conversation is Sediment Buildup, the layer of sand‑like particles that settles at the bottom of a water heater over time. This buildup reduces hot‑water efficiency and can shorten the unit’s lifespan. Linked to the broader concept of Water Heater Maintenance, regular flushing removes sediment, improves heating performance, and prevents premature failure. The relationship is simple: sediment buildup creates inefficiency, while flushing restores efficiency.
What You’ll Gain from Regular Flushing
First, energy use drops. When mineral layers coat the heating element, the heater works harder to raise water temperature. By clearing those layers, you lower the amount of gas or electricity needed – a direct boost to your utility bill. Second, you extend the tank’s life. Think of it like a car engine: clean parts last longer. Third, you avoid sudden loss of hot water. Heavy sediment can block the dip tube, meaning cold water mixes with hot water and leaves you with lukewarm showers. Finally, flushing reduces noise. A tank full of grit often rattles the metal walls, creating that annoying rumble.
Now, how often should you flush? Most experts recommend every 12‑18 months for areas with hard water, and every 24‑36 months if your water is soft. If you notice rust‑colored water, a drop in temperature, or an uptick in your energy bill, it’s a clear sign to act. The process itself takes about 30 minutes and needs only a few basic tools: a garden hose, a bucket, and a wrench. No need for a professional unless you’re uncomfortable with basic plumbing.
Here’s a quick step‑by‑step rundown:
- Turn off the power or gas supply to the heater.
- Connect a garden hose to the drain valve at the bottom of the tank.
- Open a hot‑water faucet elsewhere in the house to let air into the system.
- Open the drain valve and let the water flow out until it runs clear.
- Close the valve, remove the hose, and refill the tank by opening the cold‑water supply.
- Turn the power or gas back on and check for any leaks.
If you have a newer, tank‑less system, the concept is similar but the steps differ: you’ll use a descaling solution instead of plain water and follow the manufacturer’s guidelines. Either way, the goal stays the same – keep the heat‑exchange surfaces free of mineral film.
Beyond flushing, good Water Heater Maintenance includes checking the pressure‑relief valve, inspecting the anode rod, and ensuring the thermostat is set to an optimal temperature (usually around 120°F or 49°C). These tasks work together: the anode rod slows corrosion, the pressure‑relief valve prevents dangerous over‑pressurisation, and the thermostat keeps energy use in check.
In practice, you’ll find that flushing solves more problems than it creates. A homeowner who ignored sediment ended up with a cracked tank after years of extra stress. Another who flushed annually saw a 15‑20% drop in heating costs over three years. Those real‑world examples show why this simple habit pays off.
Below you’ll find a curated set of articles that dive deeper into each aspect of water‑heater care. From troubleshooting a tank that won’t heat to deciding when it’s time to replace, the collection gives you the tools to keep your hot water reliable and affordable. Explore the tips, checklists, and step‑by‑step guides that follow – they’ll help you turn a routine flush into a broader maintenance plan that saves you time, money, and cold showers.
17 October 2025
·
0 Comments
Learn how to safely flush your water heater yourself, step by step. Save energy, extend tank life, and avoid costly repairs with this practical DIY guide.
Read more

