Extractor Fan Replacement Estimator
Determine the right fan size for your room and check if you can handle the replacement yourself.
Room & Fixtures
Select Additional Fixtures:
*Note: Many codes require a minimum of 50 CFM regardless of area if a toilet is present.
DIY Feasibility Check
Recommended Airflow
--
CFM (Cubic Feet per Minute)
Based on room area and fixturesDIY Difficulty Level
Select options above to see advice.
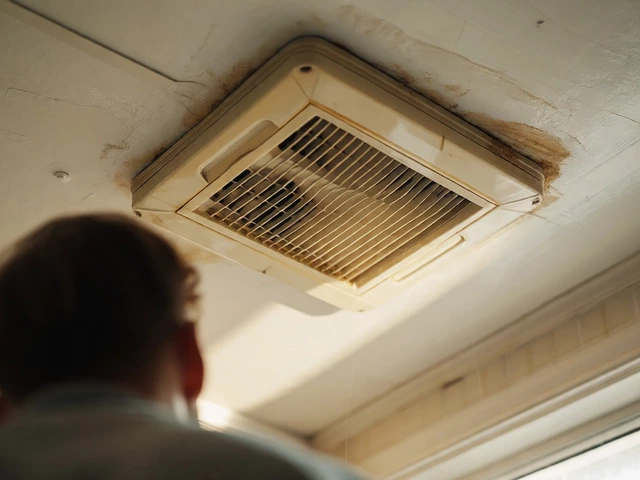
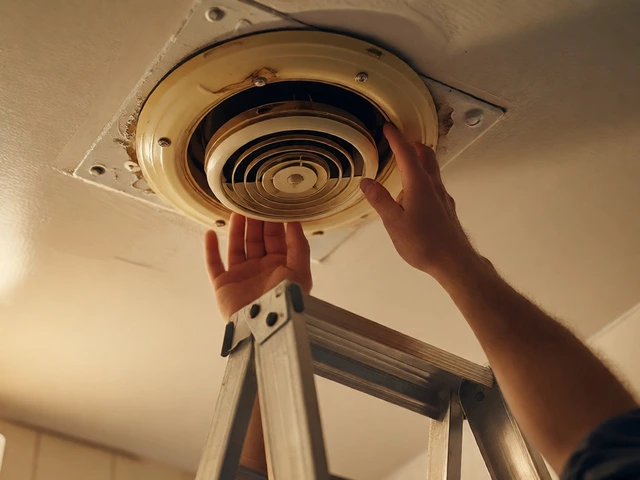
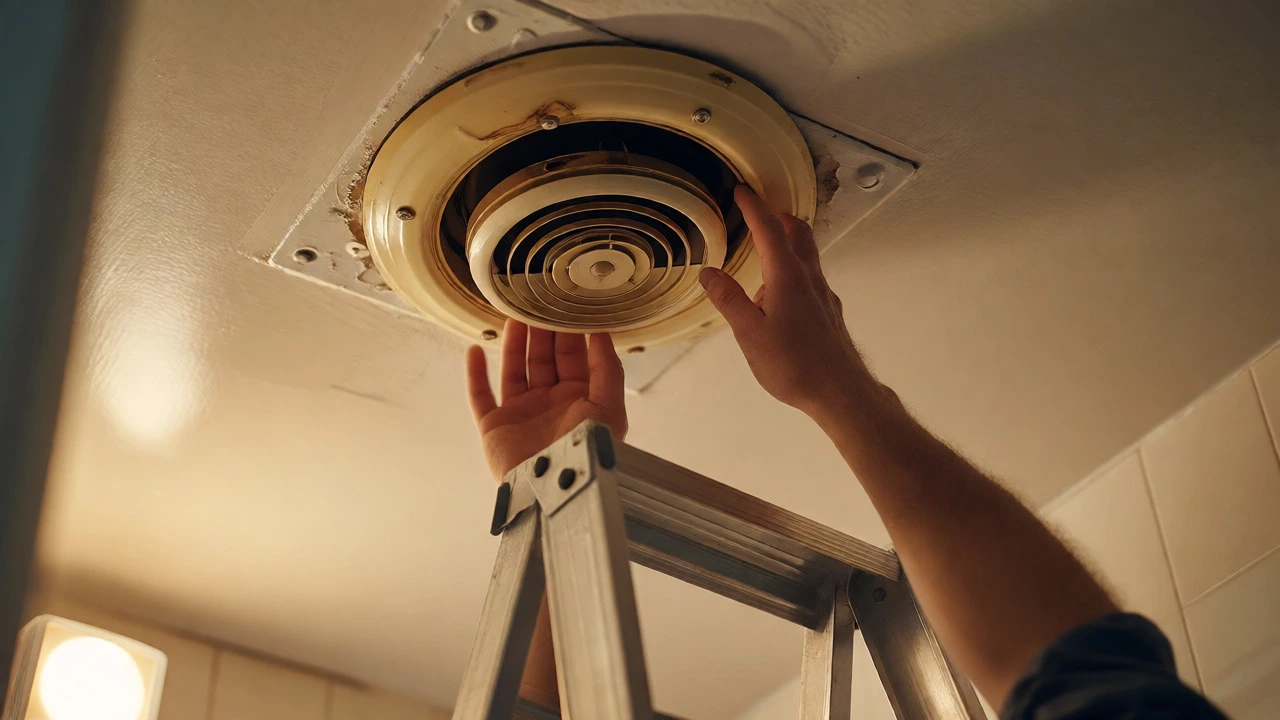
You’re standing on a step ladder, staring at that noisy, yellowing disc in your bathroom ceiling. It’s wheezing like an old car engine, and you know it’s time for a change. The first question that hits you is usually about difficulty: Are extractor fans easy to replace? The answer depends entirely on the type of unit and its wiring configuration, but for most standard surface-mounted or ceiling-integrated models, yes, they are one of the most manageable home repairs you can tackle. You don’t need to be a master electrician, but you do need to respect electricity. If you’ve ever changed a light fixture, you have 80% of the skills needed here. The other 20% is understanding how the ductwork connects and ensuring the new fan fits the existing hole or mounting bracket.
The Reality Check: Why You Might Want to Do This Yourself
Let’s talk money and time. Hiring a professional to swap out a basic bathroom fan might cost you between $150 and $300, depending on where you live and the complexity of the attic access. For many homeowners, that price tag feels steep for a job that takes less than two hours. But there’s a catch. If your current fan is integrated into a central HVAC system or requires cutting new drywall holes because the size doesn’t match, the labor costs skyrocket. Before you buy anything, you need to identify what you’re dealing with. Most residential homes use one of three common types: surface-mounted units (often found in older homes or utility rooms), recessed ceiling fans (the sleek flush-mount style popular today), or inline duct fans located in the attic or crawl space. Each presents a different level of challenge.
Identifying Your Fan Type and Compatibility
Not all fans are created equal, and swapping them isn’t always a plug-and-play situation. Here is a quick breakdown of what you’ll likely find behind that grille:
| Fan Type | Location | Replacement Difficulty | Key Challenge |
|---|---|---|---|
| Surface-Mounted | Wall or Ceiling Surface | Easy | Matching screw holes; cosmetic patching |
| Recessed Ceiling | Inside Ceiling Joists | Moderate | Duct connection; housing size mismatch |
| Inline Duct Fan | Attic/Crawl Space | Hard | Access issues; flexible duct clamps |
| Window Vent | Exterior Wall | Easy | Weather sealing; frame fit |
If you have a recessed ceiling fan, check the model number on the motor housing. Manufacturers often keep the same mounting dimensions for years, meaning a new fan from the same brand might drop right into the old spring clips. If you switch brands, measure the diameter of the housing. Standard sizes are typically 6-inch, 8-inch, or 10-inch round housings. If your new fan has a larger housing, you’ll need to cut the drywall hole wider-a messy job involving a drywall saw and fresh paint. If it’s smaller, you’ll need a trim kit or adapter plate to cover the gap.
Safety First: The Non-Negotiable Steps
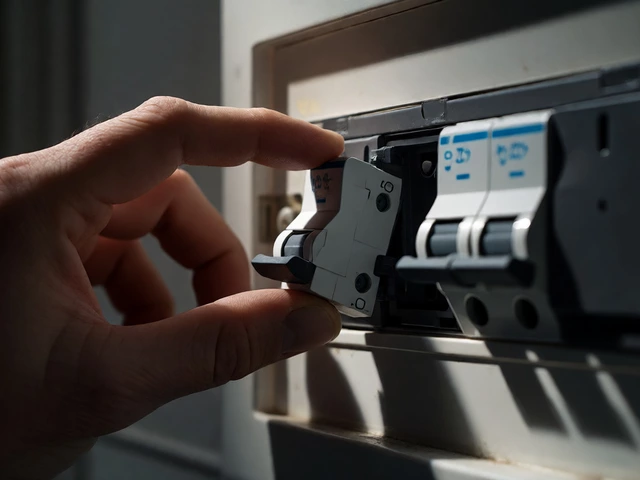
Electricity doesn’t care if you’re tired or in a hurry. Before you touch a single wire, go to your circuit breaker panel. Flip the switch labeled "Bathroom" or "Fan." Then, test it. Turn the fan on via the wall switch. Did it stop? Good. But don’t trust the label alone. Use a non-contact voltage tester on the wires inside the junction box. If the little light turns red or beeps, the power is still on. Find the correct breaker. Working on live wires is how you end up having a very bad day. Once confirmed dead, tape over the breaker switch so no one accidentally flips it back while you’re up there.
Step-by-Step: Replacing a Standard Recessed Fan
Most modern bathrooms use these units. Here’s how you get the old one out and the new one in without losing your mind.
- Remove the Grille: Most grilles snap off or unscrew. Pull gently. If it’s stuck, look for hidden screws under plastic caps. Set the grille aside; you might reuse it if the new fan comes without one, though aesthetics usually warrant a new cover.
- Disconnect Power: With the power off, remove the cover plate of the electrical junction box attached to the fan housing. You’ll see wire nuts connecting the house wires to the fan wires. Unscrew the wire nuts and separate the conductors. Note which color goes where (black to black, white to white, ground to green/bare).
- Release the Housing: Look up into the ceiling cavity. You’ll see metal brackets holding the fan motor housing to the joists. Squeeze the spring-loaded tabs or loosen the wing nuts securing the brackets. Lower the housing carefully. Don’t let it swing wildly-it’s heavy and connected by short wires.
- Detach the Duct: Follow the flexible aluminum or vinyl duct pipe from the fan outlet to the roof vent or wall cap. Loosen the hose clamp with a screwdriver. Slide the duct off the collar. If it’s taped, peel away the foil tape.
- Install the New Unit: Reverse the process. Connect the new duct first if easier, then lift the new housing into place. Secure the brackets to the joists. Ensure the housing is centered and tight against the drywall to prevent rattling.
- Wire It Up: Strip any frayed ends of the house wires. Twist matching colors together (Black-Hot, White-Neutral, Green-Ground) and secure with new wire nuts. Tuck the wires neatly into the junction box. Attach the box cover.
- Test and Seal: Restore power. Test the fan. If it works, turn it off. Apply a bead of silicone caulk around the edge of the new housing where it meets the drywall to prevent moisture seepage. Snap on the new grille.
Pitfalls That Turn a Simple Job into a Nightmare
It’s not just about mechanics; it’s about context. One common mistake is ignoring the duct length. Building codes generally require that the duct run to the exterior vent be as straight and short as possible. If you’re replacing a fan, take a moment to inspect the ductwork. Is it crushed? Full of lint? Does it terminate in a roof cap that’s clogged with bird nests? Cleaning the duct while you’re up there adds ten minutes but can double the efficiency of your new fan. Another trap is moisture damage. If the area around the old fan shows water stains or soft drywall, the leak wasn’t from the fan itself but from a faulty roof flashing or shower sealant. Fix that before installing the new unit, or you’ll ruin your new investment within months.
Also, consider noise levels. Old fans were loud. New ones aren’t necessarily quiet unless you buy high-quality bearings. Look for fans rated under 1.5 sones. Anything above 3.0 sones will sound like a hair dryer running in the next room. If you have a timer or humidity sensor switch, ensure your new fan supports it. Some basic models only work with simple on/off switches. Wiring compatibility matters more than you think.
When to Call a Pro
Despite the ease of most replacements, some scenarios demand professional help. If you discover aluminum wiring instead of copper, call an electrician. Aluminum wiring requires special connectors (Al/Cu rated) to prevent fire hazards due to oxidation and expansion differences. If the fan is part of a complex smart-home system with multiple controls, troubleshooting can become tedious. Finally, if you need to install a completely new duct run through finished ceilings or walls, the drywall and painting work outweighs the savings of DIY.
How long does it take to replace an extractor fan?
For a straightforward replacement where the new fan fits the existing housing and wiring, expect to spend 45 to 90 minutes. This includes removing the old unit, cleaning the duct, installing the new fan, and testing. If you need to modify the drywall hole or replace damaged ductwork, add another hour or two.
Can I replace an extractor fan without going into the attic?
Yes, for most recessed ceiling fans. The motor housing is suspended below the joists, allowing you to lower it enough to disconnect wires and ducts from the room side. However, if the unit is tightly wedged between joists or uses fixed mounting straps that require access from above, you may need to climb into the attic or crawl space to release the brackets.
Do I need to replace the duct when changing the fan?
Not always, but it is recommended. Flexible aluminum ducts degrade over time, becoming brittle or accumulating significant lint buildup. If the existing duct is clean, intact, and properly insulated, you can reuse it. If it’s torn, crushed, or heavily soiled, replacing it ensures maximum airflow and prevents mold growth.
What CFM rating should I choose for my new fan?
CFM stands for Cubic Feet per Minute, indicating airflow capacity. A general rule of thumb is 1 CFM per square foot of floor area. For a standard 5x8 foot bathroom (40 sq ft), a 50-80 CFM fan is appropriate. For bathrooms with tubs or showers, aim for 50 CFM per fixture. Always check local building codes, as requirements vary by region.
Is it safe to leave an extractor fan running overnight?
Modern fans are designed for continuous operation, but leaving them on unnecessarily wastes energy and wears out bearings faster. Ideally, use a timer switch set to run for 20-30 minutes after use to clear humidity. If your fan has a humidity sensor, it will shut off automatically when moisture levels drop, making it safe and efficient for extended periods.