Ice Maker Troubleshooting Checklist
Follow these steps in order to identify why your ice maker isn't working. Check off each step as you complete it.
Ensure the ice maker is turned ON. For older models, push the shut-off arm down. For digital panels, check for an "Ice Off" light and toggle it back on. Wait 24 hours after resetting.
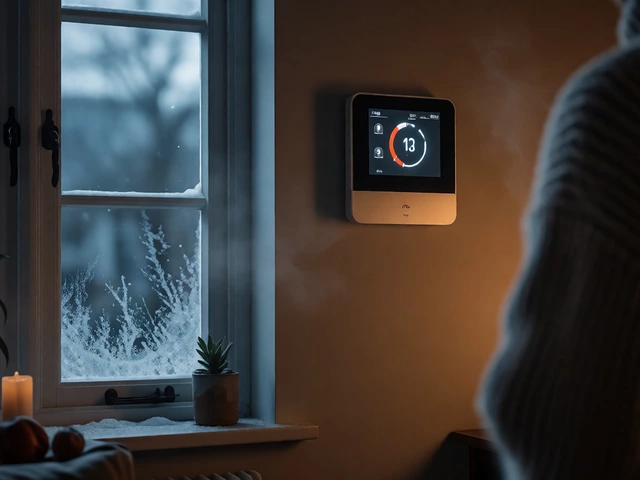
Pull fridge away from wall. Check for kinks in the tubing. If installed in a cold area (like a garage), thaw frozen lines with a hairdryer (low heat only). Ensure water valve is open.
If the filter is older than 6 months, replace it. A clogged filter restricts flow. Ensure the bypass cap is removed if not using a filter.
Place a thermometer between frozen food packages. It must read 0°F (-18°C) or lower. If higher, clean condenser coils and check door seals for gaps.
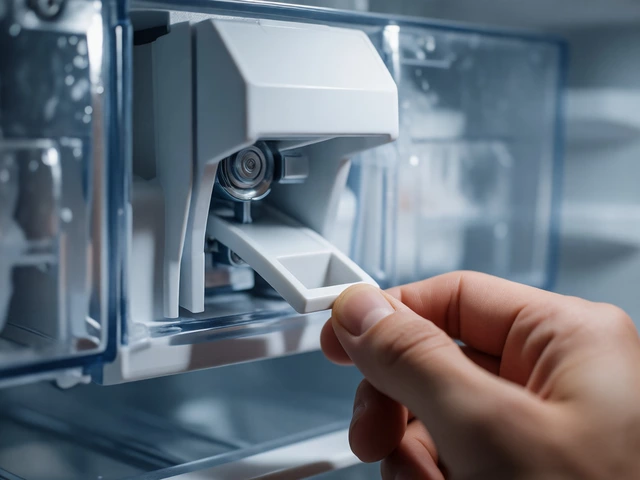
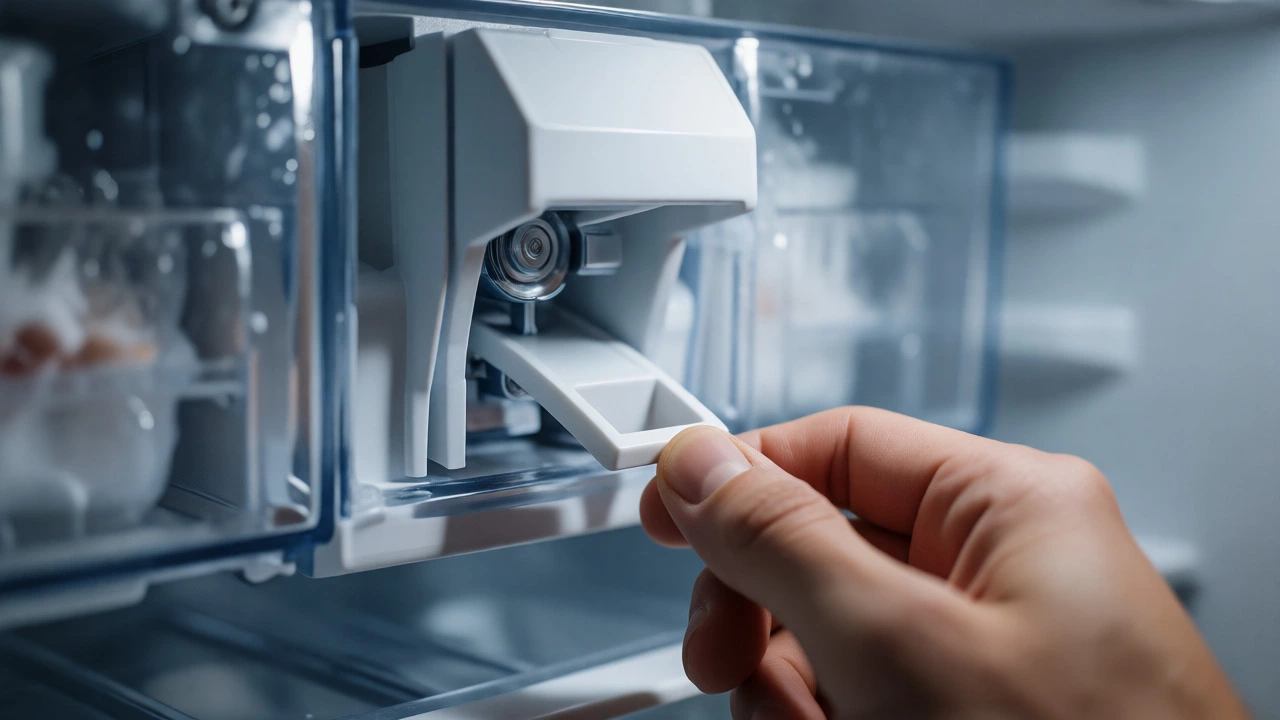
Look inside the ice maker assembly. Check for excessive frost (defrost issue) or broken plastic ejector gears. Remove any jammed ice cubes manually.
Unplug the refrigerator for 5 minutes, then plug it back in. This clears temporary electronic glitches. Wait 1 hour before checking for ice production.
Diagnosis Complete!
You have completed all basic troubleshooting steps. If your ice maker still isn't working, you may have a faulty water inlet valve, control board, or compressor issue. Consider calling a professional technician for further diagnosis.
You open the freezer door expecting a scoop of fresh ice, but instead, you find an empty bin or, worse, a solid block of fused cubes. It’s annoying, especially when you have guests coming over or just want a cold drink after work. The good news? In most cases, your ice maker isn’t dead; it’s just blocked, disconnected, or confused by settings. Before you call a technician or buy a new unit, let’s walk through the actual reasons why production stops. We’ll skip the generic advice and look at the specific mechanical and electronic failures that halt ice creation in modern refrigerators.
Check the Basics First: Power and Settings
It sounds too simple to be true, but half of all "broken" ice makers are actually turned off. Many modern fridges have a physical lever or a digital control panel setting that disables the ice maker. If someone accidentally bumped the arm while loading groceries, or if a child played with the touch controls, the cycle won’t start.
First, locate the ice maker shut-off arm. On older models, this is a plastic bar that sits up when full and down when making ice. If it’s stuck in the "up" position, the machine thinks the bin is full. Gently push it down. If it feels loose or broken, the mechanism might be damaged. For newer models with digital displays, check the control panel for an "Ice Off" light. Press the button to toggle it back on. Wait 24 hours before judging results, as most systems need a full cycle to reset their internal timers.
The Water Supply Line: Kinks, Clogs, and Valves
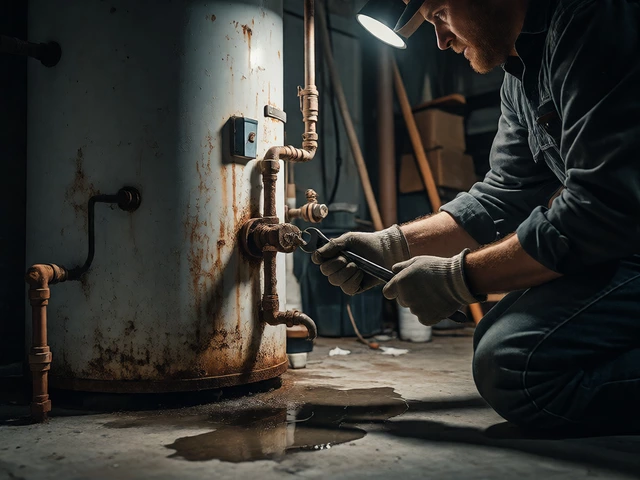
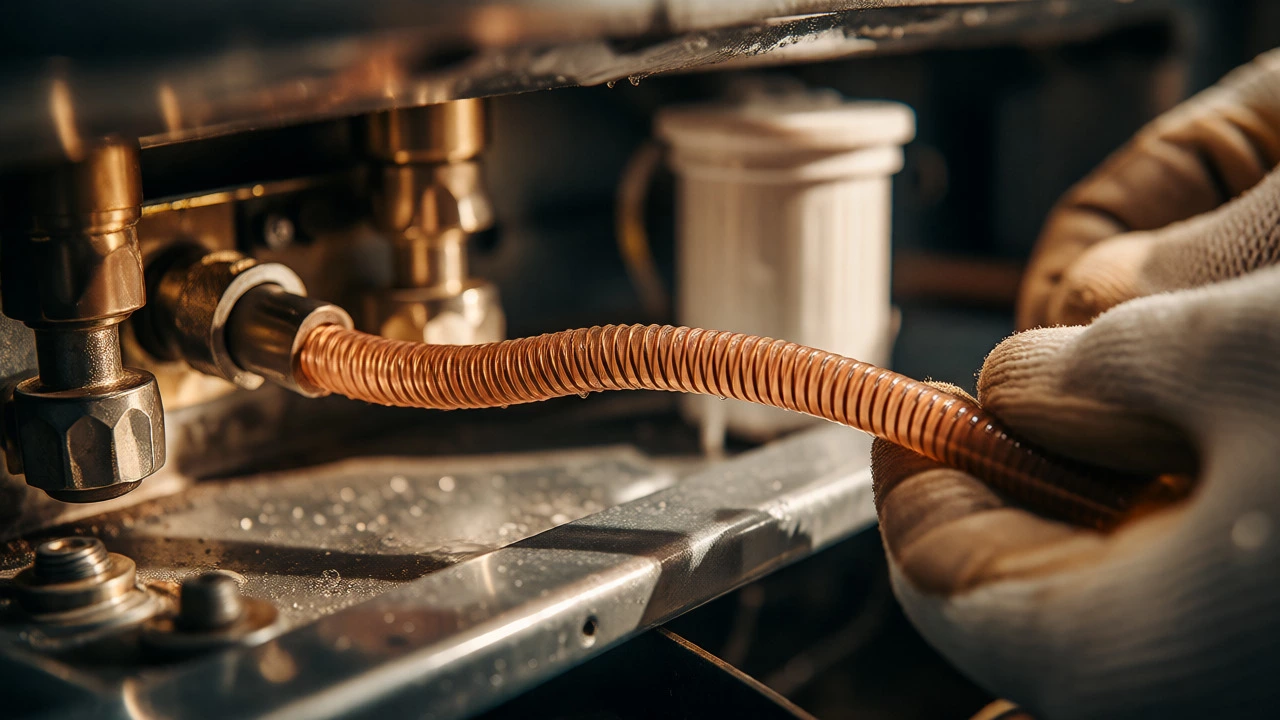
If power is fine, the next suspect is water. No water means no ice. This is the most common failure point because water lines are vulnerable to freezing, kinking, and mineral buildup. Start by pulling your fridge away from the wall. Look at the copper or plastic tubing connecting the house water supply to the back of the appliance.
- Kinks: If the tube is bent sharply, water can’t flow. Straighten it out carefully.
- Frozen Line: If your home gets very cold (like in a garage installation), the water line inside the freezer wall might freeze. Use a hairdryer on low heat near the connection point to thaw it. Never use an open flame.
- Clogged Filter: If you haven’t changed your water filter in six months, sediment could be blocking flow. Replace it with a compatible model like the Frigidaire ULTRAWF or Samsung DA29-00020B, depending on your brand.
Also, check the water inlet valve. This small component opens to let water into the mold. If it fails electrically or gets clogged with debris, it won’t open. You can test it with a multimeter for continuity, but often, replacing the valve is cheaper than diagnosing it thoroughly if you aren’t comfortable with electronics.
Temperature Matters: Why Your Freezer Needs to Be Cold Enough
Ice makers rely on extreme cold to freeze water quickly. Most manufacturers require the freezer compartment to be at 0°F (-18°C) or lower. If your freezer is running at 5°F or higher, the water will drip into the drain pan instead of forming solid cubes.
How do you know if your temp is right? Don’t trust the dial number alone. Place a thermometer between frozen food packages in the center of the freezer. Leave it there for 24 hours. If it reads above 0°F, you have a cooling problem, not an ice maker problem. Check the door seals for gaps-cold air leaks out, warm air gets in, and the compressor struggles to keep up. Clean the condenser coils at the back or bottom of the fridge. Dust acts like a blanket, trapping heat and reducing efficiency.
Mechanical Failures: The Mold and Ejector Arm
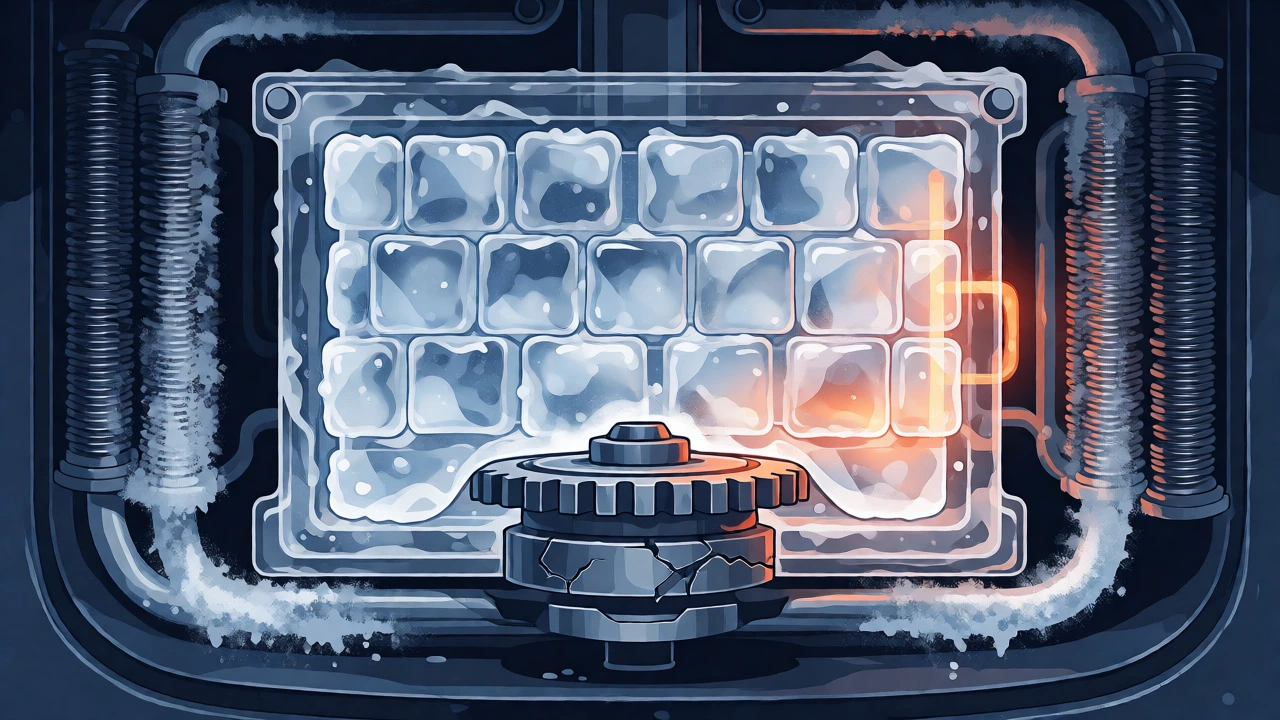
Sometimes the ice forms, but it never leaves the tray. You might see cubes stuck together or jammed in the ejector mechanism. This usually happens when the ice maker goes through its harvest cycle but the heater element doesn’t warm the mold enough to release the cubes.
Look inside the ice maker assembly. Is there a layer of frost coating the metal parts? Excessive frost indicates a defrost system issue. The defrost heater melts ice off the evaporator coils; if it fails, frost builds up everywhere, including the ice maker mold. You might hear a humming sound but see no movement. This points to a failed motor module or a broken ejector gear. These gears are often made of white plastic and can crack over time. If you see shards of plastic in the ice bin, the gear is stripped, and the whole ice maker assembly likely needs replacement.
Electronic Control Board Glitches
Modern appliances are computers with compressors. Sometimes, the main control board sends the wrong signal. Maybe it thinks the ice bin is full when it’s empty, or it fails to activate the water valve solenoid. Resetting the fridge can clear temporary software glitches. Unplug the refrigerator for five minutes, then plug it back in. Wait another hour before checking the ice maker.
If the reset doesn’t work, inspect the wiring harness connecting the ice maker to the main board. Rodents love chewing on wires in tight spaces behind appliances. Look for chewed insulation or disconnected plugs. A broken wire here cuts communication between the brain and the brawn of your fridge.
When to Call a Pro vs. DIY
Replacing a water filter or clearing a kinked line is easy. Replacing a water inlet valve requires basic tools and safety precautions (turning off water). But dealing with sealed refrigerant systems or complex circuit boards is different. If your freezer isn’t holding temperature despite cleaning coils and checking seals, you might have a compressor issue or a refrigerant leak. These require professional certification to fix properly.
| Symptom | Likely Cause | DIY Fix Level |
|---|---|---|
| No ice at all | Water supply off/clogged filter | Easy |
| Small or hollow cubes | Low freezer temp/water pressure | Medium |
| Ice stuck in tray | Failed heater/ejector gear | Hard |
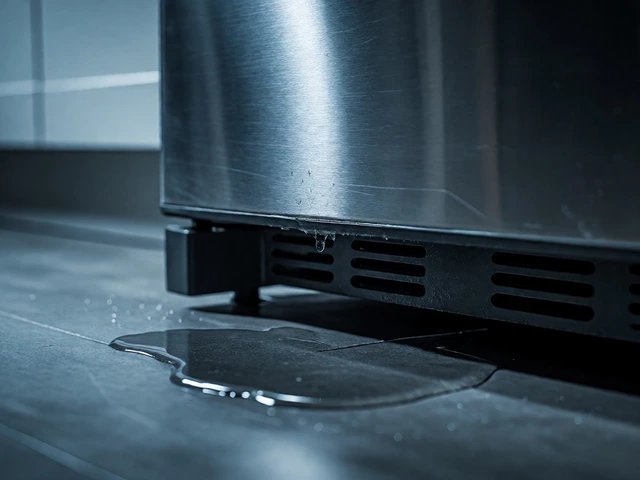
| Leaking under fridge | Cracked water line/faulty valve | Medium |
Key Takeaways
- Check the switch first: Ensure the ice maker arm is down or the digital setting is "On."
- Verify water flow: Inspect for kinks, frozen lines, or old filters blocking water entry.
- Test temperature: The freezer must stay below 0°F (-18°C) for proper freezing.
- Inspect mechanics: Look for broken ejector arms or excessive frost on the mold.
- Reset the system: A hard reboot (unplugging) can clear electronic glitches.
How long does it take for an ice maker to start working again?
After fixing a water issue or resetting the system, expect the first batch of ice within 6 to 24 hours. Most cycles run every 90 minutes, but initial batches may take longer if the water line was completely dry or frozen.
Can I clean my ice maker without removing it?
Yes, for minor maintenance. Pour a mixture of equal parts white vinegar and water into the fill cup (if accessible) and run a cycle. This helps dissolve mineral deposits. However, deep cleaning usually requires removing the assembly to scrub the mold and ejector arm manually.
Why is my ice maker making wet ice?
Wet or clumped ice usually means the freezer temperature is too high, or the defrost cycle isn’t draining properly. Warm air causes partial melting during storage. Check your thermostat settings and ensure the door seals tightly. If the ice melts and refreezes repeatedly, it forms a solid block.
Is it worth repairing an old ice maker?
If the fridge is less than 10 years old, yes. Ice maker assemblies cost $100-$200, which is far less than a new fridge. If the appliance is over 15 years old and has other issues (like noisy compressor), consider replacement instead, as parts may become scarce.
What if my water filter is new but ice still doesn’t form?
A new filter doesn’t guarantee flow if the housing is clogged or the bypass cap wasn’t removed correctly. Also, check the water pressure at the spigot. It should be between 20 and 125 psi. Low household water pressure can prevent the valve from opening fully, resulting in no ice or tiny cubes.