Dryer Troubleshooter
Select the symptom your dryer is exhibiting to see potential causes, required tools, and estimated repair costs.
Select Symptom
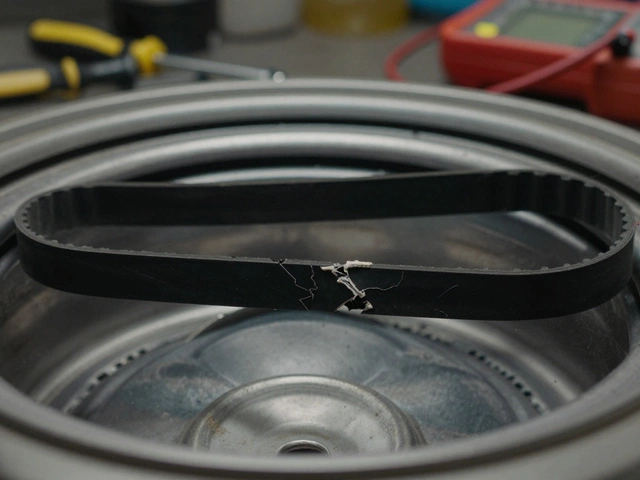
Most Likely Cause: Broken Drive Belt
If the motor hums but the drum doesn't move, the rubber belt connecting the motor to the drum has likely snapped or slipped off. This is a very common wear item.
Required Tools
- • Phillips-head screwdriver
- • Nut driver (5/16")
- • Pliers
Estimated Time
~ 45 Minutes
Safety Check
Unplug machine before starting!
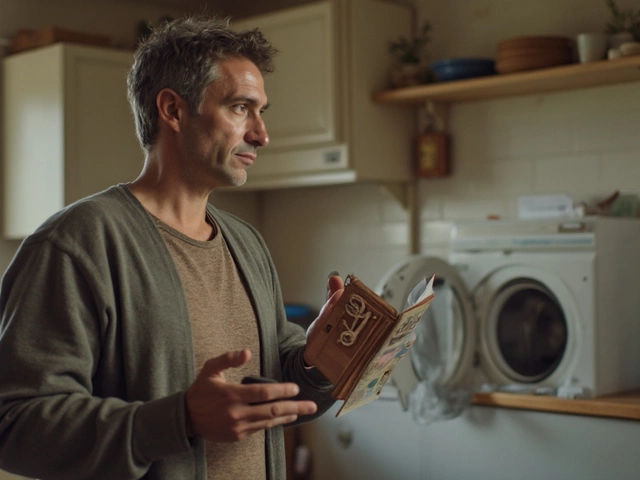
You hear that dreaded thumping noise coming from the laundry room, or worse, you pull out a load of damp clothes after an hour and a half. The panic sets in. Do you call a technician for a $150 service fee, or can you actually fix your dryer yourself? For most common issues, the answer is yes. You don't need to be a master electrician or have a degree in mechanical engineering. You just need a screwdriver, a multimeter, and about thirty minutes of patience.
Here is the reality: dryers are simple machines. They spin a drum, blow hot air through it, and drain the moisture. When they break, it’s usually because one specific part has worn out. In New Zealand, where electricity costs keep climbing and spare parts are readily available at stores like Bunnings or local appliance specialists, doing the work yourself saves serious cash. But before you start unscrewing panels, you need to know what you’re dealing with. This guide walks you through the safety checks, the most likely culprits, and how to decide if this is a weekend project or a job for the pros.
The Golden Rule: Safety First
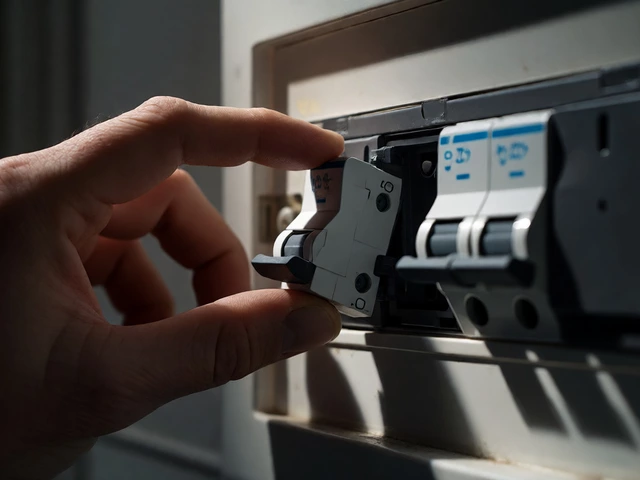
Before you touch anything, unplug the machine. I cannot stress this enough. If you have a gas dryer, you also need to turn off the gas supply valve behind the unit. Electricity kills, and gas leaks explode. It sounds obvious, but people get complacent when they see a small screw.
Once the power is cut, grab a flashlight and look at the lint trap area. Lint buildup isn’t just a fire hazard; it’s the number one cause of poor drying performance. If your dryer heats up but doesn’t dry well, check the vent hose behind the machine first. A clogged vent forces the dryer to work harder, overheating components and burning them out prematurely. Clean the entire ducting system if possible. If the airflow is strong and clear, then the problem is internal.
Diagnosing the Problem: What Is Your Dryer Doing?
Fixing a dryer starts with listening to it. Different symptoms point to different broken parts. Here is a quick breakdown of the most common scenarios.
- The drum won’t spin: This is often a broken drive belt or a faulty motor. If you hear a humming sound but no movement, the belt might be snapped or the motor capacitor is dead.
- No heat, but the drum spins: This is almost always a thermal fuse or a heating element issue. The motor works, so the electrical circuit is partially intact, but the heat source has failed.
- The dryer runs too hot or shuts off early: Likely a blocked vent or a faulty thermostat. The machine overheats and trips its safety cutoff.
- Loud squealing or grinding noises: Usually worn-out rollers or glides. These plastic or rubber wheels support the drum. When they crack or flatten, the metal drum grinds against them.
Tools You Actually Need
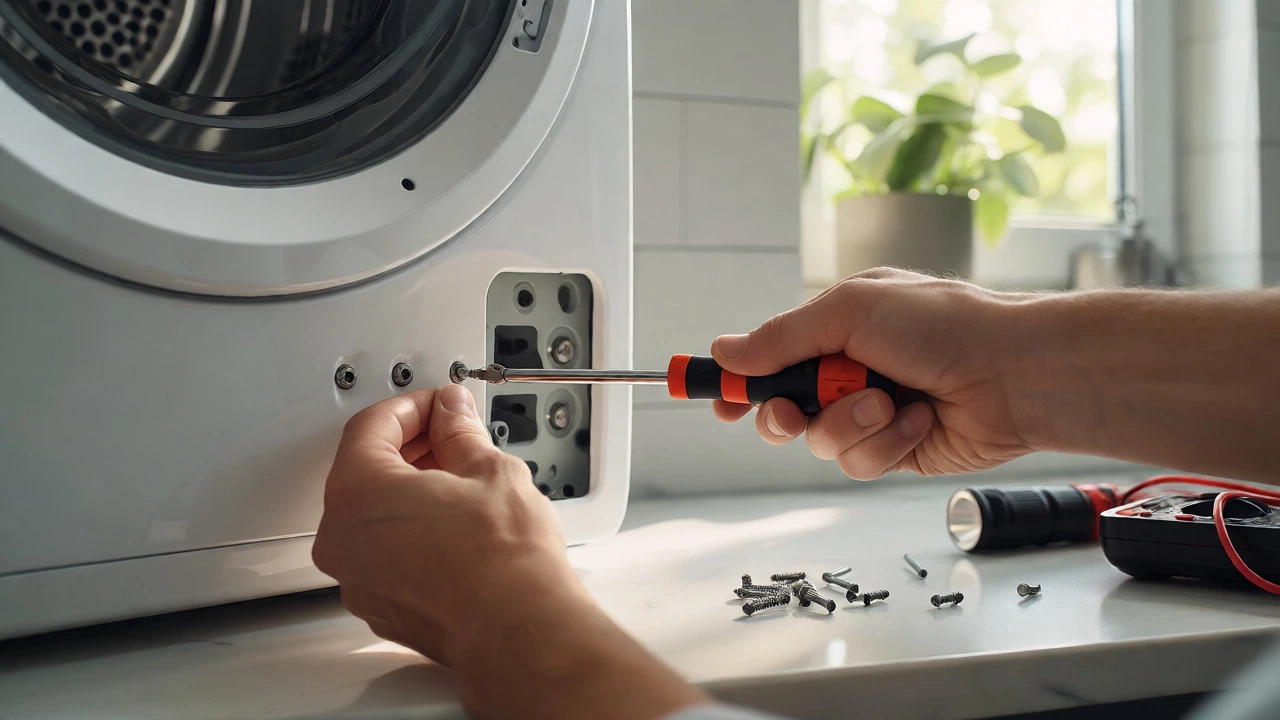
You don’t need a workshop full of tools. Most modern tumble dryers use standard screws. Here is your starter kit:
- Phillips-head screwdriver: For removing panels and accessing internal components.
- Nut driver (usually 5/16" or 1/4"): Many dryer components are held on by hex nuts rather than screws. A nut driver is faster and prevents stripping the heads.
- Multimeter: This is the secret weapon. It tests continuity. If a part has no continuity, it’s broken. No guessing required.
- Pliers: For removing spring clips and handling tight spaces.
- Vacuum cleaner: With a brush attachment to clean out lint from hard-to-reach areas.
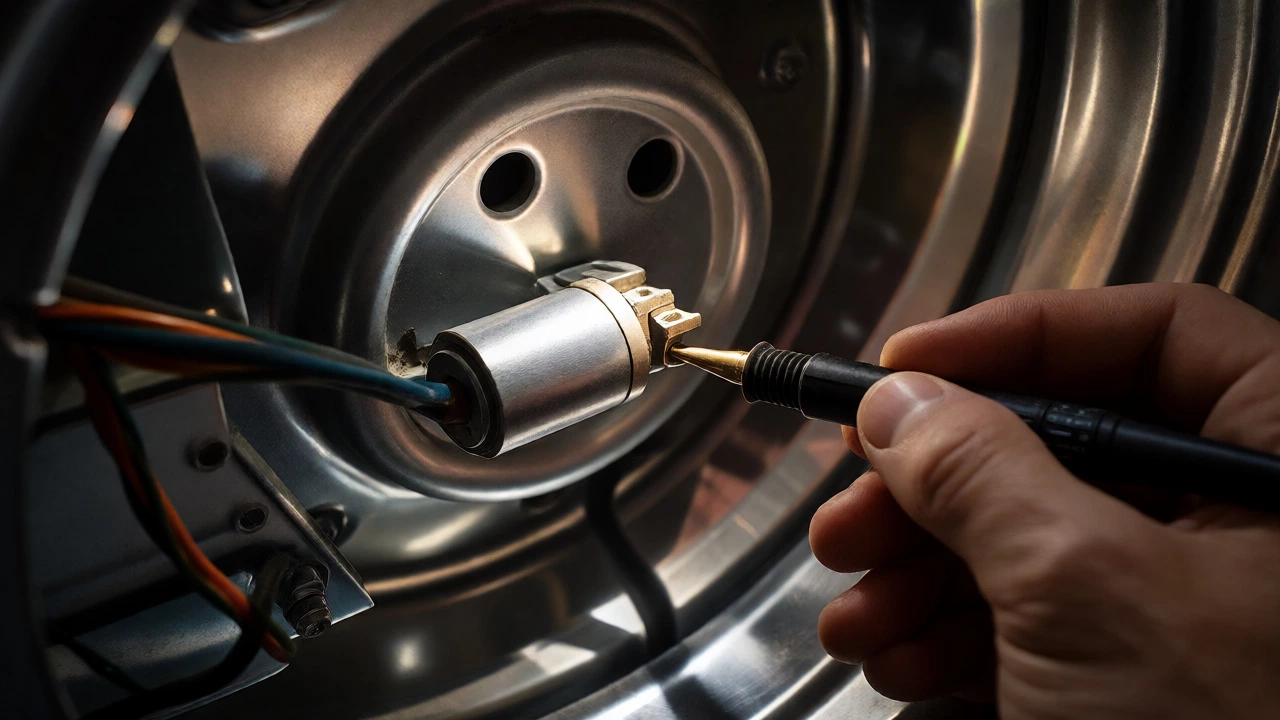
Replacing the Thermal Fuse: The Most Common Heat Issue
If your dryer spins but stays cold, start here. The thermal fuse is a small safety device that blows when the dryer gets too hot, usually due to a clogged vent. Once it blows, it breaks the circuit to the heating element permanently. It does not reset.
To replace it, you typically need to access the back panel or sometimes the front bulkhead, depending on your model. Locate the silver cylinder attached to the blower housing. Disconnect the two wires connected to it. Use your multimeter to test for continuity. Touch the probes to the terminals. If the needle doesn’t move (or shows "OL" on digital meters), the fuse is blown.
Buy a replacement fuse. They cost between $10 and $20 NZD. Install the new one, reconnect the wires, and reassemble the panel. Test the dryer. If it heats up, you’re done. If it blows again immediately, you have a deeper issue, likely a stuck relay or a failing thermostat.
Checking the Heating Element
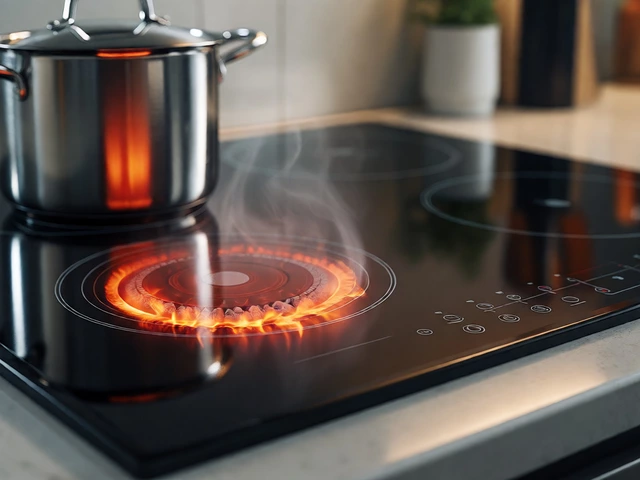
If the thermal fuse is fine, the next suspect is the heating element. This is essentially a large coil of wire that glows red-hot to warm the air. Over time, the coil can break or short out.
Accessing the element usually requires removing the rear panel. You’ll see a ceramic block holding the coil. Disconnect the wires carefully-take a photo first so you know which wire goes where. Remove the mounting screws and lift the element out. Inspect the coil visually. If you see a break or a blistered spot, it’s gone. Even if it looks okay, test it with your multimeter. Place the probes on the two terminals. You should see a low resistance reading (usually 10-50 ohms). If you see infinite resistance, the circuit is open, and the element needs replacing.
Replacement elements range from $30 to $80 NZD depending on the brand. Installing the new one is just the reverse of removal. Be careful not to pinch the wires when putting the panel back on.
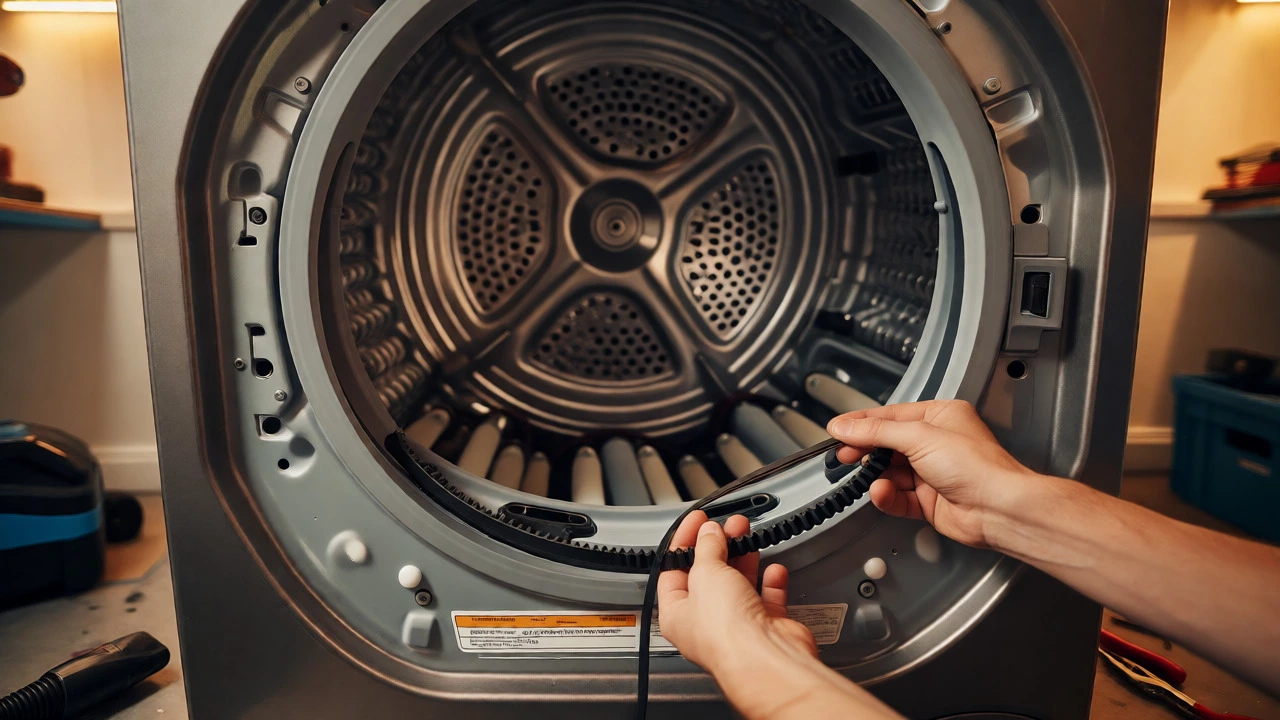
Fixing the Drive Belt and Drum Rollers
If your dryer makes a loud thumping noise or the drum doesn’t spin, the drive belt is likely the culprit. This rubber loop wraps around the drum and the motor pulley. Like any rubber product, it ages, stretches, and eventually snaps.
To replace it, you’ll need to disassemble the front of the dryer. Unclip the top panel (often there are release tabs under the lip near the door), then remove the front panel. Support the drum so it doesn’t fall when you remove the belt. Slide the old belt off the motor pulley and the drum rim.
While you have the drum out, check the drum rollers. These are small wheels at the back of the cabinet that let the drum spin smoothly. Spin them by hand. They should rotate freely without wobble or noise. If they feel gritty or cracked, replace them. Roller kits usually include two rollers and an idler pulley, costing around $40-$60 NZD. Replacing these while the machine is apart is smart preventive maintenance.
When to Call a Professional
DIY is great, but some jobs aren’t worth the hassle or risk. You should call a technician if:
- The control board is fried: If the display is blank, buttons don’t respond, and fuses/electrical supplies are fine, the main electronic control board might be dead. These are expensive ($200+) and require precise diagnostics.
- Gas valve issues: On gas dryers, if the igniter lights but the gas doesn’t flow, it could be a solenoid valve issue. Working with gas lines requires care and sometimes certification.
- Motor failure: If the motor hums loudly but doesn’t turn even with a good belt, the motor bearings may be seized. Replacing a motor is labor-intensive and heavy lifting.
- Under warranty: Check your paperwork. Opening the casing might void your warranty.
| Component | Symptom | Part Cost (NZD) | Difficulty Level | Time Estimate |
|---|---|---|---|---|
| Thermal Fuse | No heat | $10 - $20 | Easy | 20 mins |
| Heating Element | No heat | $30 - $80 | Moderate | 45 mins |
| Drive Belt | Drum won't spin / Noise | $15 - $30 | Moderate | 1 hour |
| Drum Rollers | Grinding noise | $40 - $70 | Moderate | 1 hour |
| Control Board | Unresponsive / Random errors | $150 - $300 | Hard | 1-2 hours |
Tips for Success
Take photos as you disassemble the machine. It seems tedious, but when you’re staring at a pile of screws and wires, those photos will save your sanity. Label wires with masking tape if you have more than two connections. Don’t force plastic clips; they break easily. Use a flathead screwdriver gently to pry them open.
Also, vacuum everything. While the machine is open, suck out all the lint from the interior cabinet. That fluff is fuel for fires and insulates motors, causing them to overheat. A clean dryer runs cooler and lasts longer.
Is it cheaper to repair a dryer or buy a new one?
It depends on the age of the machine. If your dryer is less than 7 years old, repairing it is almost always cheaper. A basic repair kit (fuse + belt) costs under $50 NZD. A new entry-level dryer starts around $500-$600 NZD. However, if the dryer is over 10 years old and requires multiple major repairs (like motor and control board), buying new might be more economical due to improved energy efficiency in newer models.
Why is my dryer running but not getting hot?
The most common reason is a blown thermal fuse caused by a clogged vent. Second most common is a failed heating element. Third is a faulty high-limit thermostat. Always check the vent first, as this is free to fix. Then test the fuse and element with a multimeter.
How do I know if the dryer belt is broken?
If the dryer motor runs (you hear it humming) but the drum inside does not spin, the belt is likely broken or slipped off. Sometimes you might hear a slapping noise as the loose belt flaps around. To confirm, you need to open the cabinet and inspect the belt visually.
Can I wash the dryer filter instead of replacing it?
Yes, most lint filters are reusable. Wash them with warm soapy water to remove fabric softener residue, which can clog the mesh and reduce airflow. Rinse thoroughly and let them dry completely before reinstalling. Replace the filter only if the mesh is torn or damaged.
What causes a dryer to smell like burning?
A burning smell usually indicates trapped lint touching a hot component, such as the heating element or motor windings. It can also mean a slipping belt generating friction heat. Turn off the dryer immediately, unplug it, and clean out all accessible lint. Check the belt for wear and ensure the drum isn't rubbing against the casing.