Extractor Fan CFM Calculator
Calculate Your Ideal Extractor Fan CFM Rating
Select your room type and enter dimensions to determine the appropriate CFM rating for your extractor fan replacement.
Recommended CFM Rating
-
Ever walk into a steamy bathroom after a shower and wonder why the fog never clears? Or smell last night’s dinner lingering in the kitchen hours after cooking? Chances are, your extractor fan isn’t doing its job-and it might be time to replace it. The good news? You don’t need to hire a professional. Most extractor fans can be replaced by someone with basic tools and a little patience. This isn’t rocket science. It’s wiring, screws, and a bit of common sense.
Why Replace Your Extractor Fan?
Extractor fans aren’t just about comfort. They prevent mold, reduce condensation, and stop mildew from eating away at your walls and ceilings. In places like Wellington, where damp weather is the norm, a working fan isn’t optional-it’s necessary. If your fan is noisy, slow, or doesn’t turn on at all, it’s not just annoying. It’s a risk to your home’s health.
Older fans, especially those installed before 2010, often use single-speed motors that run constantly at full power. Modern fans are quieter, use less energy, and come with humidity sensors that turn on automatically when needed. Replacing an outdated unit can cut your electricity bill and save you from future repairs.
What Tools Do You Need?
You don’t need a toolbox full of fancy gear. Here’s what you’ll actually use:
- Flathead and Phillips screwdrivers
- Wire strippers (or a sharp knife if you’re careful)
- Voltage tester (non-contact is safest)
- Stud finder (optional, but helpful)
- Masking tape and a marker
- Work gloves and safety glasses
- Replacement extractor fan (make sure it matches your duct size and power needs)
Don’t skip the voltage tester. Even if you turned off the light switch, the wiring might still be live. Always test before touching wires.
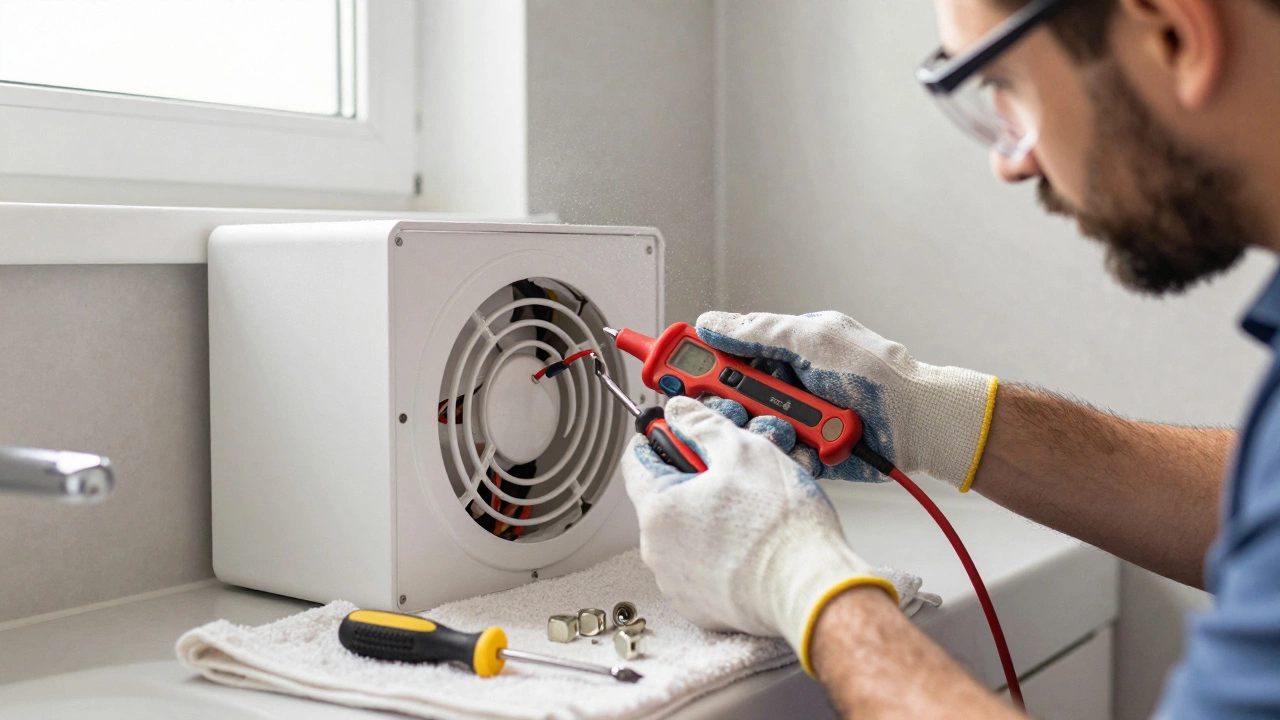
Step 1: Turn Off the Power
This is non-negotiable. Go to your fuse box and switch off the circuit that powers the fan. If you’re not sure which one, turn off the main breaker. Then, flip the light switch connected to the fan. Use your voltage tester on the wires inside the fan housing. If it beeps or lights up, you haven’t cut power. Keep looking.
Once you’re sure the power is off, tape the switch in the OFF position with masking tape. That way, someone won’t accidentally turn it back on while you’re working.
Step 2: Remove the Old Fan
Most extractor fans have a cover or grille that pops off. Some are held by clips, others by screws. Gently pry it open with a flathead screwdriver. Don’t force it-you might break the plastic.
Behind the grille, you’ll see the fan unit mounted to the ceiling or wall. There are usually two or four screws holding it in place. Remove those. Now, carefully pull the fan out just enough to see the wiring. Take a photo of the wire connections with your phone. That way, you won’t forget which wire went where.
Unplug the wires. Most units use wire nuts (plastic caps that twist onto exposed wires). Unscrew them counterclockwise. If the wires are old and brittle, handle them gently. Don’t pull on the insulation-grab the copper part.
Disconnect the duct. Some fans have a flexible aluminum duct attached with a clamp. Loosen the clamp with a screwdriver and slide the duct off. If it’s glued or sealed with silicone, you might need to cut it carefully with a utility knife.
Step 3: Check the Duct and Opening
Before you install the new fan, take a look at the hole in the ceiling or wall. Is it clean? Are there signs of mold or water damage? If the wood around the opening is soft or discolored, fix that first. A new fan won’t help if the structure is rotting.
Check the duct. Is it crushed, kinked, or full of dust? A blocked duct makes even the best fan useless. Clean it out with a vacuum and a brush. If it’s damaged or too long, consider replacing it with a new rigid PVC duct. It’s more expensive, but it lasts longer and moves air better.
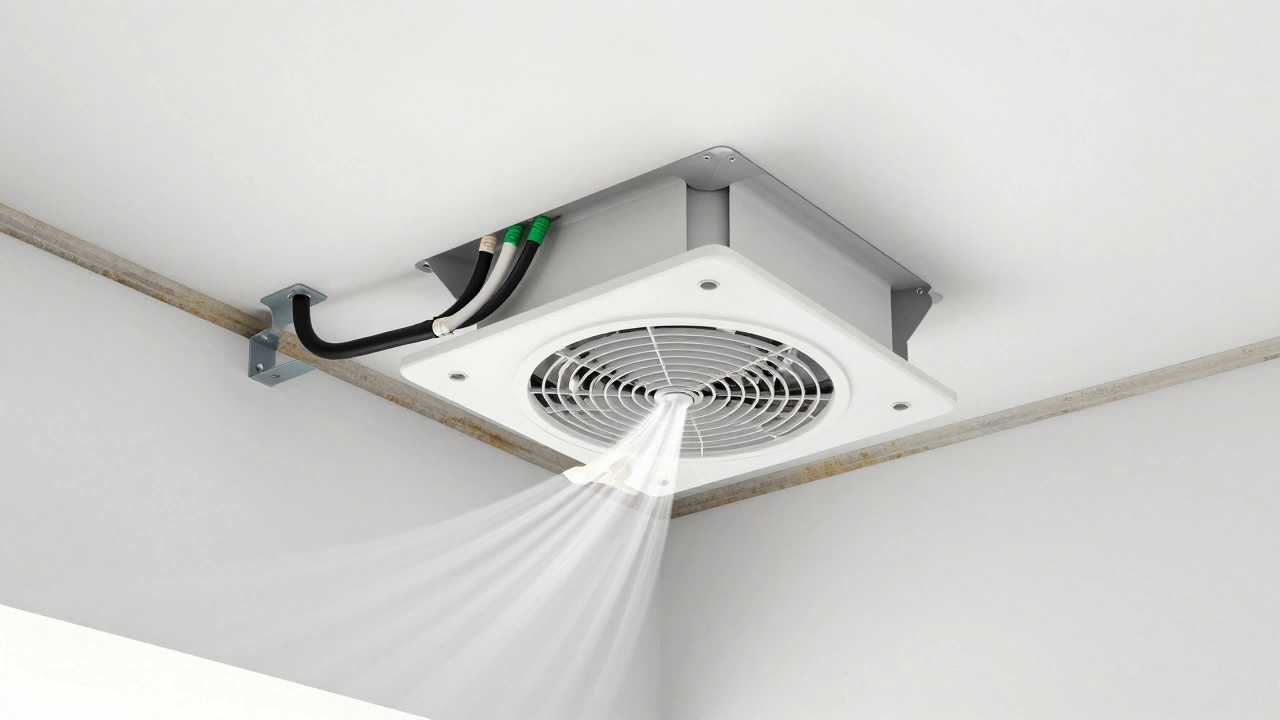
Step 4: Install the New Fan
Most modern extractor fans come with mounting brackets. Slide the bracket into place and secure it with screws. Make sure it’s level. A crooked fan will vibrate and make noise.
Now connect the wires. Match the colors: black to black (live), white to white (neutral), and green or bare copper to green (earth). If your old fan had a different setup, refer to the photo you took. Twist the wires together tightly, then secure them with wire nuts. Pull gently on each wire to make sure they’re not loose.
Reattach the duct. Slide it over the fan outlet and clamp it down. Use a metal clamp, not plastic. Plastic can crack over time. If your new fan has a built-in backdraft damper, make sure it moves freely.
Step 5: Test and Finish
Turn the power back on. Flip the switch. The fan should start quietly and pull air smoothly. If it hums but doesn’t spin, you might have a wiring issue. If it’s loud or rattling, the unit isn’t mounted securely.
Once it’s working, install the grille. Most snap into place. If it’s screwed on, don’t overtighten-the plastic can crack.
Finally, test for leaks. Run the fan for 10 minutes and hold a piece of tissue paper near the grille. It should be pulled firmly inward. If air is leaking around the edges, seal the gap with silicone caulk. Don’t use expanding foam-it can block airflow.
When to Call a Professional
You can handle most extractor fan replacements yourself. But there are times when you should stop and call someone:
- The fan is connected to a dedicated circuit with no visible switch
- You find asbestos insulation around the duct (common in homes built before 1990)
- The wiring is old, frayed, or aluminum (not copper)
- You’re replacing a fan in a ceiling with no access panel above
- The fan is part of a whole-house ventilation system
If any of these apply, hire a licensed electrician or ventilation specialist. Cutting corners here can be dangerous.
Choosing the Right Replacement Fan
Not all extractor fans are the same. Here’s what to look for:
- Size: Match the diameter of your old fan. Common sizes are 100mm, 125mm, and 150mm. Measure the hole, not the old unit.
- CFM Rating: This measures airflow. For bathrooms, aim for 8-10 CFM per square meter. For kitchens, go higher-15-20 CFM per square meter.
- Noise Level: Look for dB ratings. Anything under 30 dB is whisper-quiet. Above 40 dB is noticeable.
- Features: Timer switches, humidity sensors, and motion detectors add convenience. A timer lets the fan run for 10-15 minutes after you leave the room.
- Energy Rating: Look for the ENERGY STAR label. It means the fan uses 40% less power than standard models.
Brands like Xpelair, Vent-Axia, and Manrose are widely available in New Zealand and come with good warranties. Avoid no-name brands from discount stores-they often fail within a year.

Common Mistakes to Avoid
Even experienced DIYers make these errors:
- Skipping the voltage test
- Forgetting to turn off the main power
- Using the wrong size fan
- Not sealing the duct properly
- Installing a fan without a backdraft damper (lets cold air in)
- Over-tightening screws on plastic housings
- Ignoring the duct-installing a powerful fan on a blocked or narrow duct
One of the biggest mistakes? Buying a fan that’s too powerful. A 150mm fan in a small bathroom will create negative pressure and pull air from other rooms-maybe even from your gas water heater. That’s dangerous.
How Long Does It Take?
For a first-timer, plan for 2 to 3 hours. That includes removing the old unit, cleaning up, installing the new one, and testing. If you’ve done this before, you can finish in under an hour.
Most people underestimate the time needed to safely disconnect wiring. Don’t rush. Take your time with the wires. One wrong connection can fry the new fan-or worse, start a fire.
Cost Comparison: DIY vs Professional
A decent extractor fan costs between $80 and $200, depending on features. Labor for a professional install runs $150-$300 in New Zealand. That means you can save $100-$250 by doing it yourself. And you’ll know exactly how it was done.
Plus, you get to choose the exact model you want. Professionals often use the brand they’re used to, not necessarily the best fit for your space.
What to Do If It Doesn’t Work
If your new fan won’t turn on:
- Double-check the circuit breaker.
- Test the wires again with your voltage tester.
- Make sure the wire nuts are tight and no copper is exposed.
- Check if the fan spins freely by hand (power off!). If it’s stiff, the motor might be damaged.
- Try plugging the fan into a different outlet with a test cord (if it’s a plug-in model).
If it turns on but is noisy, check the mounting. A loose bracket causes vibration. Tighten all screws. If the duct is too long or has too many bends, airflow is restricted. Shorten or straighten it.
Final Tip: Maintenance Matters
Even the best fan will fail if you ignore it. Every 6 months, turn it on and hold a tissue to the grille. If the pull is weak, clean the blades with a damp cloth. Vacuum the duct opening. Dust buildup is the #1 killer of extractor fans.
Replace the grille if it’s cracked or discolored. It’s cheap and makes a big difference.
Replacing your extractor fan isn’t just a fix-it’s an upgrade. You’ll get better air quality, lower humidity, and fewer headaches. And you’ll know you did it yourself.
Can I replace an extractor fan without turning off the power?
No. Never work on electrical fixtures without turning off the power. Even if the switch is off, the wiring might still be live. Always use a voltage tester to confirm the circuit is dead before touching any wires. Skipping this step risks electric shock or fire.
What if my extractor fan is wired into a light switch?
That’s common. The fan and light often share the same circuit. Turn off the breaker for that circuit, not just the light switch. Test the wires with a non-contact voltage tester to be sure. If you’re unsure which breaker controls it, turn off the main power.
Can I use a fan with a higher CFM than my old one?
You can, but only if your duct is big enough and your room size supports it. A fan that’s too powerful can create negative pressure, pulling in air from other areas-like from your gas heater or fireplace. That’s a safety hazard. Match the CFM to your room size: 8-10 CFM per square meter for bathrooms, 15-20 for kitchens.
Do I need to replace the duct when replacing the fan?
Not always, but you should inspect it. If the duct is crushed, full of dust, or made of flexible plastic, replace it. Rigid PVC ducts move air better and last longer. A clean, straight duct makes any fan more effective-even a low-power one.
How do I know what size extractor fan to buy?
Measure the hole in your ceiling or wall-not the old fan. Most units are 100mm, 125mm, or 150mm in diameter. Also check the manufacturer’s label on the old unit for exact specs. If you’re unsure, take a photo of the opening and the old fan to a hardware store for help.
Is it safe to install an extractor fan in a shower area?
Yes, but only if it’s rated for wet locations. Look for an IP44 rating or higher, which means it’s splash-proof. Don’t install a standard fan directly above a shower. Use a model designed for bathrooms, and make sure it’s connected to a GFCI circuit if required by local code.