🔧 Oven Element Repair Decision Tool
Fill in the details on the left to see whether DIY repair or professional service is the better choice for your specific situation.
Description goes here.
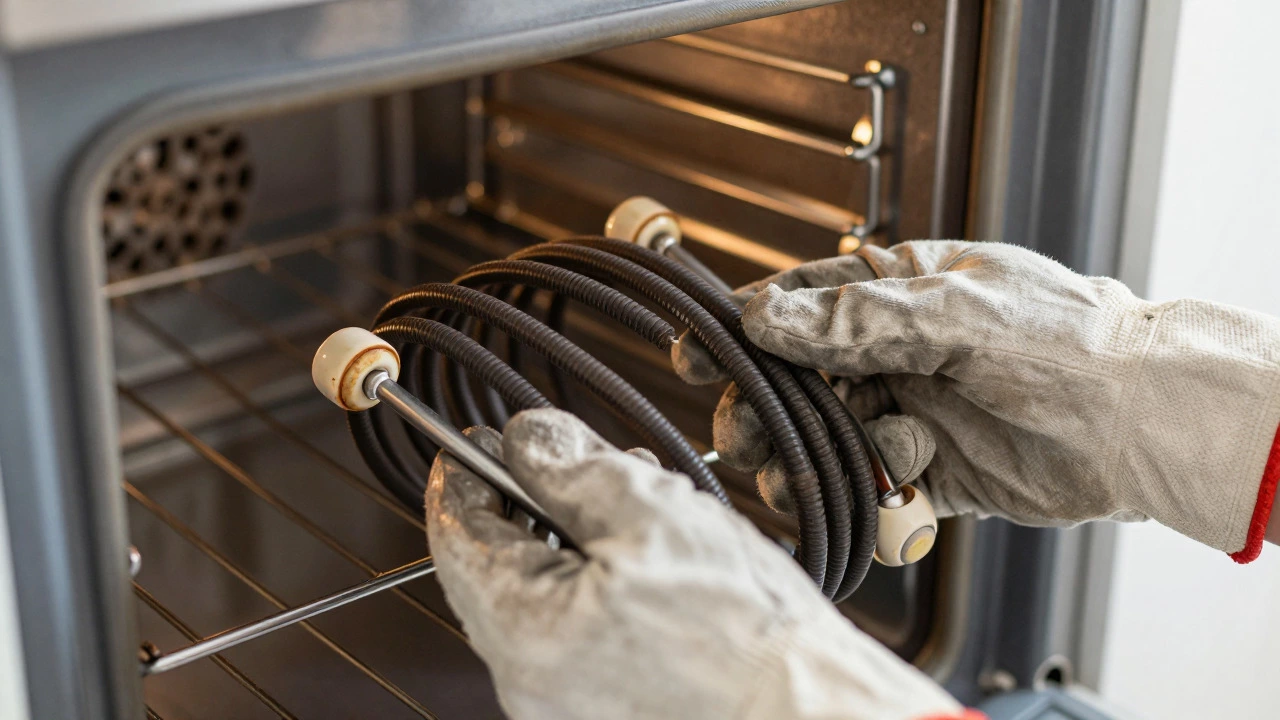
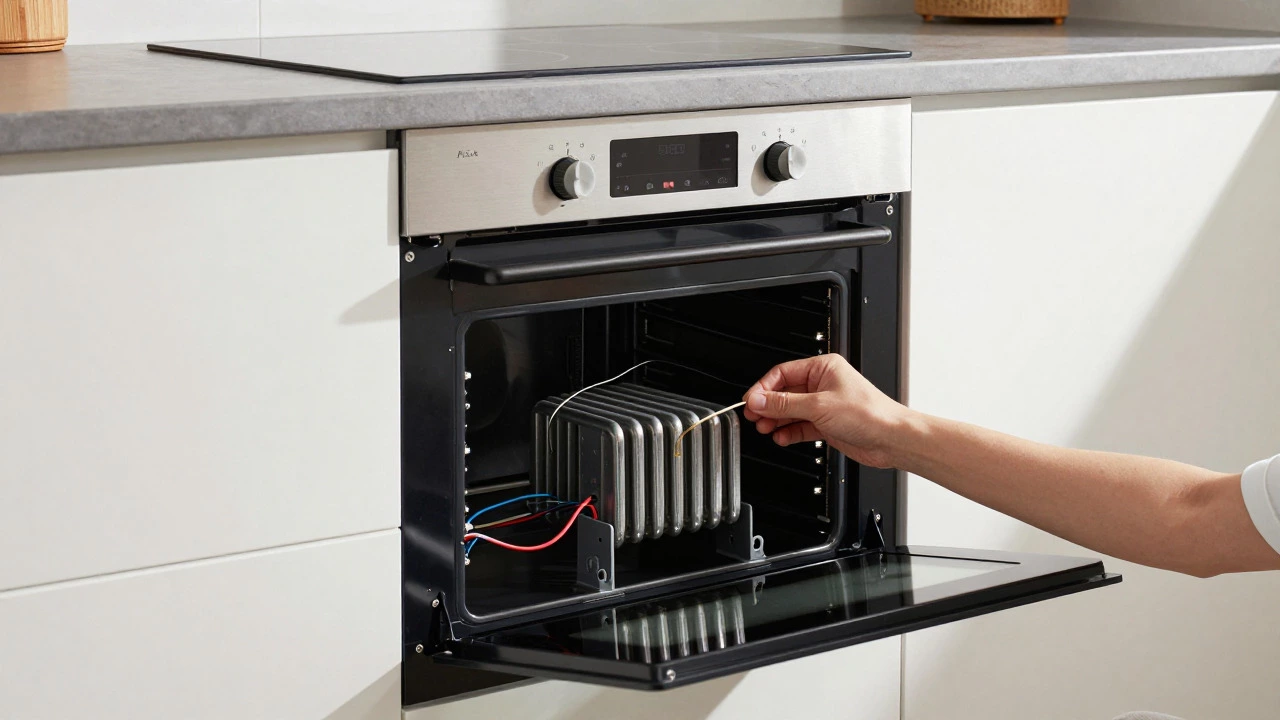
That sudden loss of heat while baking your Sunday roast is frustrating. You open the door, check the temperature, and realize the electric oven heating element is the coiled metal tube responsible for generating heat in standard home ovens. Before you call a technician who might charge £150 just to show up, you’re probably wondering if you can fix it yourself. The short answer is yes, for most modern freestanding or built-in electric ovens, replacing the element is a manageable DIY task. However, it requires careful attention to safety and the right tools.
Quick Summary / Key Takeaways
- Cost Savings: Replacing an element yourself typically costs between £30 and £80 for parts, compared to £150-£300 for professional labor.
- Time Commitment: Most replacements take 30 to 60 minutes once you have the correct part.
- Safety First: Always unplug the oven from the mains power before starting work to avoid electric shock.
- Part Compatibility: Ensure the new element matches the wattage (usually 2400W-3000W) and dimensions of the original.
- When to Call a Pro: If the wiring is damaged, the thermostat is faulty, or the oven is still under warranty, hire a certified engineer.
Identifying the Problem: Is It Really the Element?
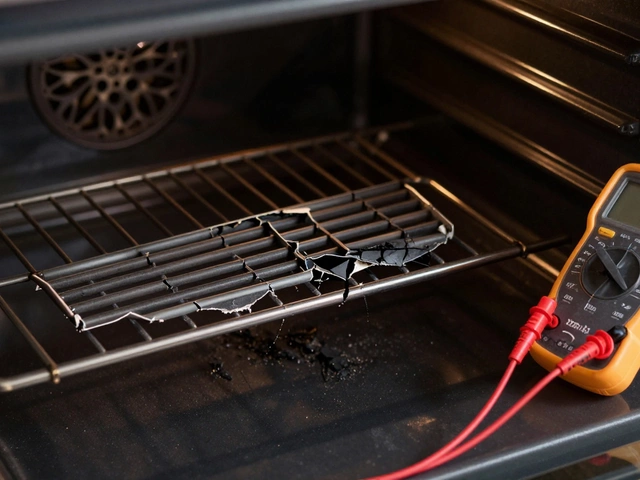
Before buying parts, confirm that the heating element is actually broken. A failed element often looks discolored, bulged, or has visible breaks in the coil. If the oven light works but no heat is generated, the element is the prime suspect. However, other components like the oven thermostat or the main control board can also cause heating issues. If the element looks intact but the oven still doesn’t heat, you might need a multimeter to test for continuity. A reading of zero ohms indicates a working element; infinite resistance means it’s blown.
Gathering the Right Tools and Parts
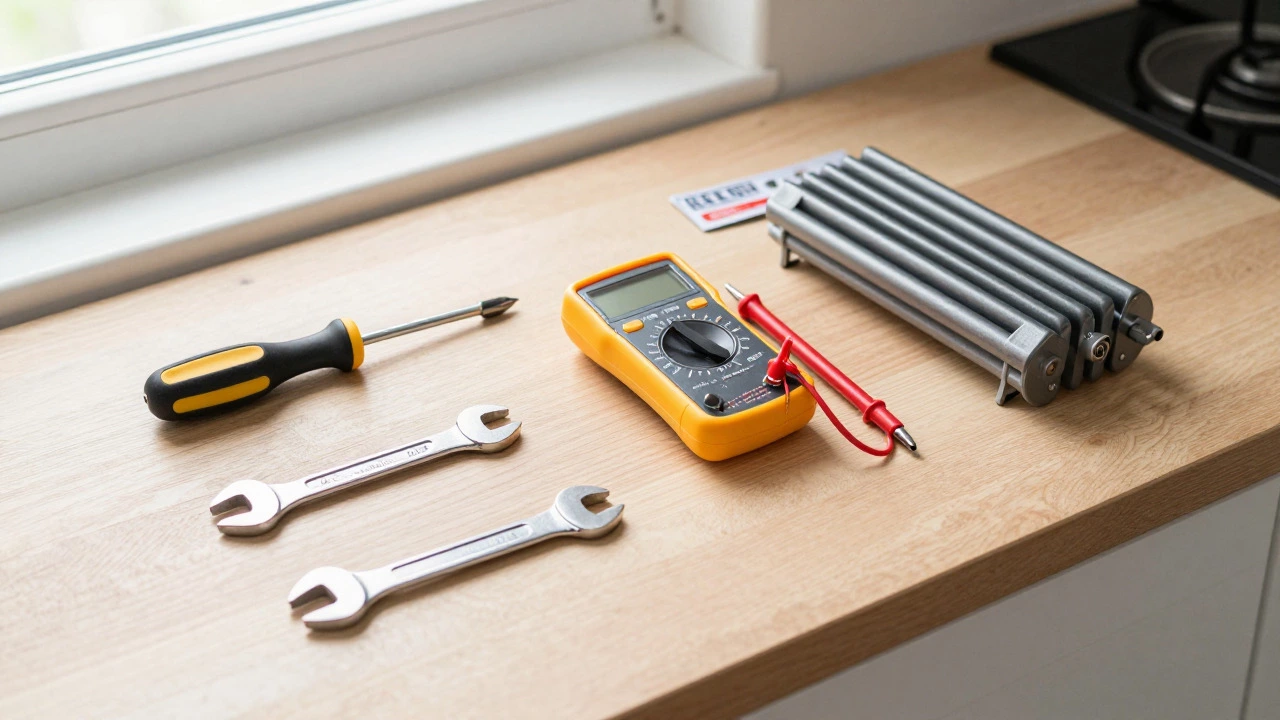
You don’t need expensive equipment for this job. Here’s what you’ll likely need:
- Phillips head screwdriver: For removing screws holding the element brackets.
- Nut driver or wrench set: Some models use nuts instead of screws to secure the element.
- Multimeter: Optional, but useful for verifying the old element is dead and the new one is good.
- New heating element: Check your oven’s model number (usually on a sticker inside the door frame or on the back panel) to find the exact replacement. Common brands include Bosch, Whirlpool, and Neff.
- Insulated gloves: For extra protection when handling hot or sharp components.
Step-by-Step Replacement Process
- Disconnect Power: Unplug the oven from the wall socket. If it’s hardwired, switch off the circuit breaker at the fuse box. Wait 10 minutes for residual heat to dissipate.
- Access the Element: Remove the oven rack closest to the element. In many models, you’ll need to remove the rear panel or the side panels to reach the mounting brackets. Keep screws organized in small bowls so they don’t get lost.
- Disconnect Wiring: Take a photo of the wire connections before detaching them. There are usually two wires connected to the terminals at each end of the element. Loosen the terminal screws and carefully pull the wires off.
- Remove Old Element: Unscrew or unclip the brackets holding the element in place. Gently pull the element out. Be careful not to bend the coils further than necessary.
- Install New Element: Place the new element into the brackets. Ensure it sits securely without touching the oven walls. Reconnect the wires to the corresponding terminals. Tighten screws firmly but don’t over-torque, as this can crack the ceramic insulators.
- Reassemble and Test: Put the panels back on, plug in the oven, and run a test cycle at 180°C (350°F). Listen for any unusual sounds and smell for burning dust, which is normal for the first few minutes.
Common Mistakes to Avoid
Even experienced DIYers make errors that lead to costly mistakes. Here are the pitfalls to watch out for:
- Ignoring Wattage Ratings: Using an element with a higher wattage than specified can overload the circuit and trip breakers. Stick to the manufacturer’s rating, typically 2400W for standard domestic ovens.
- Bending the Coils: Bending the element during installation creates weak points that will fail prematurely. Handle it by the ends only.
- Forgetting to Ground the Circuit: If your oven is hardwired, ensure the ground connection is secure. Poor grounding can cause intermittent heating or tripping RCDs.
- Using Wrong Terminals: While some elements are universal, others have specific terminal positions. Mismatching them can prevent proper heating distribution.
When Should You Call a Professional?
DIY repair is cost-effective, but not always safe or practical. Consider hiring a certified appliance technician if:
- The oven is less than 2 years old and still under manufacturer warranty.
- The wiring behind the element is frayed, burnt, or corroded.
- You lack a multimeter and cannot verify the fault.
- The oven is built into cabinetry with limited access, making panel removal risky.
- You’ve replaced the element twice in the last year, indicating a deeper issue like a faulty relay or control board.
Comparison: DIY vs. Professional Repair
| Factor | DIY Replacement | Professional Service |
|---|---|---|
| Average Cost | £30-£80 (parts only) | £150-£300 (labor + parts) |
| Time Required | 30-60 minutes | 1-2 hours (plus scheduling wait) |
| Skill Level | Beginner to Intermediate | Expert (Certified Technician) |
| Warranty Impact | May void warranty if not authorized | Preserves manufacturer warranty |
| Risk of Error | Moderate (if steps followed correctly) | Low (diagnostic included) |
Maintenance Tips to Extend Element Life
Oven elements last an average of 5-7 years with proper care. To maximize longevity, clean the oven regularly to prevent food buildup from causing hot spots. Avoid slamming the oven door, which can stress the mounting brackets. Also, ensure the ventilation vents are clear so the element doesn’t overheat due to poor airflow. If you notice the element glowing unevenly or taking longer to heat, address it early rather than waiting for total failure.
Frequently Asked Questions
Do I need to replace both top and bottom oven elements?
No, usually only the faulty one needs replacement. Top elements handle broiling, while bottom elements provide consistent baking heat. Test each individually if unsure, but replacing both simultaneously doubles the cost unnecessarily.
What if my oven element glows orange but the oven stays cold?
This suggests the element is working but the thermostat or sensor isn’t cutting off the power correctly. The issue may lie with the temperature sensor or the control board rather than the element itself. A multimeter test on the sensor can confirm this.
Can I use a universal element instead of an OEM part?
Yes, provided the wattage, length, and terminal spacing match exactly. Universal elements from reputable suppliers are often cheaper than OEM parts. Just double-check the specifications against your manual or the old element’s markings.
How long does an oven element typically last?
With regular use, most high-quality elements last 5 to 7 years. Frequent high-temperature cooking or poor ventilation can shorten this lifespan to 3-4 years. Signs of aging include slower preheating times and inconsistent heat distribution.
Is it dangerous to work on an unplugged oven?
Working on an unplugged oven is generally safe, but always verify there’s no live current using a non-contact voltage tester. Residual charge in capacitors on the control board can still pose a risk, so waiting 10 minutes after unplugging is recommended.