Extractor Fan Diagnostic Tool
Step-by-Step Diagnosis
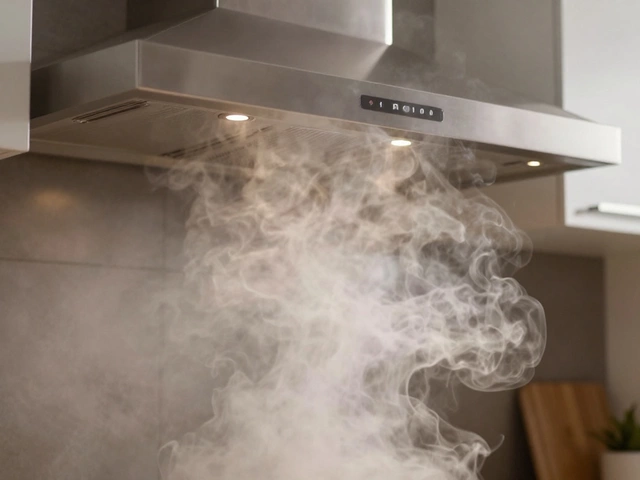
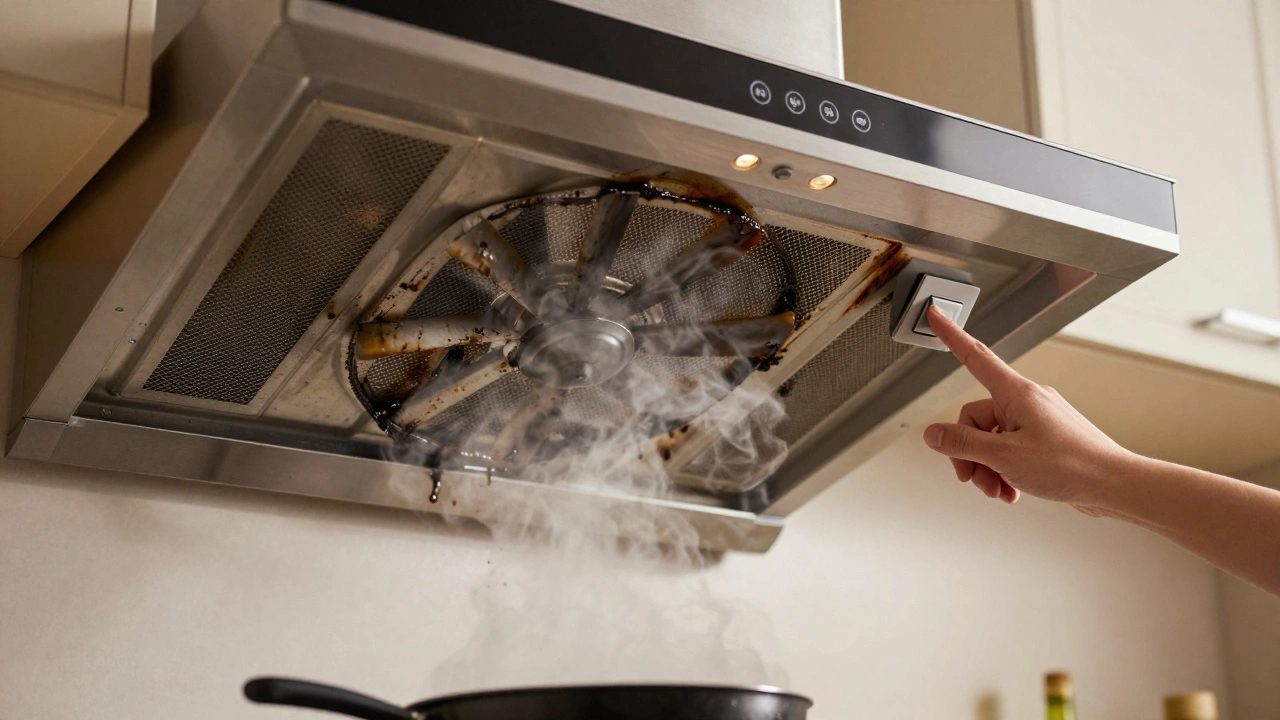
There is nothing quite as annoying as standing over a sizzling pan of onions, eyes watering, only to realize your extractor fan has decided to take a permanent nap.
You reach for the switch. Silence. Or worse, a high-pitched whine that sounds like it’s about to explode. It happens to the best of us. The good news? In most cases, you don’t need to call an expensive technician or buy a brand-new unit. You just need a screwdriver, some patience, and a clear head.
Before we get our hands dirty, let’s talk safety. Electricity and water (or cooking oil) are a bad mix. Always turn off the power at the circuit breaker before touching anything inside the hood. If you’re unsure how to find your breaker box, stop now and call a pro. This guide assumes you have basic comfort with household tools and can identify live wires.
Diagnosing the Problem: Is It Dead, Noisy, or Weak?
Not all broken fans are created equal. Before you start unscrewing panels, figure out exactly what’s wrong. This saves time and prevents unnecessary parts purchases.
- Complete Silence: The fan doesn’t turn on at all. This usually points to a power issue, a tripped breaker, or a failed motor.
- Loud Grinding or Screeching:The bearings are worn out, or something is hitting the blades.
- Vibration but No Airflow: The motor might be running, but the impeller is jammed or disconnected.
- Weak Suction: Grease buildup is choking the airflow, or the ducting is blocked.
If your fan is simply weak, skip ahead to the cleaning section. If it’s noisy or dead, we need to open it up.
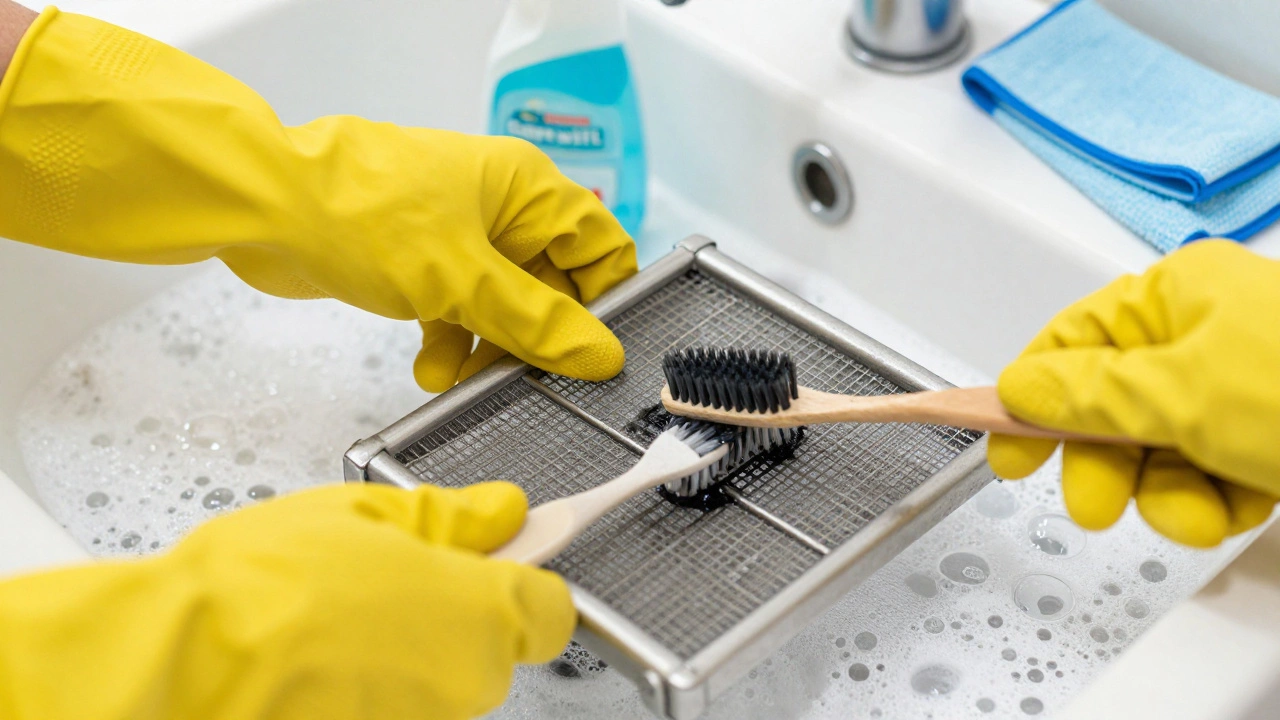
Step 1: The Deep Clean (The Most Common Fix)
Believe it or not, 80% of "broken" extractor fans are just clogged ones. Over time, grease coats the grease filters, the internal blower wheel, and even the motor housing. This adds weight to the spinning components, causing strain, noise, and eventually, failure.
Start by removing the metal mesh filters under the hood. Soak them in hot water with dish soap and a cup of baking soda for 30 minutes. Use an old toothbrush to scrub away the gunk. Rinse and dry completely.
Now, look inside. If you can see thick layers of black sludge on the fan blades, that’s your culprit. For this, you’ll need a degreaser spray. Spray the blades generously, let it sit for 15 minutes, then wipe down with a microfiber cloth. Be careful not to drip liquid into the motor itself. If the motor looks oily, it might already be damaged, but cleaning it first is worth a shot.
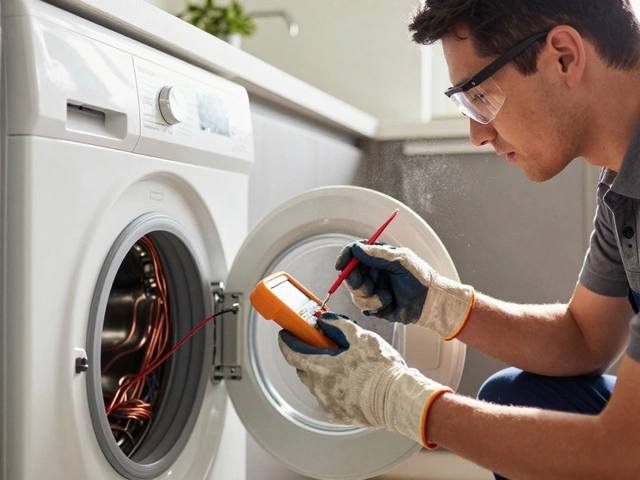
Step 2: Checking the Power Supply
If cleaning didn’t help, let’s check if electricity is actually reaching the fan. Grab a multimeter if you have one. If not, you can do a basic visual inspection.
- Turn off the power at the breaker.
- Remove the outer cover of the hood to access the wiring.
- Check the connections. Are any wires loose or burnt? Tighten any loose terminal screws.
- If your fan has a light, does the light work? If the light works but the fan doesn’t, the issue is likely isolated to the motor or the switch controlling the fan speed.
Sometimes, the problem isn’t the fan at all-it’s the wall switch. Try bypassing the switch temporarily (with power off!) to see if the fan runs when connected directly. If it does, replace the switch. They’re cheap and easy to swap.
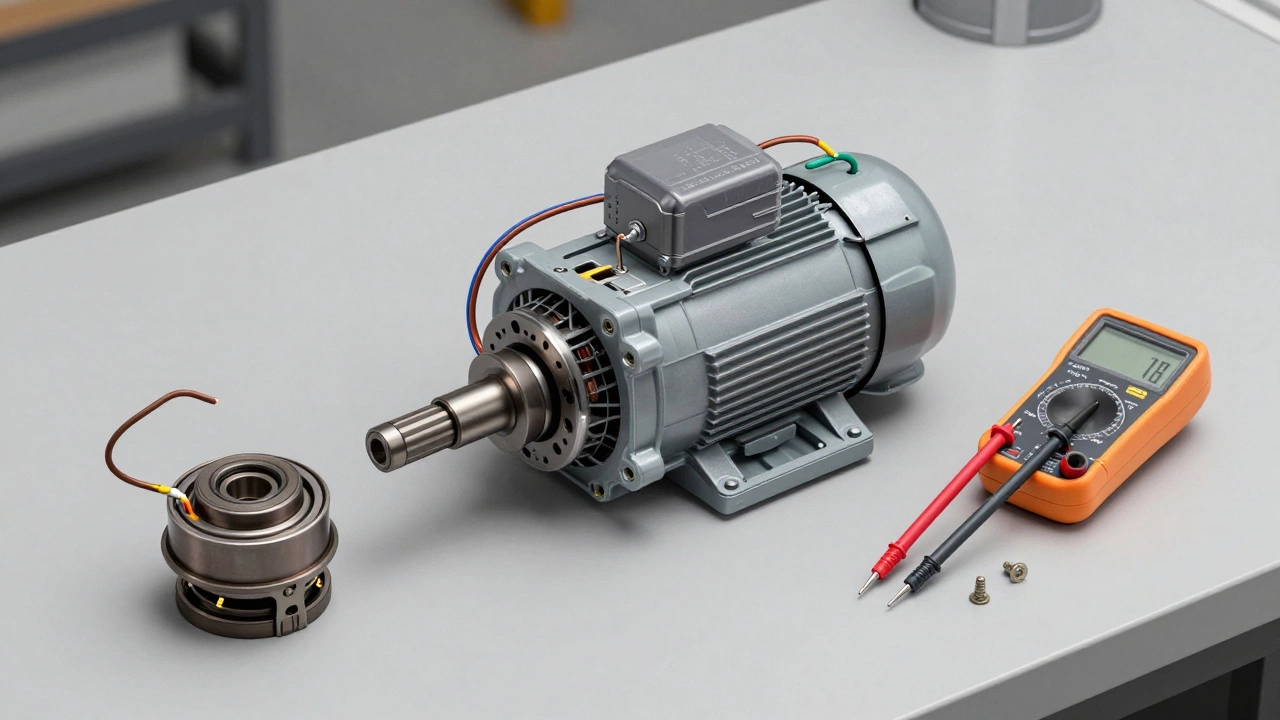
Step 3: Replacing the Motor
If the fan is silent despite having power, or if it hums but doesn’t spin, the fan motor is likely dead. Motors fail due to heat, age, or seized bearings. The good news is that replacement motors are often universal.
To find the right replacement, note the voltage (usually 240V in New Zealand), the wattage, and the shaft size. Take the old motor to a hardware store or search online using these specs. Many modern hoods use standard 1-inch shaft motors.
Installing the new motor involves disconnecting the old wires, unbolting the motor mount, and reversing the process with the new unit. Make sure the wiring colors match: brown to live, blue to neutral, green/yellow to earth. If you’re not confident with electrical work, this is the point where you call a licensed electrician.
Step 4: Addressing Noise Issues
A grinding noise usually means the bearings inside the motor are shot. Sometimes, you can lubricate them with a few drops of silicone-based oil, but this is rarely a permanent fix. If the noise persists after cleaning and lubrication, replace the motor.
A rattling noise might mean the fan blades are loose. Check the set screw on the motor shaft that holds the impeller. Tighten it gently. If the blades are cracked or bent, they need replacing. An unbalanced impeller causes vibration, which leads to premature wear.
Comparison: When to DIY vs. When to Call a Pro
| Issue | Difficulty | Cost Estimate | Recommendation |
|---|---|---|---|
| Clogged Filters | Easy | $0 - $10 | DIY immediately |
| Loose Wires/Switch | Medium | $10 - $30 | DIY if comfortable with electrics |
| Motor Replacement | Hard | $50 - $150 | DIY if experienced; otherwise Pro |
| Ductwork Blockage | Medium | $20 - $60 | DIY if accessible; Pro if in roof/wall |
| Control Board Failure | Very Hard | $100 - $200 | Call a professional |
Maintenance Tips to Prevent Future Breakdowns
Fixing a fan is satisfying, but preventing the next breakdown is smarter. Here’s a simple routine:
- Clean filters monthly: If you cook daily, wash the metal filters every four weeks. Charcoal filters should be replaced every three to six months.
- Run the fan longer: Leave it on for 10-15 minutes after cooking to clear residual moisture and grease from the ducts.
- Check ducts annually: Ensure the external vent flap opens freely and isn’t blocked by bird nests or leaves.
- Lubricate if applicable: Some older models have accessible bearing ports. A drop of oil once a year keeps things smooth.
Remember, a well-maintained extractor fan lasts years longer than a neglected one. Plus, it keeps your kitchen smelling fresh and your air quality high.
Why is my extractor fan making a loud humming noise but not spinning?
This usually indicates a seized motor bearing or a jammed impeller. First, check if the fan blades are physically blocked by debris. If they spin freely by hand, the motor capacitors may be faulty, or the bearings are locked. In either case, the motor likely needs replacement.
Can I use WD-40 to lubricate my extractor fan bearings?
No, avoid using standard WD-40. It is a solvent and cleaner, not a long-term lubricant. It will evaporate quickly and can attract more dust. Instead, use a silicone-based spray or white lithium grease designed for electric motors.
How do I know if my extractor fan motor is blown?
If the fan receives power (you hear a click from the relay or see lights) but the motor doesn’t spin or makes a burning smell, it’s likely blown. You can test continuity with a multimeter. If there’s no continuity across the motor terminals, the winding is broken, and the motor must be replaced.
Is it worth repairing an old extractor fan or buying a new one?
If the repair cost exceeds 50% of the price of a new, energy-efficient model, replace it. Modern fans are quieter, more powerful, and use less electricity. However, if it’s just a motor replacement ($50-$100) and the hood body is in good condition, repairing is often more economical and eco-friendly.
Why does my extractor fan vibrate excessively?
Excessive vibration is typically caused by an unbalanced impeller due to uneven grease buildup or loose mounting screws. Clean the blades thoroughly to remove heavy grease deposits. Then, check that all mounting brackets are tight. If the imbalance persists, the impeller itself may be warped and need replacement.