Cooker Fault Diagnostic Tool
Answer the questions below to diagnose your cooker issue. This tool helps you decide whether to attempt a repair or call a professional.
You’re in the middle of cooking Sunday roast when the cooker suddenly quits. The lights are on, but there’s no heat. Or maybe the temperature dial spins freely, and the oven stays lukewarm regardless of what you set it to. It’s frustrating, expensive to ignore, and often easier to fix than you think.
Before you call a technician for a $150 service call-out, take ten minutes to diagnose the issue yourself. Most cooker faults boil down to three things: a blown fuse, a dead heating element, or a faulty thermostat. With basic tools and a multimeter, you can identify the culprit and decide if it’s a quick swap or a job for the pro.
Key Takeaways
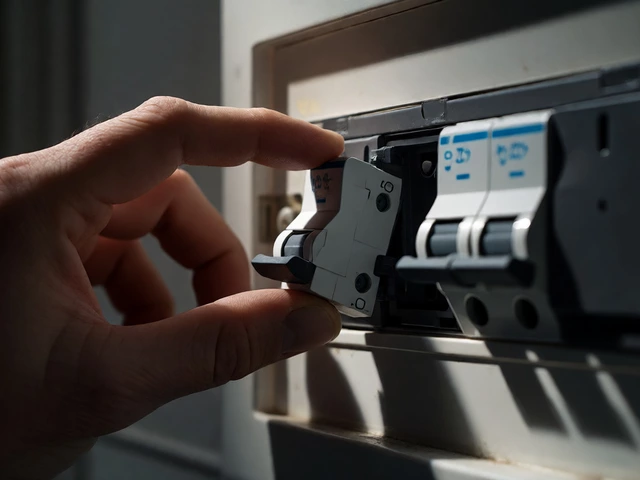
- Safety First: Always isolate power at the mains before touching internal components. For gas cookers, turn off the gas supply valve.
- Diagnose Before Buying: Use a multimeter to test continuity on elements and thermostats. Don’t replace parts blindly.
- Common Culprits: Heating elements and door seals account for over 60% of common cooker failures.
- Know Your Limits: If the main control board is fried or gas valves are leaking, call a certified professional.
Isolate the Problem: Electric vs. Gas
The first step in any cooker repair is understanding what powers your unit. An electric cooker relies on resistive heating elements, while a gas cooker uses burners and ignition systems. Mixing up the diagnostics will waste your time.
If you have an electric model, check if the clock works. If the clock is dead, the issue is likely external-check your home’s circuit breaker or the cooker’s inline fuse. If the clock works but the oven doesn’t heat, the problem is internal. For gas cookers, listen for the clicking sound of the spark igniter. No click? Check the ignition module. Clicking but no flame? Look at the gas supply or the thermocouple safety device.
Testing the Heating Element
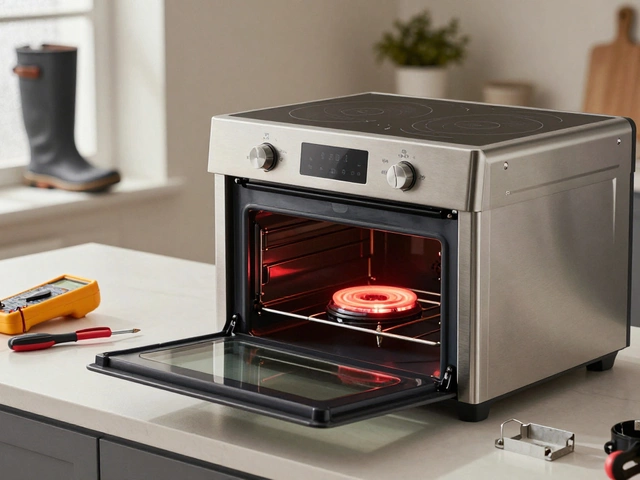
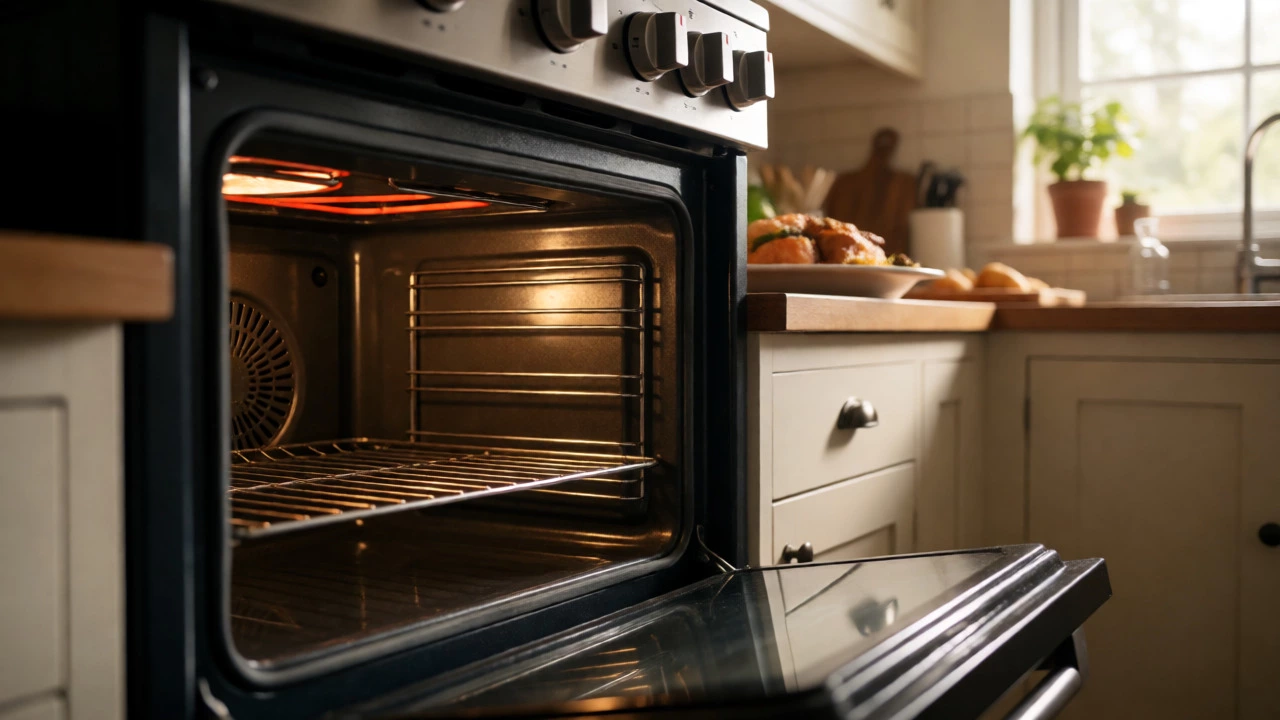
This is the most common failure point in electric ovens. The heating element is a coil that converts electricity into heat. Over time, thermal cycling causes the metal to fatigue and snap.
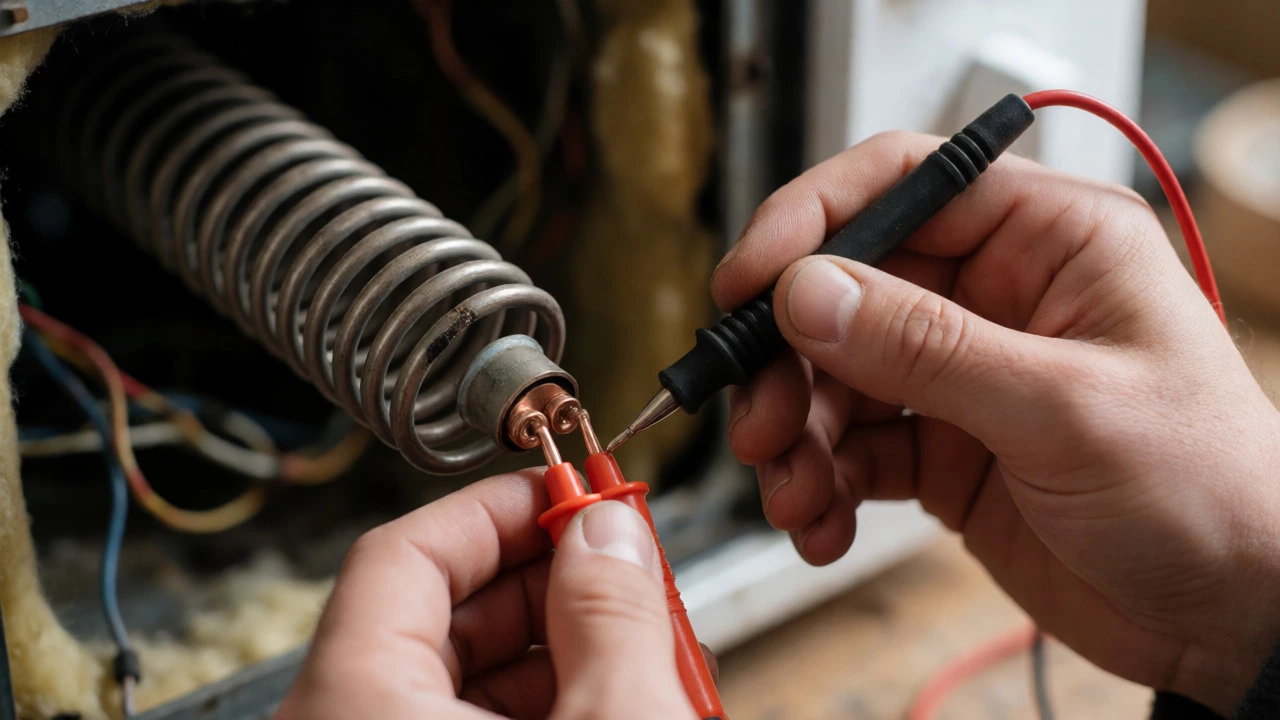
To test it, you need a multimeter. Set it to measure resistance (Ohms). Disconnect the power, remove the element from the oven cavity, and touch the probes to the terminals. A healthy element usually reads between 20 and 100 Ohms, depending on its wattage. If the meter shows "OL" (Open Loop) or infinity, the circuit is broken inside the coil. You need a new one.
Pro Tip: Visual inspection helps too. Look for blistered spots or visible gaps in the coil. If you see physical damage, don’t bother testing; just replace it.
| Symptom | Likely Cause | DIY Fixability |
|---|---|---|
| Oven won't heat | Blown heating element or fan motor | High |
| Uneven baking | Faulty fan motor or blocked vents | Medium |
| Temperature inaccurate | Defective thermostat or sensor | Medium |
| Hob burner won't light | Clogged igniter or dirty electrode | High |
| Gas smell persists | Leaking seal or faulty valve | Low (Call Pro) |
Replacing the Thermostat
If your oven heats up but overshoots the target temperature wildly, the thermostat is likely misbehaving. This component regulates the flow of electricity to the element based on the internal temperature. When it fails, it either sticks open (no heat) or closed (overheating).
Accessing the thermostat usually requires removing the rear panel of the cooker. Once exposed, you’ll see a capillary tube extending into the oven cavity. Do not kink this tube during removal or installation; it contains sensitive gas that expands with heat. To test, use your multimeter for continuity. At room temperature, it should show continuity (close to 0 Ohms). If it doesn’t conduct, it’s dead.
Replacement is straightforward: disconnect the wires (take a photo first!), unscrew the mounting bracket, and install the new unit. Ensure the capillary tube is positioned exactly where the old one was. Incorrect placement leads to inaccurate readings.
Fixing the Door Seal
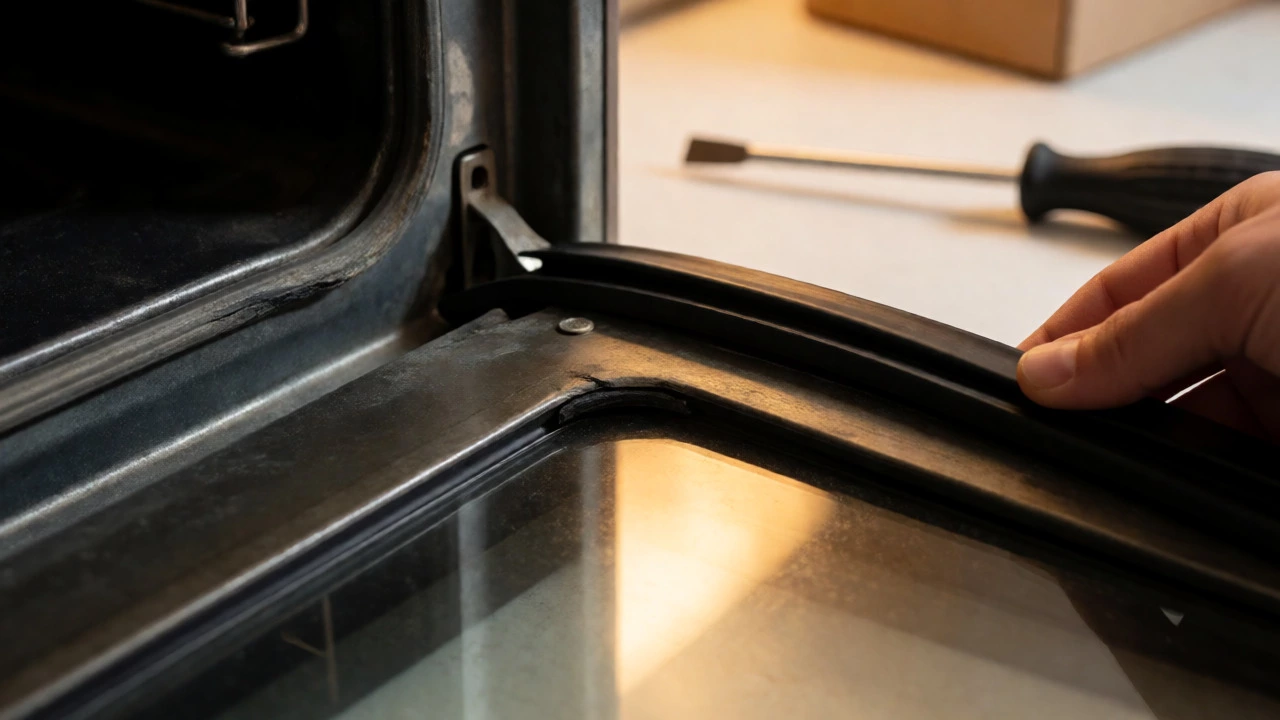
A torn door gasket might seem minor, but it’s a major energy waster. Heat escapes, forcing the element to work harder, which shortens its lifespan. Inspect the rubber seal around the oven door. Look for cracks, brittleness, or sections that have pulled away from the frame.
Most modern cookers use clip-in seals. Gently pry out the old seal using a flat-head screwdriver. Clean the channel thoroughly with warm soapy water to remove grease buildup. Press the new seal firmly into place, working your way around the perimeter. Start at the corners and work toward the center to avoid bunching. A good seal should offer slight resistance when closing the door.
When to Call a Professional
There’s a line between handy DIY and dangerous tinkering. In New Zealand, gas appliances must be serviced by a registered gasfitter if you’re dealing with internal gas lines or valves. Never attempt to repair a gas leak yourself unless you’re qualified.
Similarly, if the fault lies within the electronic control board-the brain of the cooker-replacement is costly and complex. These boards often fail due to moisture ingress or power surges. Diagnosing them requires specialized equipment. If you’ve checked the elements, fuses, and thermostats, and the cooker still refuses to cooperate, it’s time to book a technician. Sometimes, especially with older units, the cost of parts plus labor exceeds the value of the appliance itself.
Maintenance Tips to Prevent Future Breakdowns
Prevention beats cure every time. Here’s how to keep your cooker running smoothly:
- Clean Spills Immediately: Sugary liquids can corrode elements and seep into controls.
- Check Ventilation: Ensure air vents aren’t blocked by kitchen towels or boxes.
- Use Proper Cookware: Flat-bottomed pans distribute heat evenly on hobs, reducing strain on burners.
- Annual Deep Clean: Remove racks and scrub the cavity. Grease buildup acts as insulation, causing hotspots.
Can I replace a cooker heating element myself?
Yes, provided you have isolated the power source. Most elements are held in place by two screws and connected via spade terminals. As long as you match the part number and wattage, it’s a simple swap that takes under 30 minutes.
Why does my oven smell like burning plastic?
This often indicates a loose wire touching the hot casing or a melting insulation sleeve near the terminal block. Turn off the cooker immediately and inspect the wiring connections behind the rear panel. Tighten any loose screws and ensure wires aren’t resting against hot surfaces.
How much does it cost to repair a cooker in NZ?
As of 2026, expect to pay between $120 and $250 for a standard service call-out and labor. Parts vary: heating elements range from $40 to $80, while thermostats cost around $30-$60. If the quote exceeds $300, consider whether a new appliance is more economical.
My gas hob clicks but doesn't light. What do I do?
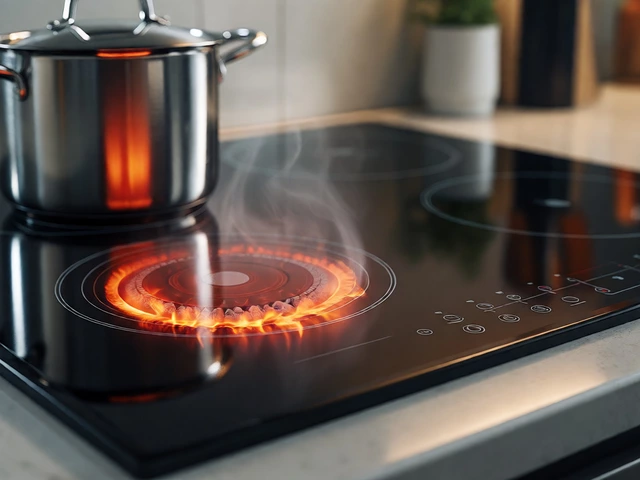
First, clean the igniter electrode with a toothbrush to remove food debris. If that fails, check if the gas supply is on. If both are fine, the spark generator may be faulty. This is a common wear-and-tear item on older hobs and is relatively cheap to replace.
Is it worth repairing an old cooker?
If the cooker is less than 7 years old and the body is in good condition, yes. Repairs typically cost 10-20% of a new unit's price. However, if the enamel is chipping badly or the control knobs are cracked beyond usability, investing in a new model with better energy efficiency ratings is usually smarter.