Extractor Fan Service Checklist
Your Service Steps
Complete steps in order for safety and effectiveness
Safety & Tips
Before starting, please review the safety steps below:
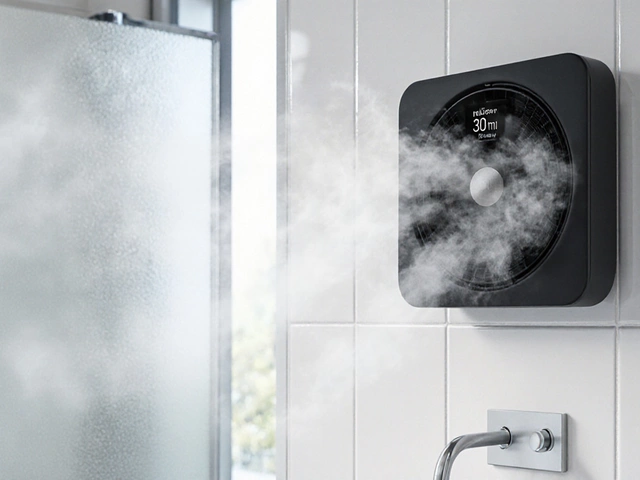
If your bathroom extractor fan is making a loud noise, isn’t pulling air properly, or smells musty even after you’ve cleaned the grille, it’s not broken-it just needs servicing. Most people think they need to replace these fans when they start acting up, but 9 out of 10 times, a simple cleaning and inspection will fix the problem. And it’s not as hard as you think. With basic tools and 30 minutes, you can get your fan running quietly and efficiently again.
Why servicing your extractor fan matters
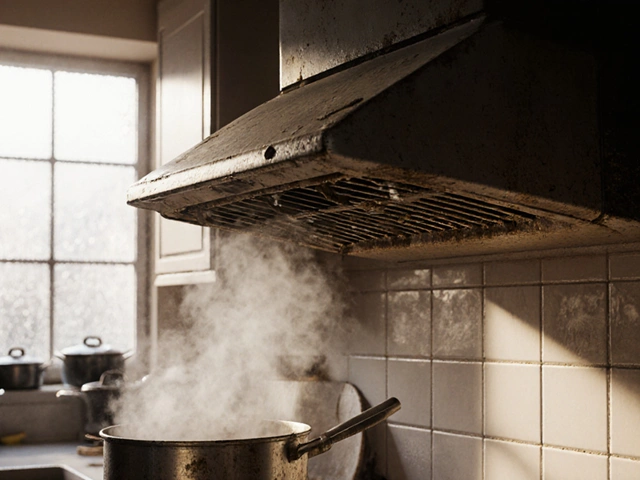
Bathroom extractor fans pull damp air out of your home to prevent mold, mildew, and rot. Over time, dust, hair, soap scum, and grease build up inside the fan housing and on the blades. This clog reduces airflow by up to 60%, forcing the motor to work harder. That means higher electricity bills and a shorter lifespan for the unit.In a humid climate like Wellington’s, where dampness lingers in bathrooms year-round, a clogged fan can lead to peeling paint, warped wood, and even black mold on ceiling tiles. Servicing your fan every 6 to 12 months keeps your bathroom dry, your air clean, and your repair bills low.
What you’ll need
You don’t need special tools or professional training. Here’s what’s in your toolbox:- Screwdriver (flathead or Phillips, depending on your fan)
- Soft brush or old toothbrush
- Vacuum cleaner with brush attachment
- Microfiber cloth
- Isopropyl alcohol (70% or higher)
- Replacement grease filter (if your model has one)
- Latex gloves (optional, but helpful)
Most fans have a removable grille held by two or three screws. If yours is stuck, gently pry it with a plastic spatula-never use a metal knife. You don’t want to scratch the finish.
Step 1: Turn off the power
Safety first. Go to your circuit breaker and turn off the power to the bathroom. Don’t rely on the light switch-it might control only the light, not the fan. If you’re unsure, test the fan with a non-contact voltage tester. If it beeps, keep the power off.Step 2: Remove the grille and fan cover
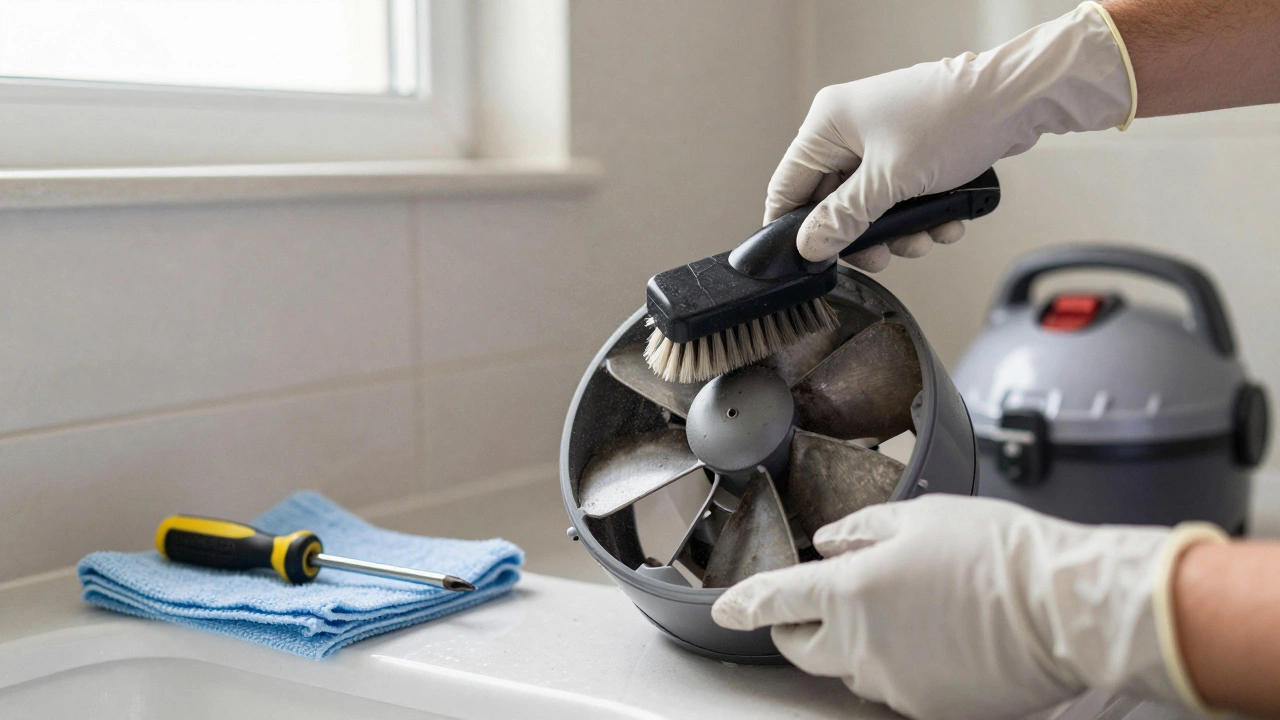
Unscrew the grille. Some models have clips instead of screws-press gently around the edges to release them. Once the grille is off, you’ll see the fan housing. There may be another cover or cage holding the motor in place. Remove those screws too. Take note of how everything fits together. If you’re unsure, take a photo with your phone before removing parts.Step 3: Clean the blades and housing
Dust and grime cling to the fan blades like sticky tape. Use your soft brush to loosen the buildup. Then vacuum the debris away. For stubborn gunk, dip a microfiber cloth in isopropyl alcohol and wipe each blade. Alcohol evaporates fast and won’t leave residue. Don’t soak the motor or electrical parts-just clean the plastic and metal surfaces.If you see thick grease (common in bathrooms near kitchens or where steam is heavy), use a drop of dish soap on the cloth. Rinse the cloth with clean water afterward and wipe again. Never use oven cleaner or bleach-they can damage plastic components.

Step 4: Check the grease filter
Many newer fans have a removable grease filter behind the grille. If yours does, pull it out. These filters are usually made of aluminum mesh. If it’s caked in grease and looks like a dirty sponge, replace it. They cost less than $15 online or at hardware stores. If it’s just dusty, wash it in warm soapy water, rinse, and let it dry completely before putting it back.Step 5: Inspect the motor and wiring
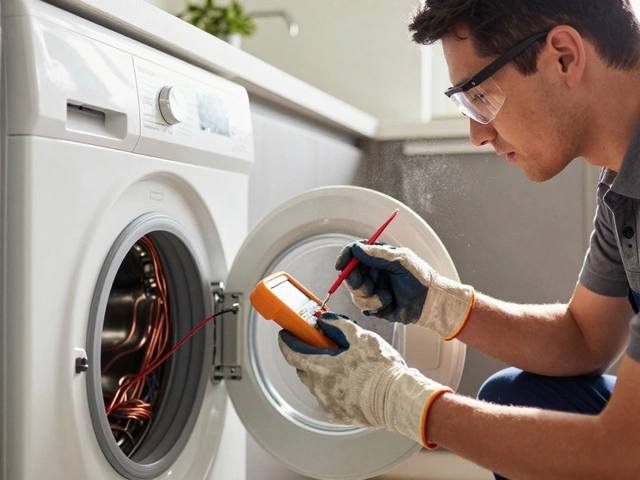
Look at the motor. Is there any visible damage? Frayed wires? Burn marks? If you see melted plastic or charred wires, stop. Don’t turn the power back on. You’ll need a professional to replace the unit. If everything looks clean and intact, give the motor shaft a gentle spin with your finger. It should turn smoothly. If it feels gritty or stuck, the bearings may be worn out. That’s a sign the fan is nearing the end of its life.Step 6: Reassemble and test
Put everything back in reverse order. Make sure the blades spin freely before screwing the cover back on. Double-check that no wires are pinched. Turn the power back on. Flip the switch. Listen. The fan should hum quietly and pull air strongly. If it’s still noisy or weak, you might have a blocked duct.Check the ducting
The fan doesn’t work alone-it pushes air through a duct to the outside. If that duct is kinked, crushed, or full of bird nests, airflow suffers. Go to your roof or side wall and check the external vent. Is it clear? Is the flap opening properly? If you see leaves, spiderwebs, or even a dead mouse, clean it out. Use a long brush or a vacuum hose to reach inside. If the duct is made of flexible plastic and looks saggy, consider replacing it with rigid metal ducting. It lasts longer and resists mold buildup.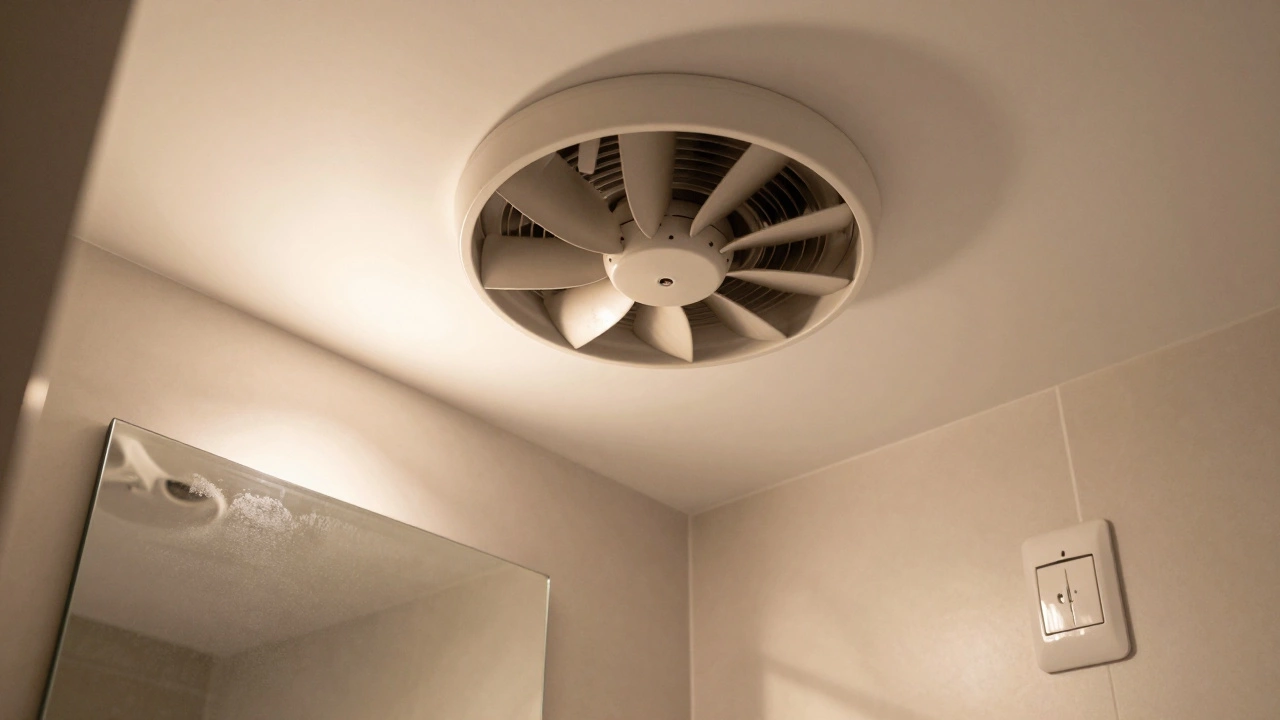
When to replace instead of repair
Not every fan can be saved. Here’s when to call it quits:- The motor smells like burning plastic
- The fan runs but doesn’t move air (even after cleaning)
- It makes grinding or screeching noises that won’t go away
- The housing is cracked or warped from heat or moisture
- You’ve serviced it twice in the last year and it’s still failing
Older fans (15+ years) often use inefficient motors and are no longer supported by manufacturers. Newer models use less power, run quieter, and come with humidity sensors that turn the fan on automatically. A decent replacement costs between $80 and $150 and pays for itself in lower electricity bills within a year.
Prevent future problems
A little maintenance goes a long way. Set a reminder on your phone every six months to check your extractor fan. Clean the grille monthly with a dry cloth. Keep the bathroom well-ventilated by leaving the door open after showers. Install a timer switch so the fan runs for 20 minutes after you leave the room. That’s enough time to remove moisture without wasting energy.If you’re replacing your fan, look for one with an IP rating of at least IP44-this means it’s safe for bathroom use. Brands like Vent-Axia, Xpelair, and extractors from Breezart are common in New Zealand homes and have good local support.
Common mistakes to avoid
- Using water to clean the motor-this can cause short circuits
- Forgetting to turn off the power-electrical shock is real
- Reinstalling the fan upside down or backwards-airflow matters
- Using duct tape to seal joints-mold grows behind it. Use aluminum foil tape instead
- Ignoring the external vent-most failures start here
Don’t assume your fan is working just because it’s spinning. If your mirror still fogs up after 15 minutes, or if you smell dampness in the hallway, your fan isn’t doing its job. Servicing it now saves you from expensive ceiling repairs later.
How often should I service my bathroom extractor fan?
Service your bathroom extractor fan every 6 to 12 months. If you have a large family, use the bathroom frequently, or live in a humid climate like Wellington, clean it every 6 months. If you rarely use the bathroom, once a year is enough. Don’t wait until it stops working-clean it before the grime builds up.
Can I clean the extractor fan with water?
You can clean the grille, blades, and housing with a damp cloth, but never pour water directly into the fan or spray it near the motor. Use isopropyl alcohol or a mild soapy solution instead. Water can damage electrical components, cause rust on metal parts, or leave mineral deposits that attract more dust. Always dry everything thoroughly before reassembling.
Why is my extractor fan so noisy after cleaning?
If your fan is louder after cleaning, the blades might be unbalanced or the motor bearings are worn. Check that all screws are tight and the fan is seated properly. If the noise is a grinding sound, the motor is likely failing. Try spinning the blades by hand-if they feel rough or catch, the bearings need replacing. Most fans aren’t designed for bearing repair, so replacement is usually the best option.
Do I need to replace the duct when I service the fan?
Not always, but you should check it. Flexible plastic ducts sag over time, collect moisture, and trap mold. If it’s kinked, crushed, or looks brittle, replace it. Rigid metal ducting lasts longer, resists mold, and moves air more efficiently. If the duct runs through a cold space like an attic, insulate it to prevent condensation. Clean the external vent at least once a year-birds and insects love nesting there.
What’s the best extractor fan for a small bathroom?
For a small bathroom (under 5m²), look for a fan with a flow rate of 15-20 liters per second (L/s) and an IP44 rating. Models like the Vent-Axia Centra 20 or Xpelair S100S are quiet, energy-efficient, and widely available in New Zealand. Choose one with a timer or humidity sensor so it runs long enough to remove moisture without you having to remember to turn it off.
Can I install a new extractor fan myself?
Yes, if you’re comfortable with basic wiring and drilling. Most modern fans come with mounting brackets and simple wiring instructions (live, neutral, earth). Turn off the power, match the wires by color, and secure the unit firmly. If your existing duct doesn’t line up, you may need to cut a new hole in the wall or ceiling. If you’re unsure about electrical work, hire a licensed electrician. Safety matters more than saving a few dollars.
Next steps
Start by checking your fan today. Turn off the power, remove the grille, and take a look inside. If it’s dusty, clean it. If it’s caked in grease, clean it again. If you’re not sure what you’re seeing, take a photo and compare it to online images of clean vs. clogged fans. Most people are surprised how much gunk comes out-even if they thought the fan was working fine.After you’ve serviced it, set a calendar reminder for six months from now. Make it a habit. Your walls, your air, and your wallet will thank you.