Electric Oven Replacement Difficulty & Cost Estimator
Assess whether you should tackle this job yourself or call in a pro. This tool estimates difficulty based on your oven type and electrical setup.
Key Considerations:
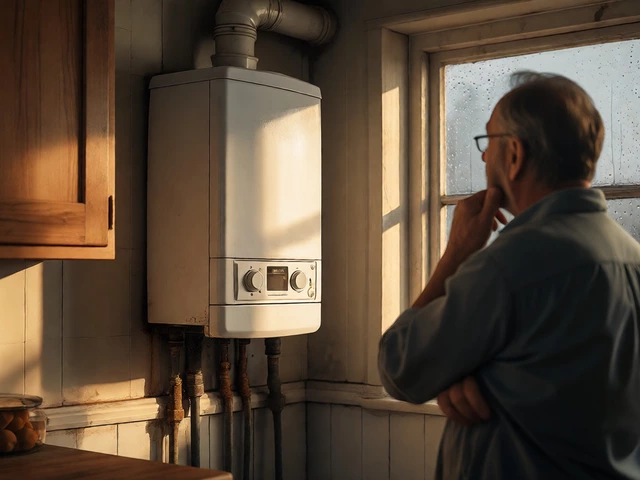
You’re staring at your old electric oven, which is a kitchen appliance that uses electricity to generate heat for cooking. The bake element just gave up, or maybe the control board is glitching out again. You’ve decided it’s time for a new one. But then doubt creeps in: Is it hard to replace this thing yourself? Can you actually do it without calling a technician and paying hundreds of dollars?
The short answer is: No, it’s not technically "hard" if you are handy with tools and follow safety rules. But it is heavy, awkward, and involves high-voltage electricity. If you mess up the wiring, you risk fire or shock. So, while the physical act is straightforward, the electrical connection requires respect and precision.
Key Takeaways
- Difficulty Level: Moderate. Easier than plumbing, harder than swapping a toaster.
- Time Required: 1-3 hours for a standard freestanding range; longer for built-in wall ovens.
- Cost Savings: $150-$400 compared to hiring a professional installer.
- Critical Risk: Incorrect wiring can damage the new oven or trip breakers repeatedly.
- Best For: Freestanding ranges with plug-in connections or simple terminal blocks.
Freestanding vs. Built-In: Which Are You Dealing With?
Before you buy anything, look at how your current unit sits in the kitchen. This determines 80% of the difficulty.
A freestanding range is a standalone appliance that sits on the floor against a wall. It usually has finished sides and backsplash controls. These are generally easier to swap because they often connect via a standard power cord plugged into a wall outlet. If yours has a plug, you’re in luck. Unplug it, slide it out, and you’re halfway done.
A built-in wall oven is installed directly into cabinetry. It doesn’t sit on the floor but is mounted inside a cabinet frame. These are trickier. They require precise measurements, mounting brackets, and often hard-wired electrical connections behind the cabinet wall. If you have a cooktop separate from the oven, you’re dealing with two separate installations. Wall ovens demand more carpentry skills and careful alignment.
| Feature | Freestanding Range | Built-In Wall Oven |
|---|---|---|
| Electrical Connection | Often plug-in (NEMA 6-50P) | Usually hard-wired |
| Physical Removal | Slide out on castors/wheels | Unscrew brackets, lift out |
| Cabinetry Work | Minimal (trim kit only) | Significant (cutting/fitting) |
| DIY Suitability | High | Moderate/Low |
The Electrical Reality Check
This is where most DIYers get nervous. In New Zealand and many other places, large electric ovens run on either single-phase 230V or split-phase 240V systems depending on your region’s grid standards. In Wellington, we use standard household voltage, but high-power appliances like ovens draw significant amperage-often between 30 and 50 amps.
Check your breaker box. Your oven should be on its own dedicated circuit. If you try to plug a new 50-amp oven into a 15-amp kitchen outlet, you’ll blow a fuse instantly. More importantly, check the wiring type. Does your old oven have a cord and plug? Or did the installer wire the copper conductors directly into a junction box behind the unit?
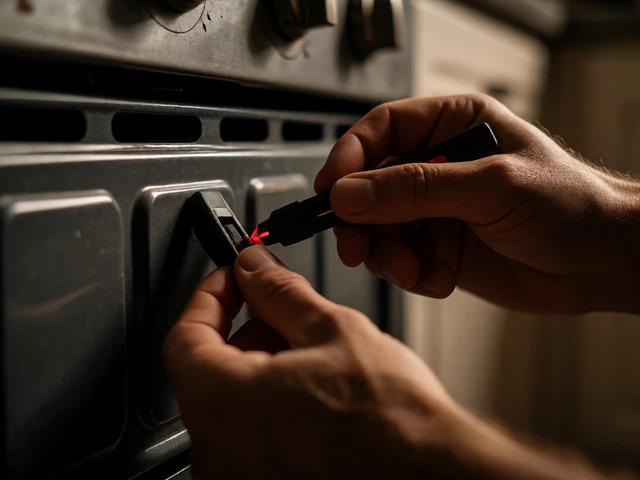
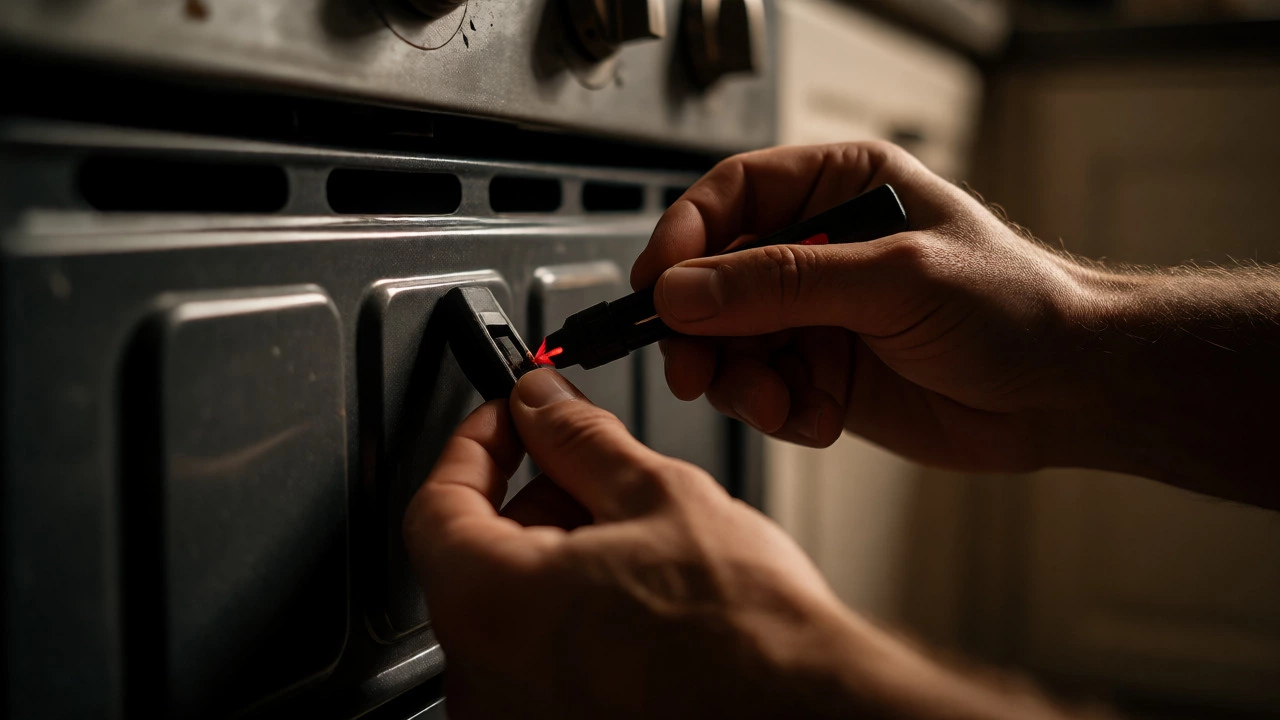
If it’s hard-wired, you must turn off the main breaker for that circuit before touching anything. Use a non-contact voltage tester to confirm the wires are dead. Never trust the switch alone. If you aren’t comfortable identifying live wires, ground wires, and neutral lines, call an electrician. Wiring mistakes here don’t just mean a broken appliance; they can start house fires.
Tools You Actually Need
You don’t need a full workshop, but having the right gear makes the job less frustrating. Here is what you should have ready:
- Socket Set: Specifically 10mm, 12mm, and sometimes 13mm sockets for removing back panels and mounting brackets.
- Screwdrivers: Phillips head and flathead. Some screws may be stripped or rusted, so a good grip helps.
- Adjustable Wrench: Useful for disconnecting gas lines if you have a dual-fuel setup, though this guide focuses on electric.
- Non-Contact Voltage Tester: Essential for safety. Do not skip this.
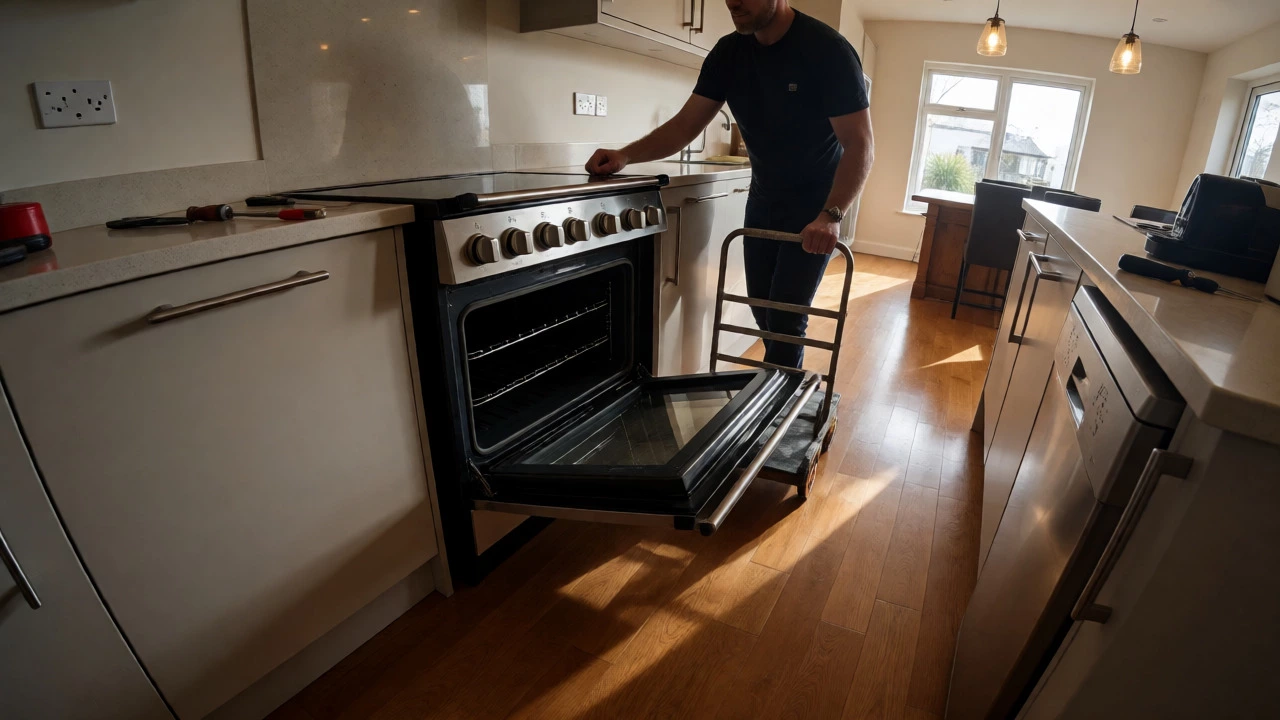
- Appliance Dolly: Ovens weigh 50kg to 100kg. Dragging them across vinyl or hardwood floors scratches the finish and strains your back. A dolly saves your knees.
- Level: Critical for built-ins. An unlevel oven causes uneven baking and door alignment issues.
Step-by-Step: Replacing a Freestanding Range
If you have a freestanding model, follow these steps carefully. Rushing leads to damaged cabinets or torn wires.
- Disconnect Power: Go to your switchboard and flip the breaker labeled 'Oven' or 'Range'. Test the outlet with your voltage tester to ensure it’s off.
- Pull the Unit Out: Open the oven door slightly to access the front feet. Loosen the leveling legs using a wrench. Carefully pull the oven forward. Watch out for the power cord-it might be tangled behind the unit.
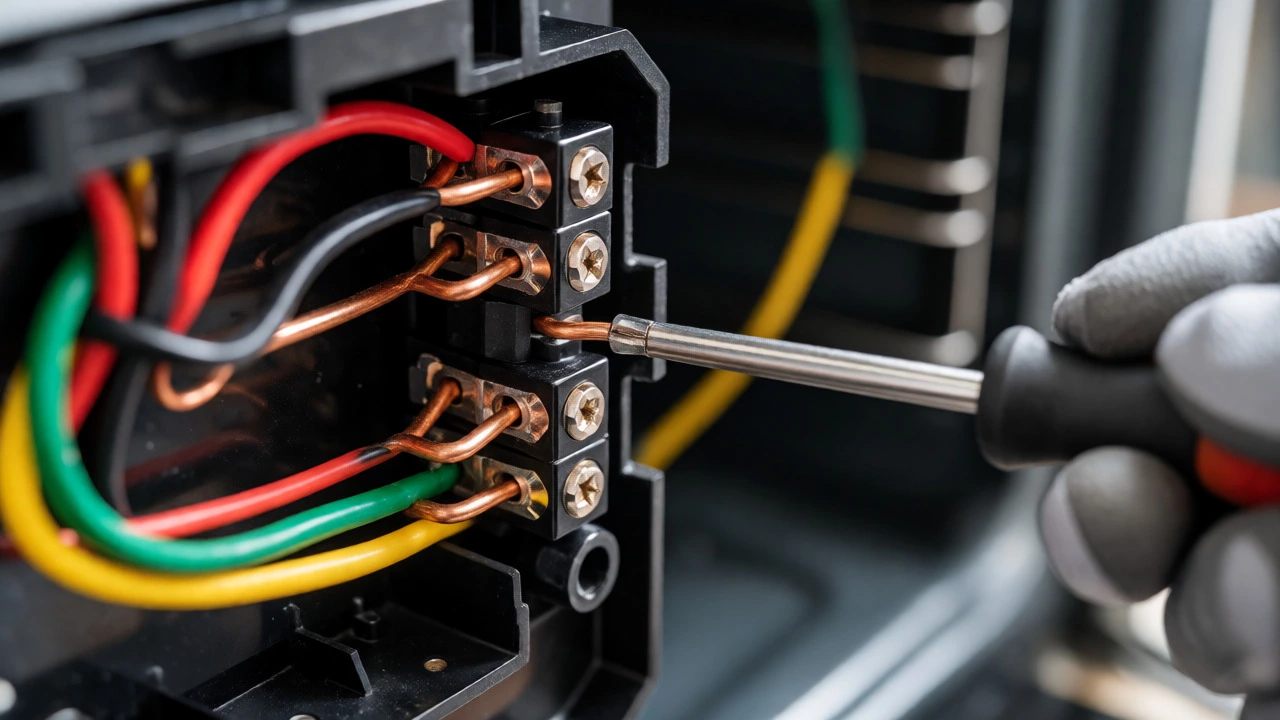
- Remove Old Connections: If hard-wired, remove the back panel cover. Note the color coding of the wires (Live, Neutral, Earth) with tape or photos before disconnecting. If plugged in, simply unplug it.
- Clear the Space: Vacuum under the old oven. Crumbs and grease build up over years and attract pests. Wipe down the surrounding cabinets.
- Prepare the New Oven: Remove all packaging materials, including internal foam blocks and tape. Install any included trim kits if necessary to match your cabinet width.
- Connect Power: Match the new oven’s wires to the house supply. Typically, black/red to Live, white to Neutral, green/yellow to Earth. Tighten terminal screws firmly. Loose connections cause arcing and heat.
- Slide It Back: Push the new oven into place. Ensure the power cord isn’t pinched underneath. Adjust the leveling legs until the unit is stable and level both side-to-side and front-to-back.
- Test Run: Turn the breaker back on. Set the oven to 180°C for 10 minutes. Check if it heats evenly and if the timer works.
Common Pitfalls That Ruin DIY Jobs
Even experienced handymen make mistakes when swapping appliances. Here are the big ones to avoid:
Ignoring Ventilation Clearance: Modern ovens generate heat differently than older models. Check the manufacturer’s manual for required clearance above and beside the unit. Blocking vents can trigger thermal cut-offs or warp nearby cabinets.
Forgetting the Gas Line (if applicable): Even if you are replacing an electric oven, sometimes homes have hybrid setups. Double-check there are no hidden gas pipes running behind the kickboards.
Scratching Floors: Never drag a heavy appliance across tile or wood. Always lift or use sliders. Once you scratch your expensive flooring, you can’t undo it.
Assuming Plug Compatibility: Just because the plug fits doesn’t mean the voltage matches. Verify the rating on the new oven’s nameplate matches your home’s electrical capacity. A mismatch here is dangerous.
When to Call a Professional
While DIY is possible, some scenarios scream "call a pro."
- Hard-Wiring Confusion: If the wire colors in your wall don’t match the new oven’s instructions, stop. Different generations of wiring standards exist.
- Built-In Complexity: If you need to modify cabinetry, cut holes, or install custom brackets, hire a joiner or installer.
- Old Wiring: If your house has very old cloth-covered wiring or aluminum conductors, consult an electrician before connecting modern high-draw appliances.
- Warranty Concerns: Some manufacturers void warranties if installation isn’t certified by a licensed professional. Check your contract.
Related Concepts and Next Steps
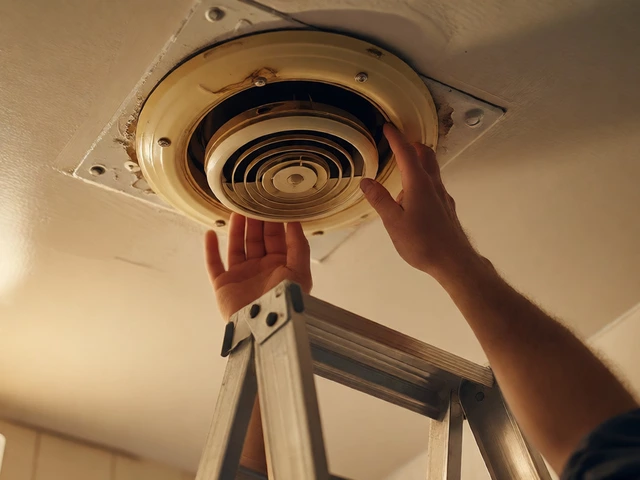
Replacing an oven is part of broader appliance maintenance. Once installed, regular cleaning prevents buildup that affects performance. Also, consider upgrading your extractor fan if it’s outdated, as proper ventilation protects your new oven’s electronics from steam damage.
If you decide to hire someone, ask for quotes from local Wellington technicians who specialize in oven repair. They often offer installation packages that include haul-away services for your old unit, saving you a trip to the tip.
Can I replace an electric oven myself?
Yes, if you have basic mechanical skills and understand electrical safety. Freestanding ranges with plug-in connections are easiest. Built-in units requiring hard-wiring or cabinet modifications are more challenging and may require professional help.
How much does it cost to hire someone to replace an oven?
In New Zealand, professional installation typically costs between $150 and $300 NZD for a standard freestanding range. Built-in ovens may cost more due to additional labor for fitting and wiring adjustments.
Do I need a special outlet for an electric oven?
Most electric ovens require a dedicated 30-amp or 50-amp circuit. Standard kitchen outlets (10-amp) cannot handle the load. Check your existing wiring; if you are switching from gas to electric, you will likely need an electrician to upgrade the circuit.
What happens if I wire the oven incorrectly?
Incorrect wiring can blow fuses, trip breakers, damage the oven’s control board, or create a fire hazard due to overheating terminals. Always double-check connections and test with a multimeter before powering on.
Can I move an electric oven after installation?
Yes, but you must disconnect the power first. Be cautious of the power cord or hard-wired connections getting caught or strained during movement. Use an appliance dolly to prevent floor damage and personal injury.