Extractor Fan Size Calculator
Enter your room dimensions below to determine the minimum airflow rate (Liters per Second) required for effective moisture control in New Zealand homes.
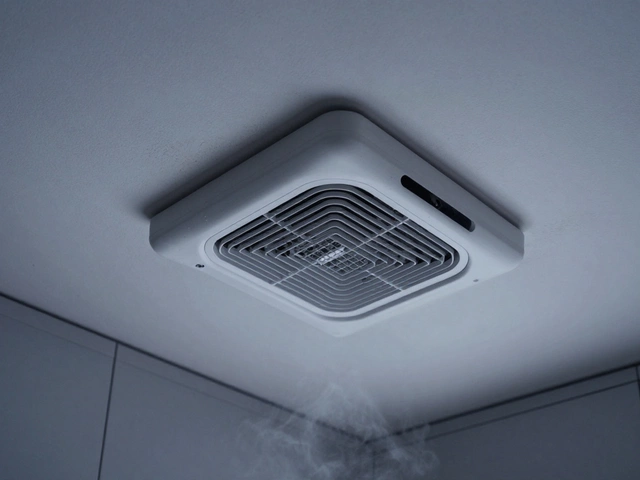
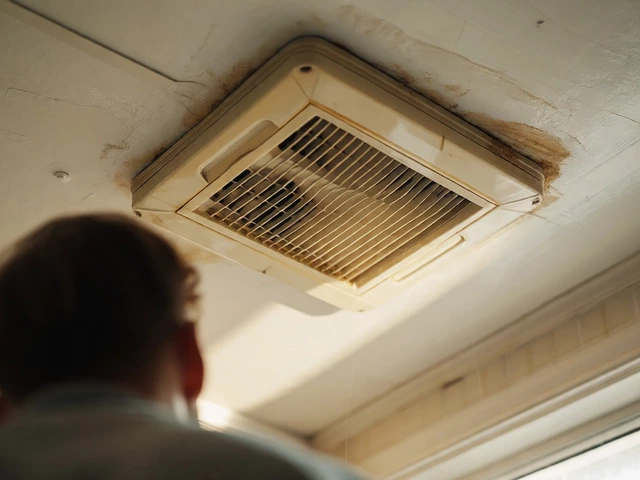
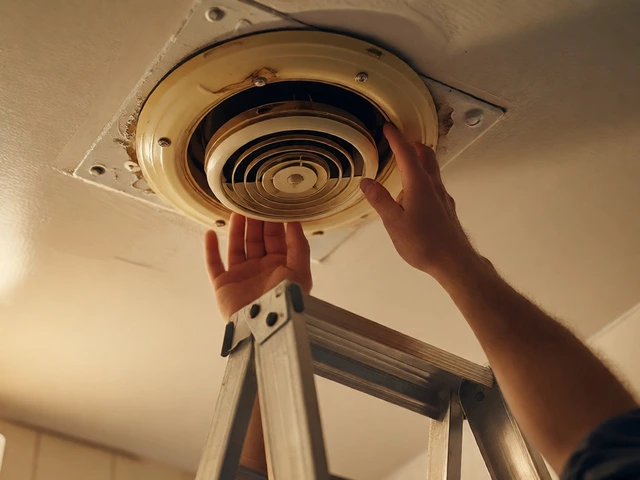
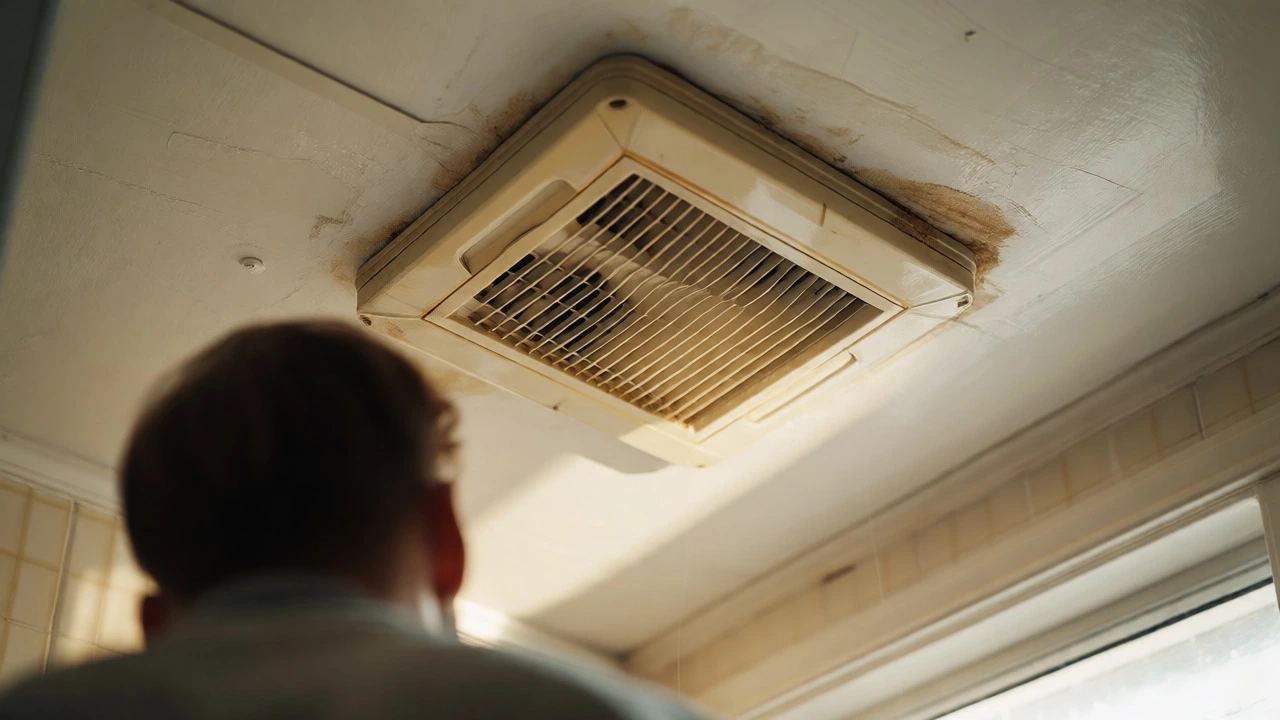
You stare up at the ceiling of your bathroom or kitchen. The extractor fan is making a noise like a dying lawnmower, or worse, it’s just humming quietly while doing absolutely nothing to clear the steam from your shower. You know you need to replace it. But the thought of messing with wires and ladders makes you hesitate. Is this a weekend project you can handle, or do you need to call in a professional?
The short answer? For most standard setups, it is surprisingly easy. If you can change a lightbulb and use a screwdriver, you have 90% of the skills required. The remaining 10% is respecting electricity. This guide breaks down exactly what makes some replacements tricky and others straightforward, so you can decide if you’re ready to grab your ladder.
Assessing Your Current Setup
Before you buy anything, you need to look at what you currently have installed. Not all fans are created equal, and the difficulty level depends entirely on how the old unit was mounted and wired. There are three main types you’ll likely encounter:
- Ceiling-mounted inline fans: These sit inside the roof cavity or attic space. The visible part is just a grille in the ceiling. Replacing these is often the easiest because you rarely touch the high-voltage wiring directly; you usually just swap the motor unit or the whole assembly if it’s integrated.
- Bathroom exhaust fans (ceiling): These are common in New Zealand homes. They sit flush against the ceiling joists. Some are "plug-in" models where the fan unit plugs into a junction box above the ceiling. Others are hardwired.
- Kitchen rangehood fans: These are built into cabinets or wall units. Access is tighter, but the wiring is usually more accessible behind the cabinet panels.
If your fan has a removable cover that reveals screws holding a motor housing, you’re in luck. If you have to cut drywall or plasterboard to get to the unit, you might want to reconsider your DIY ambitions unless you’re also planning to patch and paint.
The Safety First Rule: Power Off
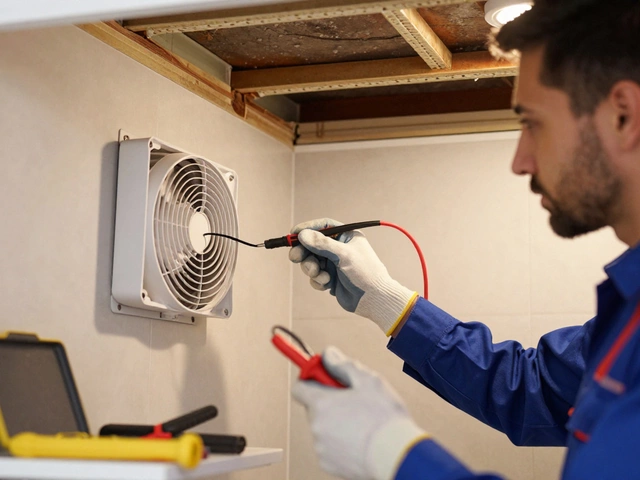
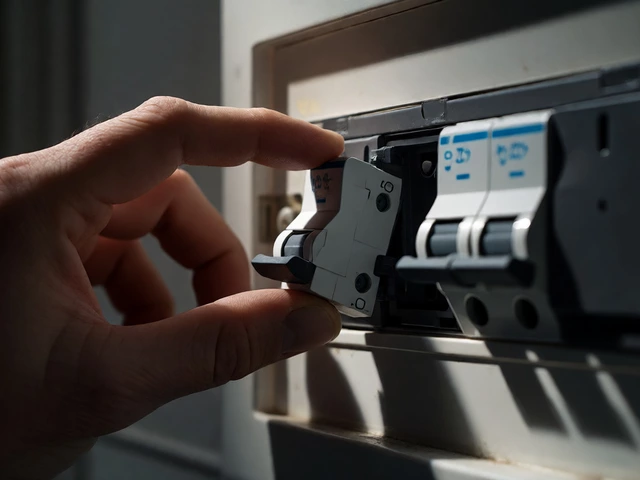
This isn’t optional. Electricity doesn’t care about your confidence levels. Before touching a single wire, go to your switchboard and turn off the circuit breaker for the bathroom or kitchen. Don’t just turn off the wall switch. That only cuts power to the switch itself, not necessarily the live feed coming into the fan.
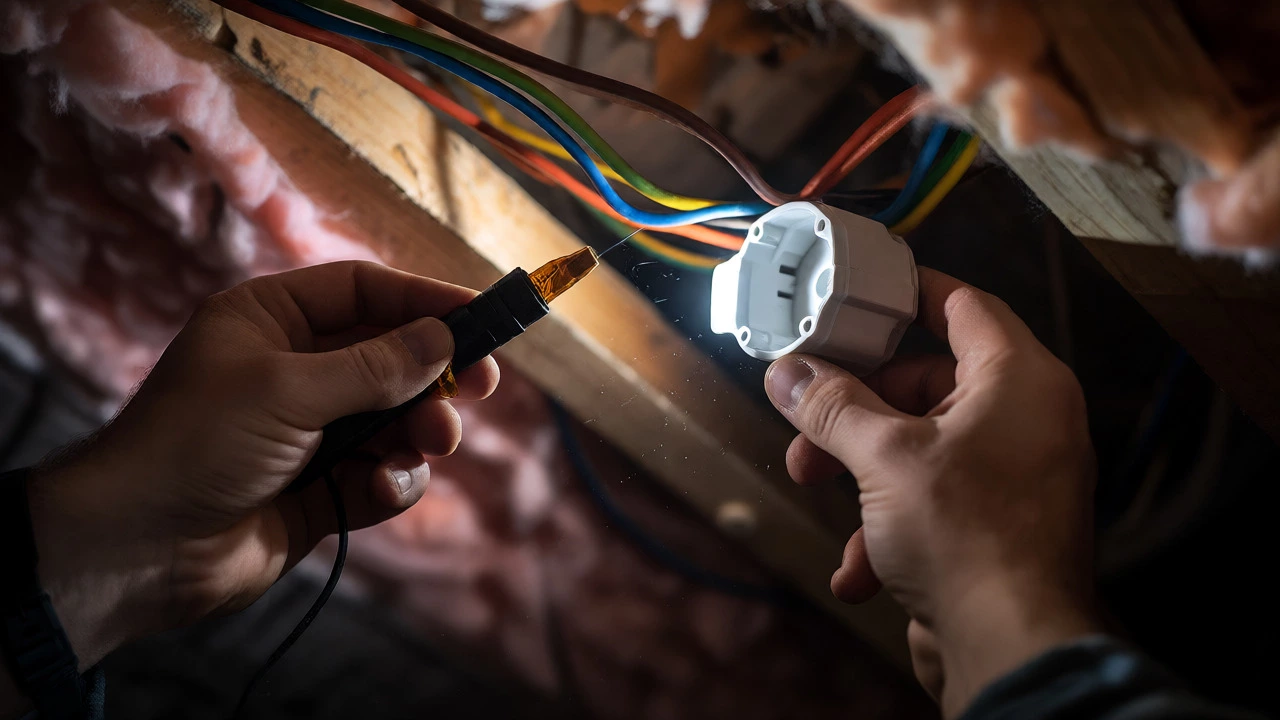
How do you know it’s dead? Use a non-contact voltage tester. Hold it near the wires after removing the fan cover. If it lights up or beeps, you still have live current. Check again. Maybe you tripped the wrong breaker. Keep testing until you are certain. Working with live wires in a damp environment like a bathroom is a recipe for shock, not just inconvenience.
Tools You Will Actually Need
You don’t need a workshop full of gear. Here is the bare minimum kit list for a standard replacement:
- Screwdrivers: Both Phillips head and flathead. Old screws rust or strip easily, so having good quality bits helps.
- Wire strippers/cutters: To trim damaged ends or prepare new wires.
- Wire nuts or terminal blocks: Most modern NZ fittings prefer screw terminals, but older homes might have twist-on connectors. Make sure you have compatible connectors.
- Ladder: A sturdy step ladder is safer than balancing on a chair. Ensure it’s rated for your weight plus the tools.
- Torch or headlamp: Roof cavities are dark. You need to see what you’re doing.
- Dust mask and goggles: Pulling a fan out of a ceiling shakes loose years of dust, insulation fibers, and spider webs.
Step-by-Step Replacement Process
Once you’ve assessed the type and ensured safety, here is the general workflow. Note that specific brands vary, so always check the manual for your new unit.
- Remove the cover: Most covers snap off or unscrew. Twist them gently. If stuck, don’t force plastic tabs; they break easily.
- Disconnect the old unit: Unscrew the mounting brackets holding the fan to the joists or timber frame. Carefully lower the unit. You’ll see the wiring connected via a junction box or direct connection.
- Note the wiring: Take a photo before disconnecting. Standard NZ wiring uses Brown (Live), Blue (Neutral), and Green/Yellow (Earth). Older homes might have black and white wires. Knowing which was which saves headaches later.
- Prepare the new fan: Assemble the new mounting brackets according to instructions. Feed the new wires through the existing hole or conduit.
- Connect the wires: Match Live to Live, Neutral to Neutral, Earth to Earth. Tighten the terminals securely. Loose connections cause arcing and heat.
- Mount the new fan: Lift it into place and secure the brackets to the ceiling structure. Ensure it sits flush against the ceiling surface to prevent rattling.
- Attach the cover: Snap or screw the decorative grille back on.
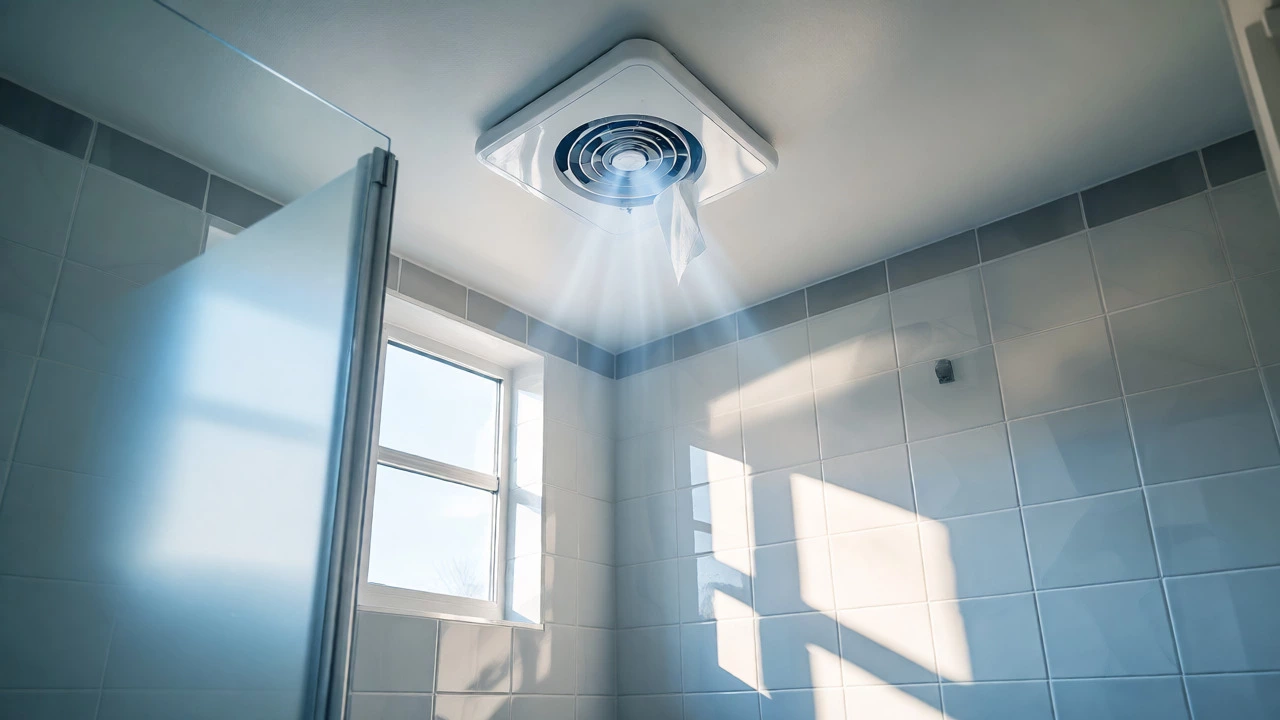
- Test: Turn the breaker back on. Flip the switch. Listen for smooth operation. Check for airflow by holding a tissue near the vent-it should stick slightly.
When It Gets Tricky: Common Pitfalls
While the process is simple, things can go sideways. Here are the most common issues homeowners face in Wellington and similar climates.
Corroded Screws and Brackets
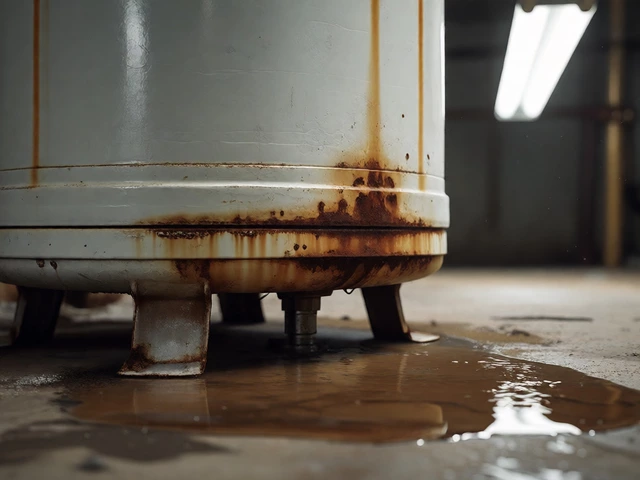
Bathrooms are humid. Over ten years, metal screws corrode. If you try to unscrew a rusted bracket and it snaps, you’re left with a dangling fan. Solution: Use penetrating oil (like WD-40) and let it soak for 15 minutes before trying again. If it breaks, drill out the remnants and use self-tapping screws into fresh timber.
Incompatible Mounting Points
Older fans might have been screwed into different joist spacing than your new model. You may need to add a small piece of timber blocking between joists to create a solid anchor point for the new brackets. Don’t just rely on drywall anchors for heavy motors; they will pull out over time due to vibration.
Ductwork Issues
The fan is only as good as its duct. When replacing the fan, inspect the flexible aluminum ducting. Is it crushed? Disconnected? Leaking into the roof cavity instead of outside? If the duct is blocked, a new powerful fan won’t help. Clean it out or replace the duct section while you’re up there. It’s cheap and easy when the fan is already down.
| Factor | DIY Approach | Professional Electrician |
|---|---|---|
| Cost | $80 - $250 (Fan + Parts) | $250 - $600+ (Labor + Fan) |
| Time Required | 1 - 3 Hours | 30 Minutes - 1 Hour |
| Skill Level | Basic handyman skills | Licensed expertise |
| Risk | Minor injury, water damage if sealed poorly | Negligible |
| Best For | Standard plug-in or simple hardwired swaps | Complex rewiring, heritage homes, lack of access |
Choosing the Right Replacement Fan
Don’t just buy the cheapest option. In New Zealand, moisture control is critical to preventing mold. Look for these specs:
- Airflow Rate (L/s): Measured in liters per second. For a standard bathroom, aim for at least 25-30 L/s. Larger bathrooms need more. Check the packaging for "Quiet Mode" ratings if you sleep nearby.
- Noise Level (dB): Anything under 35 dB is whisper-quiet. Above 45 dB is noticeable. If you have open-plan living, prioritize low decibels.
- IP Rating: Bathrooms require splash-proof fixtures. Look for IPX4 rating minimum. Kitchen fans don’t need high IP ratings but benefit from grease filters.
- Timer Switches: Many modern fans come with built-in timers that run for 10-20 minutes after you leave the room. This ensures residual humidity is removed. Wiring these requires a neutral wire at the switch location, which older homes might lack. Check your wiring before buying a timer-enabled model.
Final Checks Before You Close the Lid
You’ve installed the fan. The lights are on. But wait. Run the fan for five minutes. Go back into the roof cavity (if accessible) or listen closely. Are there any vibrations? Rattling sounds often mean the unit isn’t seated correctly or touches the ceiling lining. Adjust the mounting screws.
Check the external vent cap too. Birds love nesting in unused vents. Ensure the flap opens freely when the fan is on. If it’s stuck shut, you’re pushing air into the roof space, creating condensation problems faster than you can fix them.
Replacing an extractor fan is one of those home maintenance tasks that feels intimidating but delivers immediate satisfaction. You improve air quality, reduce mold risk, and silence that annoying drone-all in an afternoon. If your wiring looks complex, involves multiple circuits, or you’re unsure about the earth connection, stop. Call a licensed electrician. But for the vast majority of us, grabbing a screwdriver is the right move.
Do I need a licensed electrician to replace an extractor fan in NZ?
Not necessarily. If you are swapping a like-for-like fixture using existing wiring points (a plug-and-play system or a simple junction box swap), a homeowner can legally do it. However, if you need to run new cables, alter the switchboard, or if the installation involves hardwiring into a circuit without a dedicated isolator, hiring a registered electrician is recommended and sometimes required for insurance purposes.
Why is my new extractor fan louder than the old one?
New fans often have higher airflow rates (more power), which can generate more noise if not installed correctly. Check that the housing isn't vibrating against the ceiling joists. Add rubber washers between the mount and the timber. Also, ensure the ducting isn't kinked or too long, which increases static pressure and noise. If it's still loud, you may have purchased a high-power model unsuitable for your duct length.
Can I replace the fan motor without changing the whole unit?
Sometimes. Many ceiling fans have separate motor cartridges. If the casing is in good condition, you can often buy a replacement motor kit from the manufacturer. This is cheaper and less messy. However, if the unit is very old, parts may be discontinued, or the energy efficiency gains of a new full unit might outweigh the hassle of partial replacement.
What size extractor fan do I need for a small bathroom?
Aim for an airflow rate of roughly 15-20 liters per second (L/s) for a small toilet or powder room, and 25-30 L/s for a standard shower/bath combo. Calculate volume: Length x Width x Height = Cubic Meters. Multiply by 6-8 (air changes per hour) and divide by 3600 to get L/s. Most pre-packaged fans sold in NZ hardware stores meet these standards for average-sized rooms.
My fan runs but doesn't suck air out. What's wrong?
The issue is usually blockage or negative pressure. Check the external vent flap-is it stuck closed by paint or debris? Check the internal ducting for crushes or disconnections. Also, if your house is tightly sealed, opening a window slightly while running the fan can help it draw air. If the duct leads to another room instead of outside, it’s recirculating moist air rather than exhausting it.