🛠️ Microwave Repair Decision Tool
Step 1: Identify Your Issue & Costs
Verdict
Safety Checklist for This Repair
That annoying hum when you press start. The light flickers but no heat. Or maybe the door just won’t latch properly. Before you call a technician who might charge $150 for a diagnostic visit, you probably thought: I can fix this.
It’s a tempting idea. Microwaves seem simple-just a box that heats food. But inside that metal casing lies one of the most dangerous components in any home appliance. Is it safe to fix your own microwave? The short answer is: yes, but only if you respect the hidden dangers and have the right tools. Get it wrong, and you’re not just risking a broken part; you’re risking a severe electric shock or even death.
The Hidden Danger: High Voltage Inside
To understand why microwave repair is tricky, you need to know what’s actually inside. Unlike a toaster or a kettle, a microwave doesn’t just use standard 120V or 230V household current. It generates extremely high voltages to power the magnetron, the component that creates microwaves.
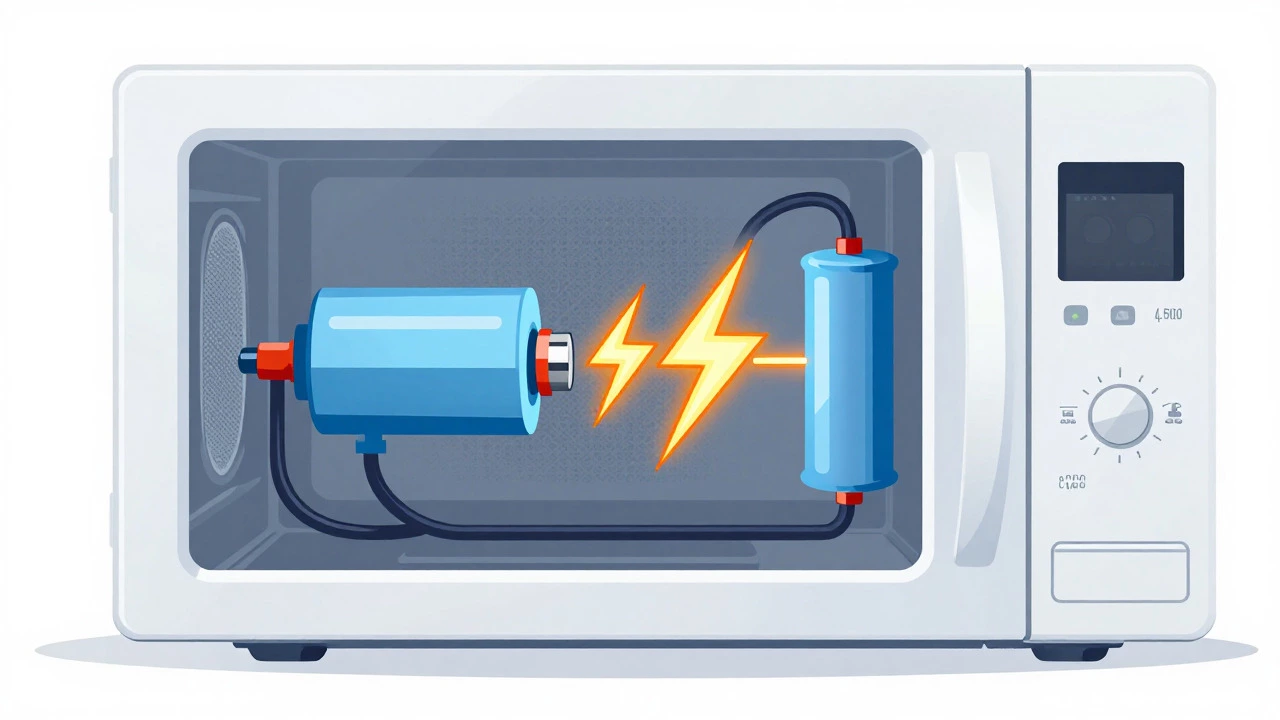
Magnetron is a vacuum tube that converts electrical energy into electromagnetic radiation (microwaves) used to heat food. To operate, it requires between 4,000 and 5,000 volts. This is generated by a transformer and stored in a component called a High-Voltage Capacitor, which is an electronic component that stores electrical energy in an electric field, capable of holding a lethal charge even after unplugging.
Here’s the scary part: that capacitor can hold a full charge for days after you unplug the microwave. If you touch the terminals without discharging it, you could get shocked by thousands of volts. This isn’t theoretical. Many DIY repairs go wrong because people assume "unplugged means safe." In a microwave, unplugged does not mean safe.
What Can You Actually Fix Yourself?
Not every issue requires opening the back panel. Some problems are low-risk and easy to handle. Others require deep technical knowledge. Let’s break down what’s realistic for a homeowner.
- Door Switches: If your microwave runs but doesn’t heat, or won’t start at all, the door switch assembly might be faulty. Replacing these is relatively safe if you work carefully with the power disconnected and the capacitor discharged. It’s one of the most common DIY fixes.
- Turntable Motor: If the plate spins but the motor makes a grinding noise, the motor itself might be worn out. Swapping this out is straightforward and involves low voltage connections.
- Control Panel Buttons: Sticky or unresponsive buttons often result from debris or a failed membrane keypad. Cleaning or replacing the keypad is a low-risk task.
- Fuse Replacement: A blown thermal fuse is a common cause of total failure. Locating and testing the fuse with a multimeter is a good first step for any diagnosis.
However, if the problem lies with the magnetron, the high-voltage diode, or the transformer, you’re entering expert territory. These parts are expensive, difficult to source, and working on them increases the risk of exposure to high voltage significantly.
Essential Tools for Safe Microwave Repair
You don’t need a professional workshop, but you do need specific tools. A basic screwdriver set is useless here. Here’s what you actually need:
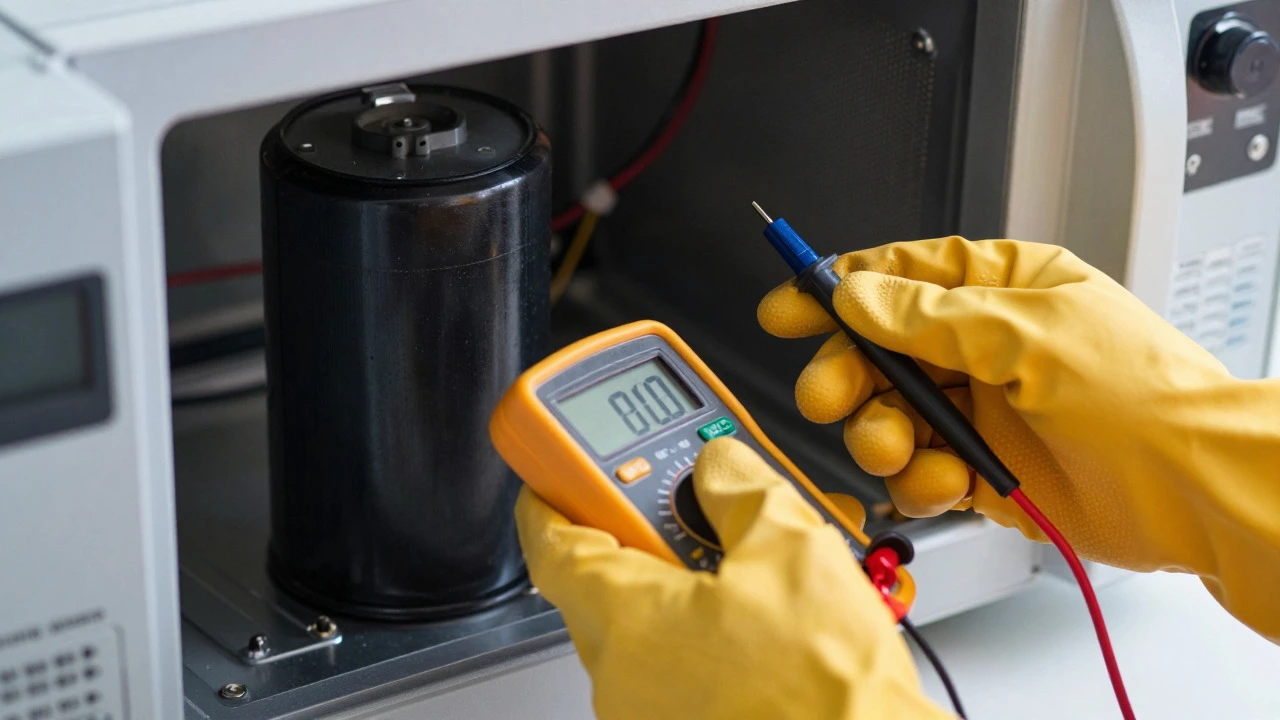
- Digital Multimeter: Essential for testing fuses, switches, and capacitors. Make sure it’s rated for high voltage (CAT III 600V or higher).
- Insulated Screwdrivers: Use screwdrivers with rubberized handles rated for at least 1000V. Standard plastic-handled drivers offer little protection against high-voltage arcs.
- Discharge Tool or Resistor: A dedicated capacitor discharge tool is ideal. Alternatively, a 2-watt 10,000-ohm resistor can safely bleed off the charge. Never use a bare wire.
- Replacement Parts: Only buy OEM (Original Equipment Manufacturer) or high-quality compatible parts. Cheap generic capacitors can fail explosively.
If you don’t already own a multimeter, this is a worthwhile investment for any homeowner dealing with appliances. It allows you to diagnose before you replace, saving money on unnecessary parts.
Step-by-Step: How to Safely Open and Discharge a Microwave
If you’ve decided to proceed, follow these steps exactly. Skipping a step is where accidents happen.
- Unplug the Microwave: Pull the plug from the wall outlet. Don’t just turn off the circuit breaker; physically disconnect it to ensure zero current flow.
- Wait 5 Minutes: Allow any residual charge to dissipate naturally. This is a buffer period, not a guarantee.
- Remove the Casing: Usually, there are screws on the back or bottom. Some models have a plastic housing that clips on. Keep track of screws-they vary in length and purpose.
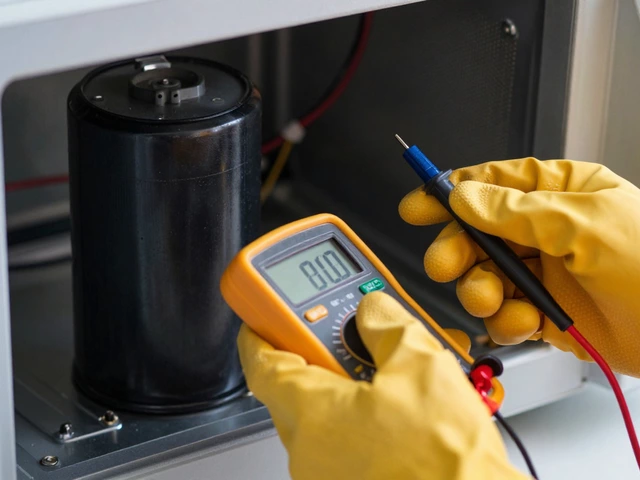
- Locate the High-Voltage Capacitor: It looks like a black cylinder, often with a label indicating its capacitance (e.g., 2uF). It has two large terminals.
- Discharge the Capacitor: Using your insulated screwdriver or discharge tool, connect both terminals together while keeping your hand away from the metal shaft. You’ll hear a small click or see a tiny spark. Do this twice to be sure.
- Test with Multimeter: Set your multimeter to DC voltage (highest range). Touch the probes to the capacitor terminals. It should read near 0V. If it reads anything significant, discharge again.
Once the capacitor is discharged, you can safely test other components. Remember, the magnetron and transformer are still connected to the high-voltage circuit, so treat them with caution until you’re certain all energy is gone.
When to Call a Professional
Despite your best efforts, some jobs aren’t worth the risk. Consider calling a certified appliance repair technician if:
- The Magnetron is Faulty: Replacing a magnetron is complex. It involves removing the waveguide cover, cleaning carbon buildup, and ensuring proper airflow. If the magnetron is burnt out, the cost of the part plus labor often approaches the price of a new microwave.
- There’s Visible Damage to Wiring: Burnt wires near the transformer or capacitor suggest overheating or a short circuit. This indicates a deeper electrical fault that needs professional assessment.
- You Lack Confidence with High Voltage: If the idea of touching a 4,000V component makes you nervous, hire someone else. Fear is a valid reason to stop. One mistake can be fatal.
- The Microwave is Older Than 7 Years: Older units may have degraded insulation on wires and components. The risk of leakage increases with age. For older models, repair costs often outweigh the value of the unit.
A professional technician brings specialized tools, experience with different brands, and liability insurance. Their diagnostic fee typically ranges from $75 to $150, which is cheaper than the medical bills from a serious shock.
Cost Comparison: DIY vs. Professional Repair
Let’s look at the numbers. Understanding the financial side helps you decide whether to DIY or pay a pro.
| Repair Task | DIY Part Cost | Professional Labor + Part | Risk Level |
|---|---|---|---|
| Door Switch Assembly | $15 - $30 | $100 - $150 | Low |
| Thermal Fuse | $10 - $20 | $90 - $130 | Low |
| High-Voltage Diode | $20 - $40 | $120 - $180 | Medium-High |
| Magnetron | $40 - $80 | $200 - $350 | High |
| Transformer | $50 - $100 | $250 - $400 | Very High |
As you can see, for simple parts like fuses or switches, DIY saves significant money. But for major components like the magnetron, the savings shrink, and the risk spikes. If your microwave is a mid-range model costing $200 new, paying $300 for a professional magnetron repair doesn’t make financial sense. In those cases, buying a new unit is often the smarter choice.
Safety Tips Beyond the Basics
Even if you follow the steps above, keep these additional safety tips in mind:
- Work Alone? No: Ideally, have someone nearby who knows you’re working on high voltage. They can help in an emergency.
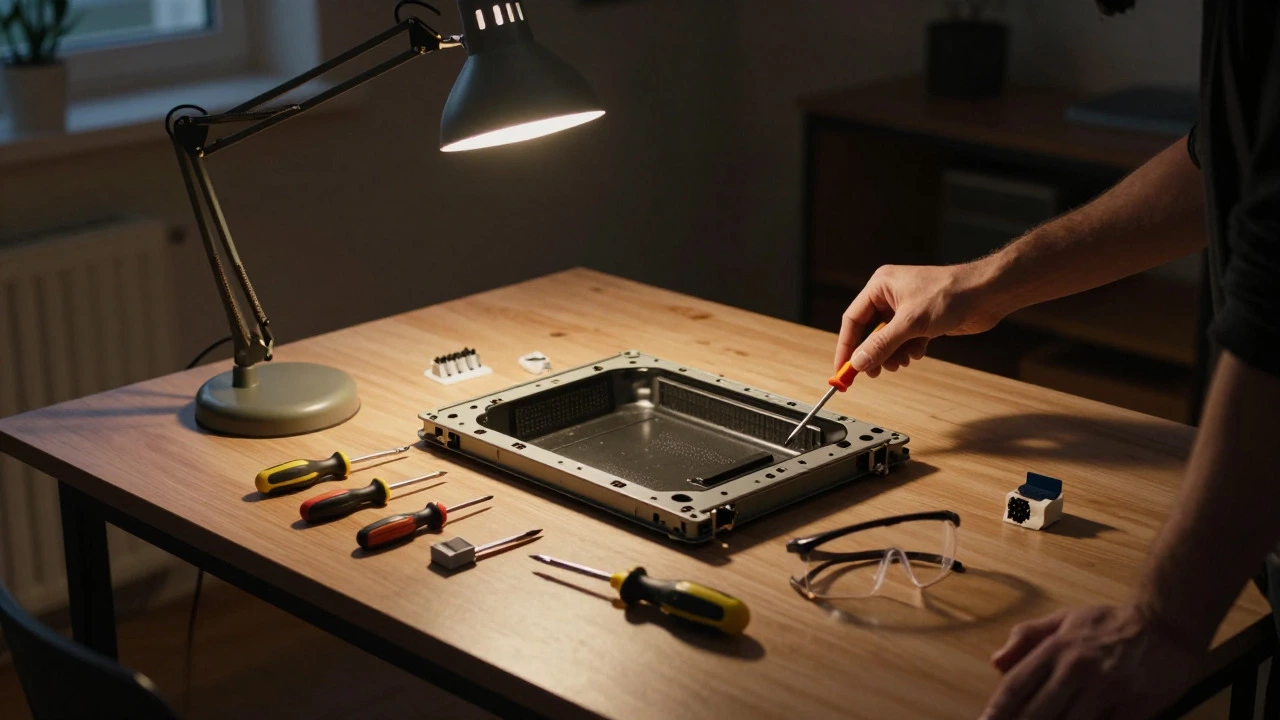
- Wear Safety Glasses: Capacitors can explode if faulty. Shards of metal or plastic can fly. Protect your eyes.
- Keep the Area Dry: Moisture conducts electricity. Ensure your workspace is dry and free of spills.
- Label Wires: Before disconnecting anything, take photos or label wires with tape. This prevents reassembly errors that could cause shorts later.
- Check Grounding: Ensure the microwave chassis is properly grounded. A missing ground wire increases shock risk.
These habits separate cautious DIYers from accident-prone tinkerers. They add minutes to your process but drastically reduce danger.
Common Mistakes to Avoid
Many beginners make the same errors. Avoid these pitfalls:
- Skipping the Discharge Step: The #1 cause of injury. Always discharge the capacitor, even if the microwave was unplugged for hours.
- Using Wrong Multimeter Settings: Testing a capacitor with AC voltage settings can give misleading readings. Use DC voltage for initial checks.
- Ignoring Carbon Buildup: If the magnetron is failing, check the waveguide for carbon deposits. Clean it with alcohol and a soft cloth. Ignoring this can cause arcing and further damage.
- Reusing Blown Fuses: A blown fuse indicates a fault. Replacing it without finding the root cause will lead to another blow-out, potentially damaging other components.
By avoiding these mistakes, you increase your chances of a successful repair and minimize risks.
Frequently Asked Questions
How long does a microwave capacitor hold a charge?
A high-voltage capacitor in a microwave can hold a lethal charge for several days after being unplugged. However, the rate of discharge depends on the capacitance value and internal resistance. Always treat it as charged until you verify otherwise with a multimeter.
Can I fix a microwave without a multimeter?
Technically, yes, for very simple tasks like replacing a visible broken button. But for diagnosing electrical faults, a multimeter is essential. Without it, you’re guessing, which leads to buying wrong parts and increasing the time spent exposed to high-voltage components.
Is it worth repairing an old microwave?
Generally, if the repair cost exceeds 50% of the price of a new comparable model, replacement is better. Additionally, if the microwave is over 7-10 years old, efficiency drops and component degradation increases. For minor issues like door switches, repair is usually worth it regardless of age.
What are the signs of a bad magnetron?
Signs include the microwave running but not heating, unusual humming noises, sparks inside the cavity, or a burnt smell. If the light works and the turntable spins but water doesn’t heat, the magnetron is likely the culprit. Check the fuse first, though, as a blown thermal fuse can mimic these symptoms.
Do I need to remove the entire back panel to access the capacitor?
In most countertop microwaves, yes. The high-voltage compartment is enclosed in a metal shield to prevent leakage. You must remove the outer casing and sometimes a secondary metal shield to safely access the capacitor. Over-the-range models may require more disassembly due to ventilation ducts.