Fan Inspection: How to Check Your Home’s Fans and Avoid Trouble
Fans are the quiet workhorses that keep kitchens, bathrooms and laundry rooms fresh. When they start humming oddly or stop altogether, it’s usually a sign something’s off. Doing a quick inspection can save you a noisy night, a wet floor, or a costly repair bill. Below you’ll find simple steps you can do yourself, plus clues that it’s time to call a professional.
Why Regular Fan Inspection Matters
Most people only think about fans when they break. But a fan that’s slightly dirty, has a loose blade, or is running slower than usual can still cause problems. Poor ventilation leads to excess moisture, mold, and lingering cooking smells. Over time the motor can overheat and burn out, which is far more expensive than a basic cleaning. Spotting issues early means you keep air moving efficiently and avoid those nasty surprises.
Step‑by‑Step Fan Inspection Checklist
1. Turn the fan off and unplug it. Safety first. Even ceiling fans have wires you don’t want to touch while they’re live.
2. Look for dust and debris. A layer of grime on blades or the grill cuts airflow. Use a soft brush or vacuum attachment to clear it away.
3. Check the blades. Make sure they spin freely by hand. If a blade feels gritty or wobbly, tighten the mounting screws or replace the blade.
4. Listen for unusual sounds. A grinding noise often means a bearing is wearing out. A high‑pitched whine can point to a motor that’s struggling.
5. Test the speed settings. Switch through low, medium and high. If the fan doesn’t change speed or stalls on one setting, the capacitor may be bad.
6. Inspect the wiring. Look for frayed cords or loose connections inside the housing. Any sign of wear should be handled by a qualified technician.
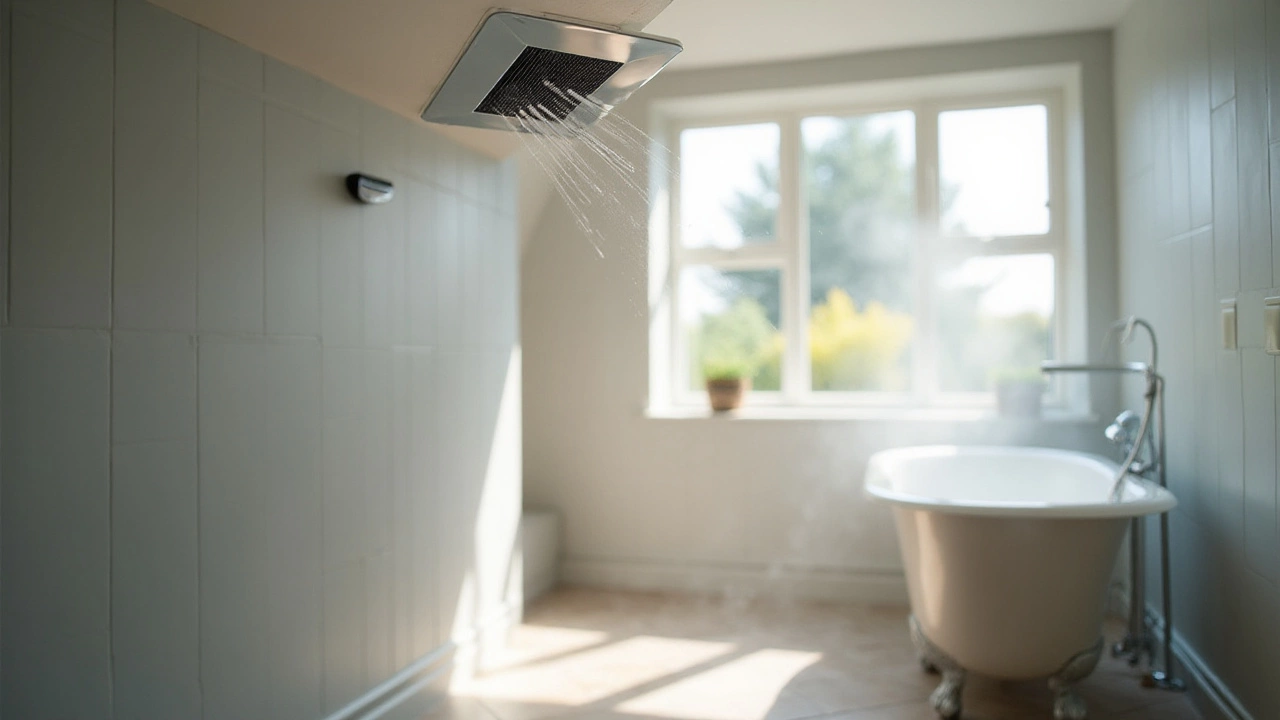
7. Verify the exhaust path. For extractor fans, make sure the duct isn’t blocked by lint, dust or debris. A blocked duct reduces airflow and can cause the motor to overheat.
8. Feel for vibration. Excess vibration usually means the fan isn’t balanced. You can balance it by adjusting the blade brackets or adding a dampening pad.
After you run through the list, turn the fan back on. If it runs smoothly, you’ve likely avoided a bigger issue. If you still hear noise, notice reduced airflow, or the fan refuses to start, it’s time to call a pro.
When you call a repair service, be ready to tell them what you’ve already checked. That saves them time and often reduces the cost of the visit. At Hinckley Home Appliance Repair Services we specialize in fan inspections, extractor fan repairs and full replacements. Our technicians can replace faulty motors, clean ducts and make sure everything complies with safety standards.
Remember, a fan inspection only takes a few minutes but can protect you from moisture damage, higher energy bills and expensive replacements. Keep this checklist handy and make it part of your routine home maintenance – especially after a big cooking session or a steamy shower.
5 December 2024
·
0 Comments
Checking if an extractor fan is working properly is essential for maintaining effective ventilation, reducing moisture, and preventing mold growth. This comprehensive guide covers visual inspections, noise levels, and airflow tests to ensure that your fan operates efficiently. By learning how to identify common signs of malfunction, you can keep your home fresh and safe. Whether you're performing routine maintenance or troubleshooting issues, these tips will help you maintain an optimal indoor environment.
Read more