First Check Fridge: Quick DIY Diagnosis Before Calling a Pro
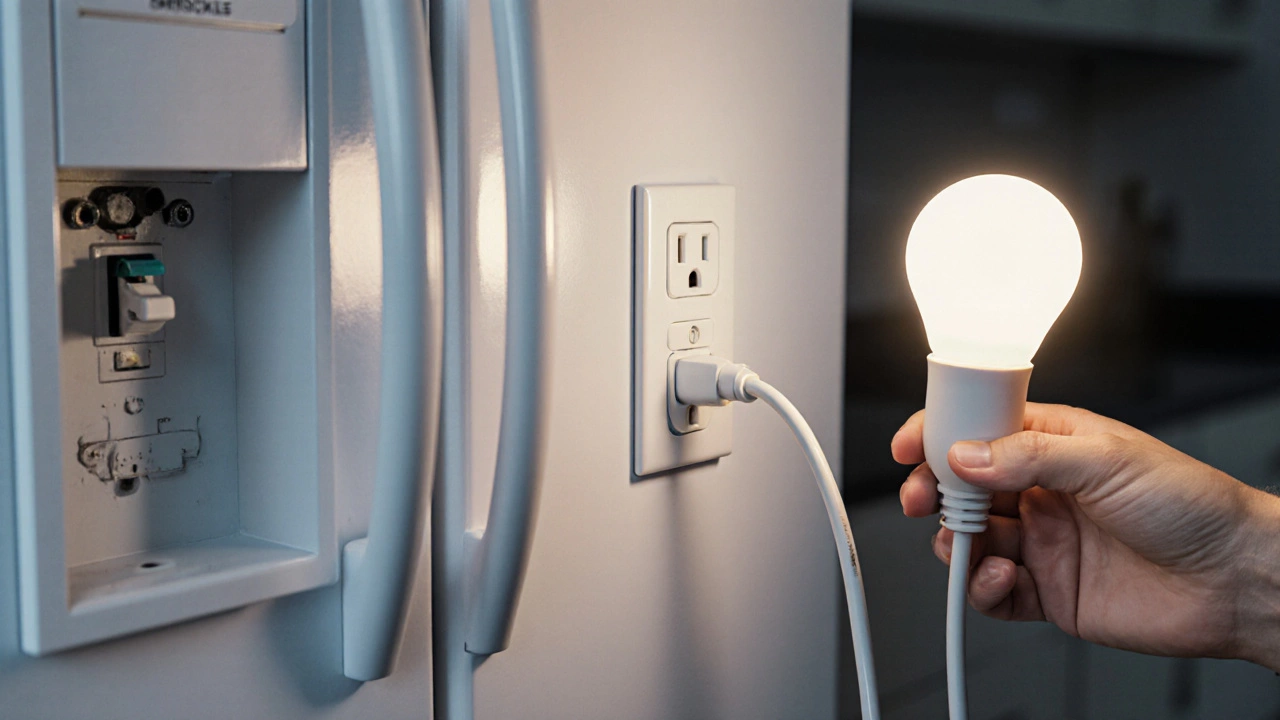
When you hear your fridge humming oddly or notice food warming up, the first thing to do is a first check fridge, the basic visual and functional checks you can perform on a refrigerator before deciding to call a technician. Also known as initial fridge inspection, it helps you pinpoint simple problems and can save time and money. A healthy refrigerator compressor, the component that circulates refrigerant to cool the interior is key to proper cooling, while a tight door seal, the gasket that prevents cold air from escaping keeps the temperature steady. The temperature thermostat, the sensor that tells the fridge when to run the compressor determines how often the unit cycles. In short, first check fridge encompasses temperature verification, door seal inspection, and compressor health, all of which influence cooling performance.
Temperature Check: Is the Fridge Keeping Cool?
Start by placing a thermometer in the middle shelf and wait fifteen minutes. Ideal fridge temperature sits between 3°C and 5°C (37°F‑41°F). If it reads higher, the thermostat may be off or the compressor might be struggling. Listen for the compressor’s soft thrum; a silent unit could mean a failed start relay. If the fridge cycles too often, it might be overworking due to a dirty condenser coil. This step ties directly to the thermostat entity – a faulty thermostat sends the wrong signal, causing temperature drift.
Next, check the freezer compartment. A freezer that’s not freezing indicates a bigger issue, often with the sealed system. Look for frost buildup on the back wall; excessive frost can block airflow. Remember, the sealed system includes the compressor, evaporator, and refrigerant lines, and a problem in any part compromises the whole fridge.
When you’ve confirmed the temperature is off, move on to the door seal check. Close the door on a piece of paper and try to pull it out. If it slides out easily, the gasket is compromised and lets warm air sneak in, forcing the compressor to work harder.
Cleaning the gasket with warm, soapy water and a soft cloth can restore the seal in many cases. Inspect for cracks, tears, or mold – replace the seal if damage is visible. A tight seal is a simple fix that often resolves temperature problems without touching the compressor.
Finally, examine the condenser coils located at the back or beneath the fridge. Dust and pet hair act like a blanket, reducing heat exchange efficiency. Unplug the fridge, remove the coil cover, and vacuum gently. This maintenance step improves the compressor’s ability to expel heat, extending its life.
By following these checks – temperature reading, thermostat behavior, door seal integrity, and coil cleanliness – you’ve covered the core entities that determine fridge performance. If any of these steps reveal a fault you can’t fix, you’ll have solid evidence to share with a repair technician, making the service call faster and more accurate.
Below you’ll find a collection of detailed guides covering everything from diagnosing a noisy compressor to restoring a failing thermostat, plus tips on when it’s smarter to replace the whole unit. Use this resource to decide your next move and keep your kitchen running smoothly.
15 October 2025
·
0 Comments
Discover the top thing to check when your fridge stops working, plus a full troubleshooting checklist, power tips, and when to call a pro.
Read more

