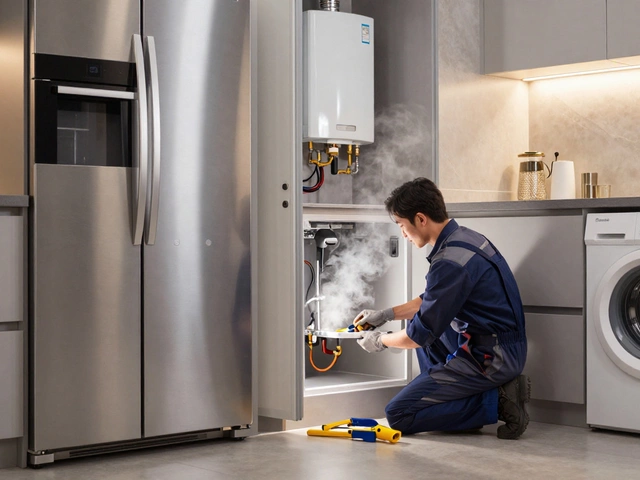
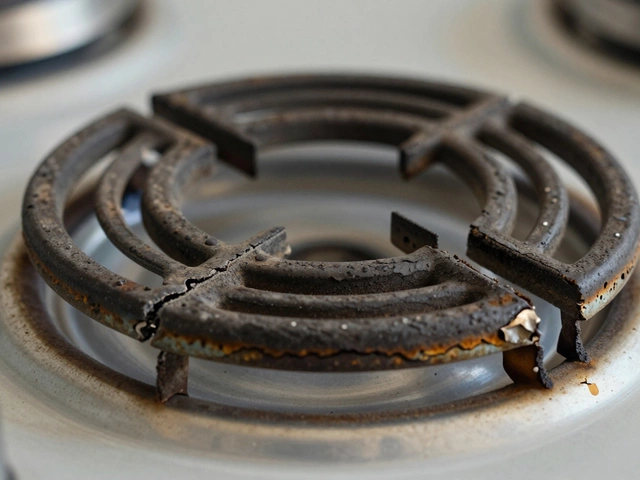
Messy Process of Appliance Repairs – How to Keep It Simple
If you’ve ever stared at a broken washer, humming microwave, or silent oven, you know the repair process can feel chaotic. Tools, parts, safety checks, and a mountain of online advice make it easy to get lost. The good news? You don’t need a degree in engineering to get through the mess. Below are practical steps that turn a tangled repair into a straightforward job.
Step 1 – Diagnose Before You Disassemble
Most appliance issues have a simple cause. Start by listening and watching: Does the oven heat but not reach the right temperature? Does the fridge make a loud clicking noise? Write down exactly what’s happening, then match the symptom to a common fault. For example, a microwave that sparks usually points to a failing magnetron, while a dishwasher that won’t drain often means a clogged pump. By narrowing down the problem first, you avoid pulling apart parts you’ll never need.
Step 2 – Gather the Right Tools and Parts
Once you’ve pinpointed the likely culprit, collect the tools you’ll need. A basic set should include a screwdriver set (Phillips and flat‑head), adjustable wrench, multimeter, and a flashlight. Check the part number on the faulty component – most manuals list it, or you can find it on the appliance’s label. Buying the correct part before you start saves the frustration of halfway‑finished repairs. If you’re unsure, keep the faulty piece in hand when you search online; it’s the fastest way to match the right replacement.
Safety is non‑negotiable. Always unplug the appliance or turn off the circuit breaker. Even a seemingly low‑voltage fridge can give you a nasty shock if you skip this step.
Now you’re ready to open up the machine. Take photos as you go – they’ll be a lifesaver when you need to re‑assemble. Follow the service manual or a trusted video tutorial, but keep your focus on the part you’re fixing. Most messy processes become manageable when you work methodically, one step at a time.
If you hit a roadblock – for instance, a control board that won’t reset after you replace a heating element – it’s okay to pause. Sometimes a simple reset (turning the breaker off for a minute) solves lingering glitches. When the issue persists, consider whether the cost of a new board outweighs the benefit of a fresh appliance. Our own technicians often find that a 20‑year‑old oven isn’t worth a £300 board replacement, whereas a newer model’s board can be swapped for a fraction of the price.
Remember, the messy process isn’t just about the hands‑on work. It also includes choosing when to call a professional. If you lack the right tools, feel unsure about electrical components, or the repair estimate approaches the price of a new unit, it’s smarter to let the pros handle it. This saves both time and money in the long run.
Finally, keep a maintenance log. Jot down the date of repair, what was fixed, and any parts used. Over time you’ll spot patterns – like a fridge that needs a new seal every few years – and you can schedule preventive work before the next breakdown.
Turning a messy repair into a clear, step‑by‑step process isn’t magic; it’s about preparation, safety, and knowing when to stop and call in an expert. Follow these guidelines, and you’ll tackle most common appliance issues without the headache.
21 March 2025
·
0 Comments
Replacing a boiler might sound like a chaotic ordeal, but with the right approach, it can be surprisingly straightforward. This article unpacks the practical steps involved, debunks myths, and shares tips to keep the mess in check. Whether you're upgrading for efficiency or necessity, learn how to make the process smoother. Discover the realities of boiler installation, understand what to expect, and ensure your home remains a sanctuary rather than a construction site.
Read more


