12 October 2025 · 0 Comments
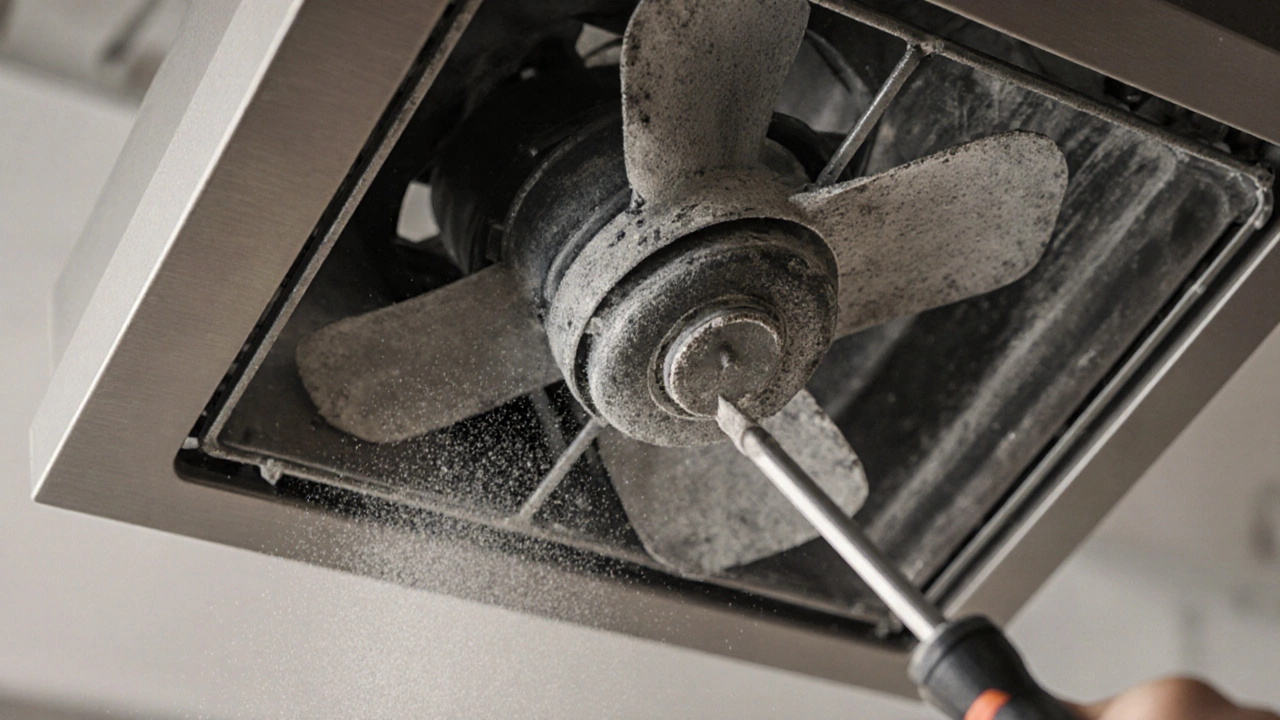
Step‑by‑Step Guide to Clean an Extractor Fan Motor
Learn how to safely clean an extractor fan motor with a step‑by‑step DIY guide, tools list, maintenance tips, and troubleshooting FAQs.
Read moreWhen working with motor cleaning steps, the systematic process of removing dust, lint, and buildup from electric motor components. Also known as motor maintenance routine, it helps prevent overheating, noise, and premature failure in household appliances. A clean motor not only runs quieter but also uses less energy, meaning lower electricity bills. Whether you’re tackling a dryer motor that’s losing spin power or a fan motor that hums oddly, the steps are surprisingly similar.
Every motor is a small engine that relies on airflow to stay cool. When lint or debris blocks that flow, the motor temperature rises, causing insulation breakdown and eventual burnout. That’s why motor cleaning steps are a key part of appliance maintenance. Clean motors run cooler, draw less current, and last years longer. In fact, a well‑maintained dryer can save up to 15% on energy use compared to a neglected one. The relationship is simple: better cleaning → better efficiency → lower costs.
Before you crack open any appliance, safety is non‑negotiable. Unplug the unit, discharge stored electricity by pressing the start button for a few seconds, and wear protective gloves. A basic toolkit—screwdrivers, a soft brush, compressed air, and an alcohol‑based cleaner—covers most jobs. For tougher grime, a microfiber cloth works better than a paper towel because it won’t leave fibers behind. Remember, the right tools reduce the risk of damaging delicate motor bearings.
The core motor cleaning steps can be broken into four phases: disassembly, cleaning, inspection, and reassembly. First, remove the motor housing carefully, noting how screws and clips fit together. Second, use compressed air to blow out loose dust, then brush remaining particles with a soft brush. Third, inspect the windings, bearings, and fan blades for wear or corrosion; replace any cracked parts. Finally, reassemble in reverse order, making sure all connections are tight and the motor spins freely before plugging the appliance back in.
Dryer motors have a unique challenge: lint buildup is relentless. After you’ve removed the motor cage, give the fan blades a thorough brush‑down, then spray a light mist of cleaner on the rotor and let it dry. Check the motor brushes for wear; if they’re shorter than 2 mm, they need swapping. Once everything’s clean, spin the motor by hand to ensure smooth operation—any grinding noise means you missed something.
Fan motors, especially those in extractor fans, often collect grease from kitchen vapors. After disassembly, soak the fan blades in warm, soapy water, then rinse and dry them completely. Apply a thin layer of high‑temperature lubricant to the bearing shaft to keep it turning quietly. If the motor whines after reassembly, it’s usually a sign of misaligned blades or insufficient lubrication.
Regular motor cleaning isn’t just about fixing problems; it’s a preventive habit that saves money. By scheduling a quick clean‑up every six months, you catch wear early and avoid costly service calls. The habit also extends to other motor‑driven appliances like refrigerators, where the compressor motor benefits from the same care. In short, the cleaner the motor, the longer the appliance stays reliable.
Below you’ll find a curated set of articles that dive deeper into each appliance type—dryers, water heaters, fridges, ovens, and more. Whether you’re a DIY rookie or looking for quick troubleshooting tips, the collection offers practical advice you can apply right away. Explore the guides to boost your confidence and keep every motor in your home humming along.
12 October 2025 · 0 Comments
Learn how to safely clean an extractor fan motor with a step‑by‑step DIY guide, tools list, maintenance tips, and troubleshooting FAQs.
Read more