Troubleshoot Cooker: Simple Fixes for Stoves and Ovens
If your cooker isn’t heating, making strange noises, or showing error codes, you don’t have to panic. Most problems have a clear cause and can be checked in minutes. Below you’ll find the most common issues, quick tests, and the right steps to either fix them yourself or know when to call Hinckley’s repair experts.
Common Cooker Problems and How to Spot Them
1. No heat on the hob or oven. Check the power supply first – make sure the plug is firm and the breaker isn’t tripped. If the cooker is electric, a loose connection is often the culprit. For gas models, confirm the gas valve is open and the igniter sparks.
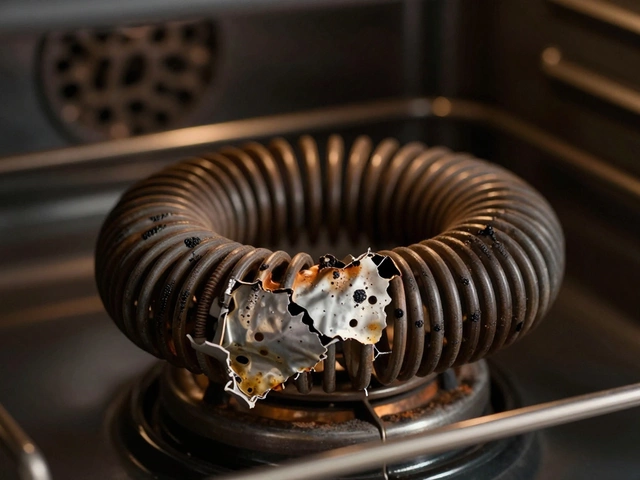
2. Uneven heating. This usually points to a faulty heating element or a broken temperature sensor. Run the oven on a low setting and feel for hot spots. In a stovetop, one burner may stay cool while the others work fine – that burner’s element or coil probably needs replacement.
3. Error codes flashing. Modern cookers display codes like “E1” or “F3”. Look up the code in your user manual – it often tells you whether the thermostat, control board, or a door sensor is at fault.
4. Strange noises. A humming sound can mean the magnetron (in microwaves) is failing, while a clicking noise often signals the igniter trying to light a gas flame. Listen carefully; timing can help you narrow down the part that needs attention.
5. Smell of gas or burning. If you smell gas, turn off the supply immediately and ventilate the area. For a burning smell, the heating element might be overheating – shut the cooker off and let it cool before investigating.
Step‑by‑Step Troubleshooting Guide
Step 1 – Safety first. Unplug the cooker or turn off the circuit breaker. For gas units, close the gas valve. This protects you and prevents further damage.
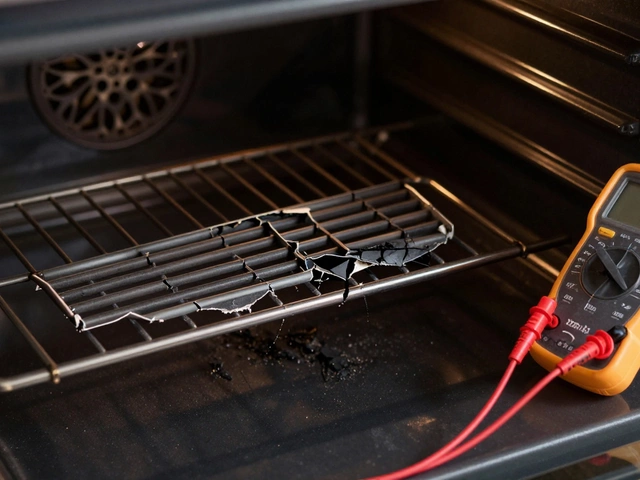
Step 2 – Visual inspection. Look for broken wires, burnt marks, or loose connections. On electric hobs, a cracked glass surface can also stop heat transfer.
Step 3 – Test the power. Use a multimeter to check voltage at the plug and at the element terminals. If there’s no voltage, the problem is likely in the wiring or the breaker.
Step 4 – Check the heating element. Remove the element (most are clip‑on) and test for continuity. A reading of infinite resistance means the element is dead and needs swapping.
Step 5 – Evaluate the thermostat or sensor. These components tell the cooker when to turn on and off. Test them with a multimeter; a faulty sensor often sends wrong temperature signals, causing under‑ or over‑heating.
Step 6 – Look at the control board. If the cooker shows error codes and none of the above parts are at fault, the electronic board may be glitching. Visual cracks or burnt spots are clear signs to replace the board.
After each test, re‑assemble the cooker, plug it back in, and run a short cycle to see if the issue is solved. If you’re still stuck, it’s time to call a professional. Hinckley Home Appliance Repair Services can quickly diagnose hard‑to‑find faults and have the right parts on hand.
Remember, regular maintenance helps avoid most breakdowns. Clean the burners, keep the oven door seals tidy, and schedule a yearly check‑up. A little care now saves you time, money, and the hassle of a cold dinner.
29 November 2024
·
0 Comments
Is your cooker acting up, and you're unsure if it's time to call in for repairs? This article helps you identify whether your kitchen appliance is malfunctioning by highlighting common symptoms of a broken cooker. You'll learn how to conduct basic checks, understand potential causes, and consider repair options. Knowing the signs of a faulty cooker ensures your cooking adventures are seamless and safe. Don't let a broken cooker spoil your culinary groove.
Read more


