Electric Oven Installation Safety & Readiness Checker
Pre-Installation Checklist
Click on each step to mark it as complete. The tool will analyze your readiness and provide specific warnings based on your selections.
Readiness Score
You Are Ready to Install!
Based on your checklist, your setup appears safe for a plug-in installation.
Final Steps:
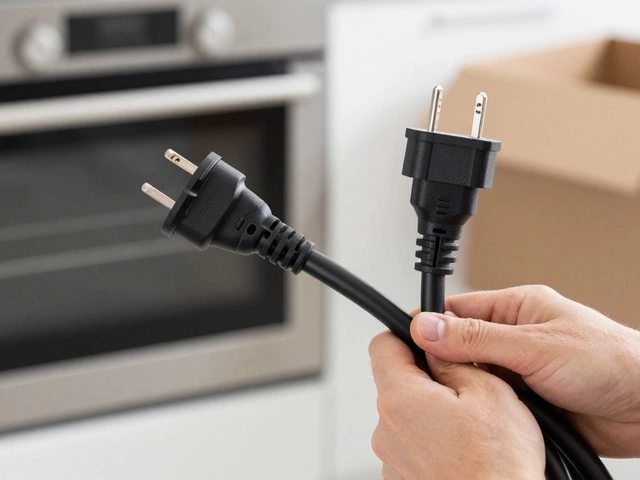
- Firmly insert the plug into the socket (do not force it).
- Flip the breaker back on.
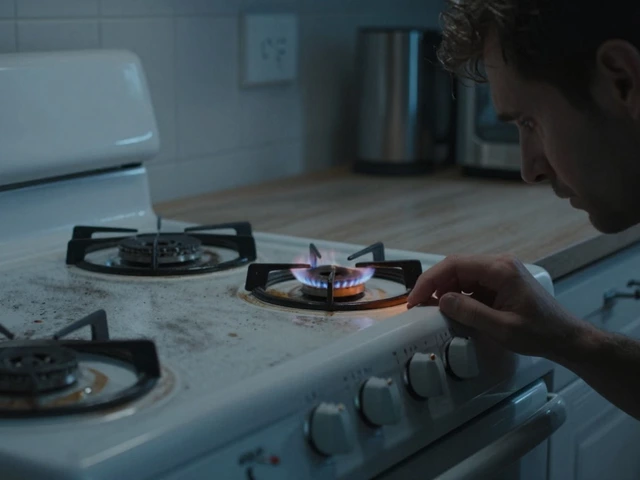
- Set oven to low heat (150°C / 300°F) for a test run.
- Smell for burning insulation during the first 15 minutes.
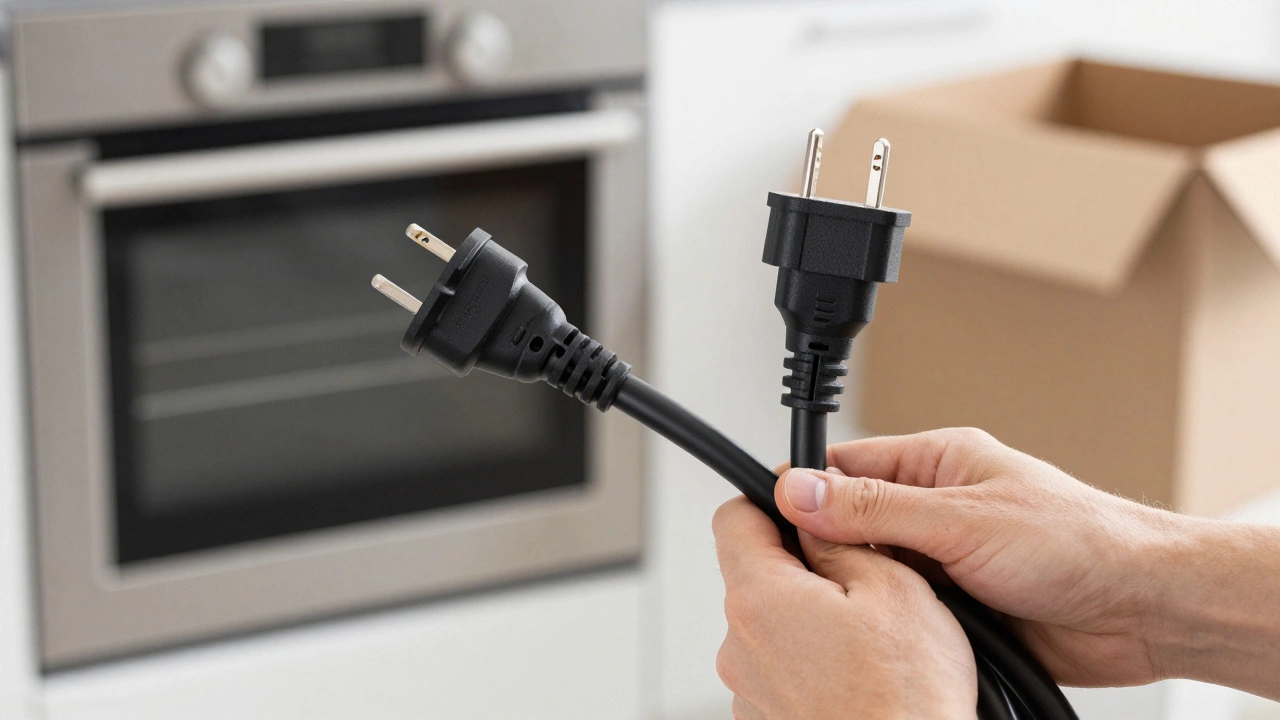
You’ve just hauled that heavy box into your kitchen. The old electric oven is out, and the shiny new one is waiting to be installed. You look at the back of the unit, see a thick cable with three prongs, and glance at the wall outlet. It looks like a standard plug, right? Can you just shove it in and start baking?
The short answer is: sometimes, yes. But if you are guessing, you might be looking at a fire hazard or a tripped breaker before you even preheat. Unlike a toaster or a coffee maker, an oven draws a massive amount of power-usually between 2,400 and 5,000 watts. That isn’t something you want to daisy-chain onto a circuit meant for lamps and TVs.
Know Your Power Source: Plug vs. Hardwire
Before you touch anything, you need to understand how electricity gets to your cooking zone. In many modern homes, especially in regions like New Zealand, Australia, and parts of Europe, large appliances often use dedicated circuits with specific plug types. In the US, older homes might have hardwired connections, while newer builds often include a dedicated 240-volt outlet.
There are two main ways an electric oven connects to your home’s grid:
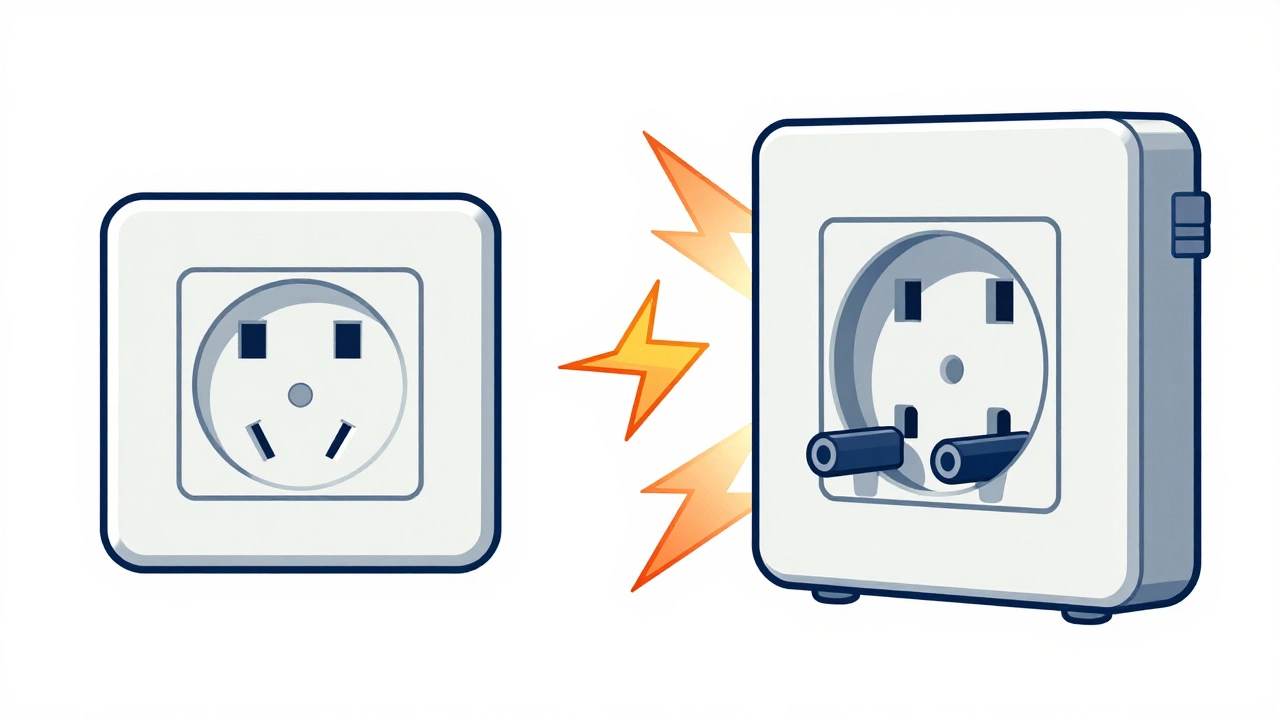
- Dedicated Plug Socket: This is a specialized outlet, usually higher up on the wall or behind the unit, designed specifically for high-draw appliances. It won’t accept a standard phone charger or laptop plug. If your new oven comes with a matching plug and this socket exists in your kitchen, you can likely plug it in yourself.
- Hardwired Connection: Some ovens don’t come with a plug at all. Instead, they have exposed wires (black, red, green/bare) that must be connected directly to the home’s electrical panel via a junction box. This requires stripping wires, securing connections with wire nuts, and ensuring proper grounding. This is not a "plug-and-play" scenario.
If your new oven has a plug but your wall only has a bare wire connection, you cannot simply adapt it. You would need an electrician to install the correct receptacle. Conversely, if your wall has a plug but your oven is hardwired, you’d need a professional to run the wiring correctly.
The Voltage Trap: 120V vs. 240V
This is where most DIY disasters happen. A standard wall outlet in North America provides 120 volts. An electric oven typically requires 240 volts. Plugging a 240-volt oven into a 120-volt outlet won’t blow up immediately, but it will perform terribly. The heating elements will glow dimly, the oven will never reach temperature, and you’ll burn through food slowly while wondering why your recipe failed.
More dangerously, trying to force a 240-volt plug into a modified 120-volt socket can cause arcing, melting plastic, and fires. Always check the rating plate inside the oven door or on the side frame. It will state the voltage (V), amperage (A), and frequency (Hz). Match these numbers exactly to your home’s supply.
| Feature | Standard Kitchen Outlet | Electric Oven Circuit |
|---|---|---|
| Voltage | 120V (North America) | 240V (North America) / 230-240V (NZ/EU) |
| Amperage Rating | 15A - 20A | 30A - 50A |
| Plug Type | NEMA 5-15 (Flat pins) | NEMA 6-50, 14-50, or IEC 60309 (Heavy duty) |
| Circuit Breaker | Shared with other outlets | Dedicated double-pole breaker |
Grounding: The Non-Negotiable Safety Feature
Older homes, particularly those built before the 1970s, may lack proper grounding in their kitchen circuits. Grounding is the third prong on your plug-the round one. It provides a safe path for electricity to travel to the earth in case of a fault, preventing you from getting shocked when you touch the oven door.
If your new oven has a three-prong plug and your wall socket only has two slots, do not cut off the ground pin. Do not use a "cheater adapter" unless it is properly grounded to a metal pipe (which is rare and risky). Without grounding, a short circuit could turn the entire metal chassis of your oven into a live wire. This is a lethal risk. If your home lacks grounded outlets, you need an electrician to upgrade the wiring before installing the oven.
When to Call a Professional
While some installations are straightforward, certain scenarios demand expert hands. Here is a quick checklist to decide if you should pick up a screwdriver or call a pro:
- No Dedicated Circuit: If the oven shares a circuit with your fridge or dishwasher, you will trip the breaker every time you bake a turkey. An electrician needs to run a new line from the panel.
- Hardwired Setup: If there are no plugs involved, only wires in a junction box, leave it to a licensed electrician. Incorrect splicing can lead to loose connections, which generate heat and start fires over time.
- Old Wiring: If your home has aluminum wiring (common in the 1960s-70s), it requires special connectors and expertise. Aluminum oxidizes and loosens over time, creating fire hazards.
- Panel Space Issues: If your electrical panel is full, adding a new 40-amp breaker requires upgrading the panel itself-a job for professionals only.
In many jurisdictions, including New Zealand and parts of the US, local building codes require that fixed appliance installations be performed by licensed electricians to maintain insurance validity. Check your local regulations. If a fire starts due to improper installation, your homeowner’s insurance may deny the claim.
Step-by-Step: Safe Plug-In Installation
If you have confirmed that you have a dedicated 240-volt outlet, the correct plug type, and proper grounding, here is how to proceed safely:
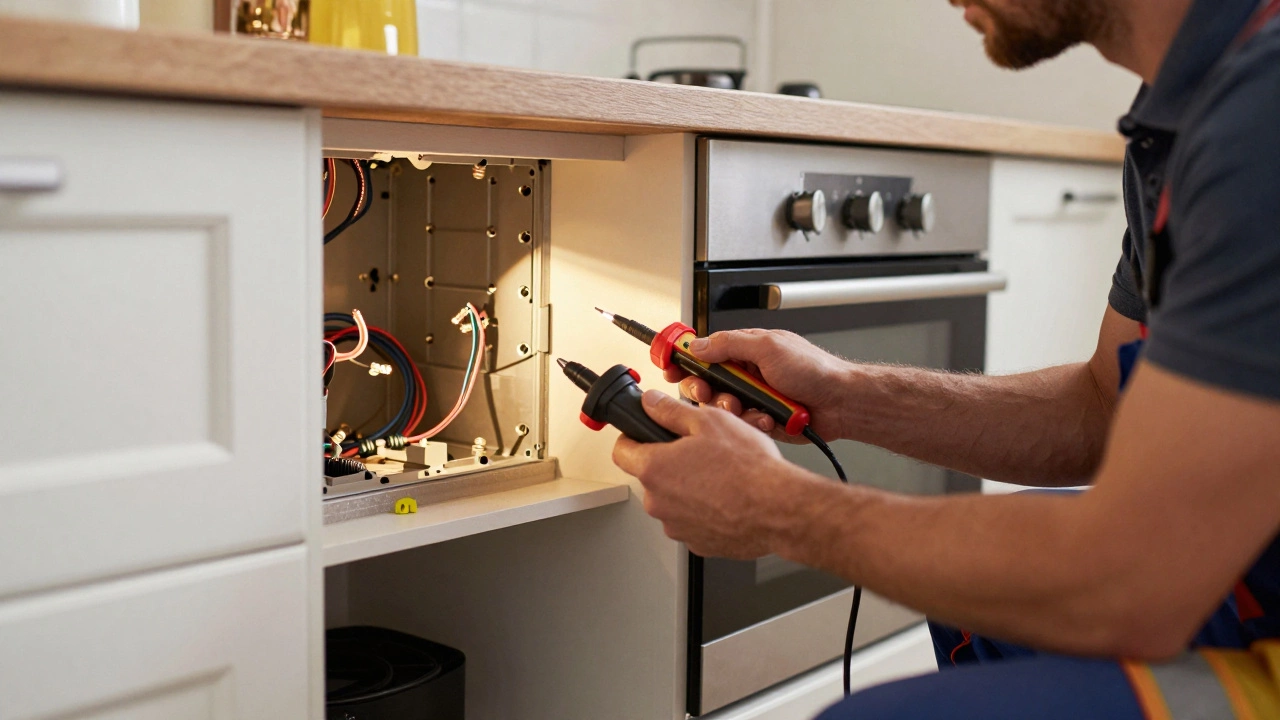
- Power Down: Turn off the circuit breaker for the oven at your main electrical panel. Use a non-contact voltage tester to confirm the outlet is dead. Never skip this step.
- Clear the Space: Ensure the area behind the oven is clear of debris, dust, or flammable materials. Measure the depth of the outlet box to ensure the plug won’t strain the cord.
- Inspect the Cord: Check the oven’s power cord for any cracks, fraying, or damage. If the cord was bent sharply during shipping, inspect it closely. Replace if damaged.
- Position the Oven: Carefully slide the oven into place. Avoid kinking the power cord. Leave enough slack so the plug sits comfortably without tension.
- Plug It In: Firmly insert the plug into the socket. It should fit snugly. If it feels loose or wobbly, stop. The socket may be worn out and needs replacement.
- Restore Power: Flip the breaker back on. Listen for any unusual humming or clicking sounds.
- Test Run: Set the oven to a low temperature (e.g., 150°C / 300°F) and let it run for 15 minutes. Smell for burning insulation. Check that the heating elements glow evenly.
Common Mistakes to Avoid
I’ve seen plenty of kitchens ruined by small oversights. Here are the biggest pitfalls:
Ignoring Clearance Rules: Ovens generate intense heat. Most manufacturers require at least 2-3 inches of clearance on the sides and top to prevent overheating surrounding cabinets. Cramping the oven against wood panels can warp them or ignite grease buildup.
Using Extension Cords: Never, ever use an extension cord for an electric oven. The cord isn’t rated for the sustained high current, and it will melt. If the cord is too short, an electrician must move the outlet or extend the wiring permanently.
Forcing the Plug: If the plug doesn’t go in smoothly, don’t yank it. Misaligned pins can damage the socket internals. Rotate the plug slightly or check if the socket is loose in the wall box.
Can I plug my new electric oven into a regular 3-prong household outlet?
No. Standard household outlets provide 120 volts, while electric ovens typically require 240 volts. Plugging a 240-volt oven into a 120-volt outlet will result in poor performance and potential damage to the oven's internal components. Additionally, the amperage draw is too high for standard circuits, posing a fire risk.
What if my new oven doesn't have a plug?
If your oven is hardwired, it means it connects directly to your home's electrical wiring via a junction box. This installation requires stripping wires, connecting them to the house's hot, neutral, and ground lines, and securing them properly. This task should be performed by a licensed electrician to ensure safety and code compliance.
Is it safe to install an electric oven myself?
It is safe only if you have a dedicated 240-volt outlet with the correct plug type already installed in your kitchen, and you follow strict safety protocols like turning off the breaker first. However, if any wiring, breaker changes, or hardwiring is needed, you must hire a professional. Local laws may also mandate professional installation for insurance purposes.
Why does my oven trip the breaker when I turn it on?
This usually indicates that the oven is sharing a circuit with other appliances or that the circuit breaker is undersized for the oven's amperage draw. Electric ovens require a dedicated circuit with a breaker rated for 30-50 amps. If it trips immediately, there may also be a short circuit inside the oven or the wiring.
Do I need a permit to install a new electric oven?
In many areas, replacing an existing oven with a similar model using the same electrical infrastructure does not require a permit. However, if you are running new wiring, changing the breaker size, or upgrading the electrical panel, a permit is often required. Always check with your local building authority to avoid fines and ensure safety inspections are completed.