Oven Element Replacement Cost Calculator
Configure Your Repair Scenario
Estimated Cost Breakdown
Total Estimated Cost
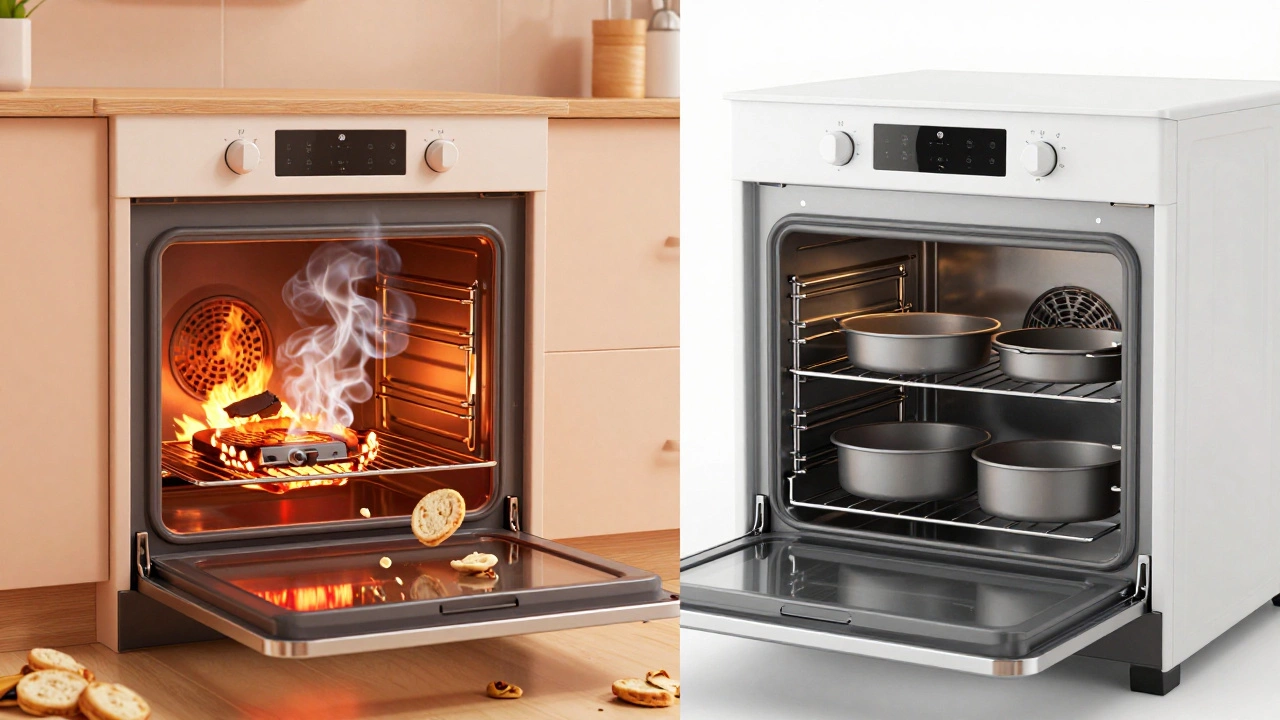
There is nothing quite as frustrating as pulling a roast out of the oven only to find it raw in the middle or burnt on top. You check the temperature dial, but it’s set correctly. The culprit is likely a worn-out baking element, which is the primary heating coil located at the bottom of your electric oven responsible for generating consistent heat during cooking. Before you call a technician and brace yourself for a hefty bill, it helps to know exactly what this repair involves. Replacing an electric oven element is one of the most common fixes in appliance maintenance, and understanding the costs can save you significant money.
The short answer? A new element costs between $15 and $80, depending on your oven brand. Labor adds another $100 to $250 if you hire a pro. If you have basic handyman skills, you can do it yourself in about 30 minutes for just the price of the part. However, before we get into the nitty-gritty of wiring and screws, let's look at why these elements fail and how to diagnose the problem accurately so you don't waste money on unnecessary parts.
| Service Type | Part Cost | Labor Cost | Total Estimated Cost |
|---|---|---|---|
| DIY Replacement | $15 - $80 | $0 | $15 - $80 |
| Professional Technician | $15 - $80 | $100 - $250 | $115 - $330 |
| Emergency/Weekend Service | $15 - $80 | $150 - $350+ | $165 - $430+ |
Diagnosing the Problem: Is It Really the Element?
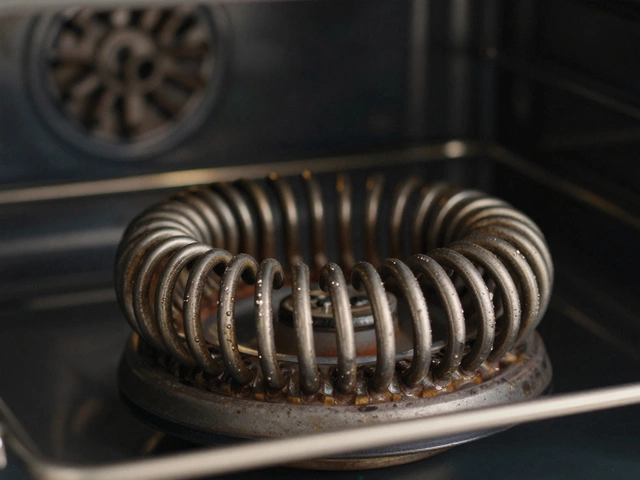
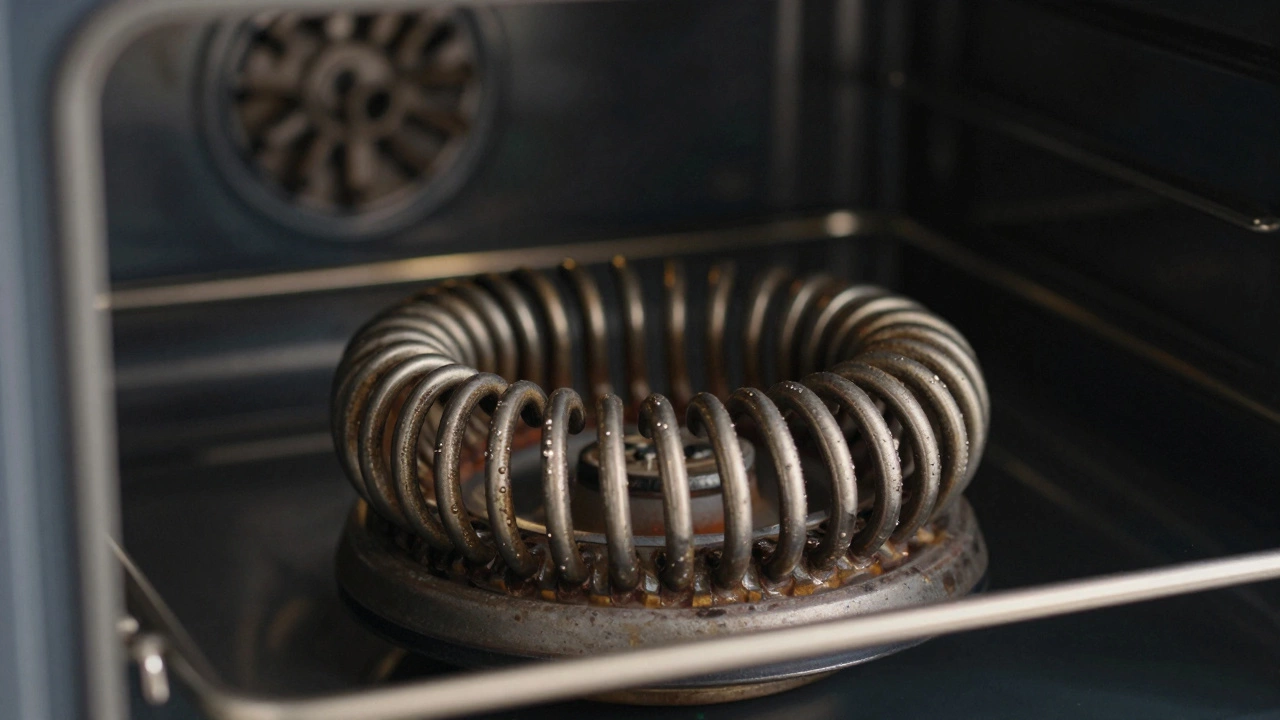
Before buying anything, you need to be sure the element is dead. Sometimes, the issue isn't the coil itself but the thermostat or the control board sending signals to it. A visual inspection is the first step. Look inside your oven when it’s off. Do you see any obvious burns, blisters, or breaks in the metal tube of the element? If the coating is peeling significantly or there are holes, the element is compromised and needs replacement immediately due to safety risks.
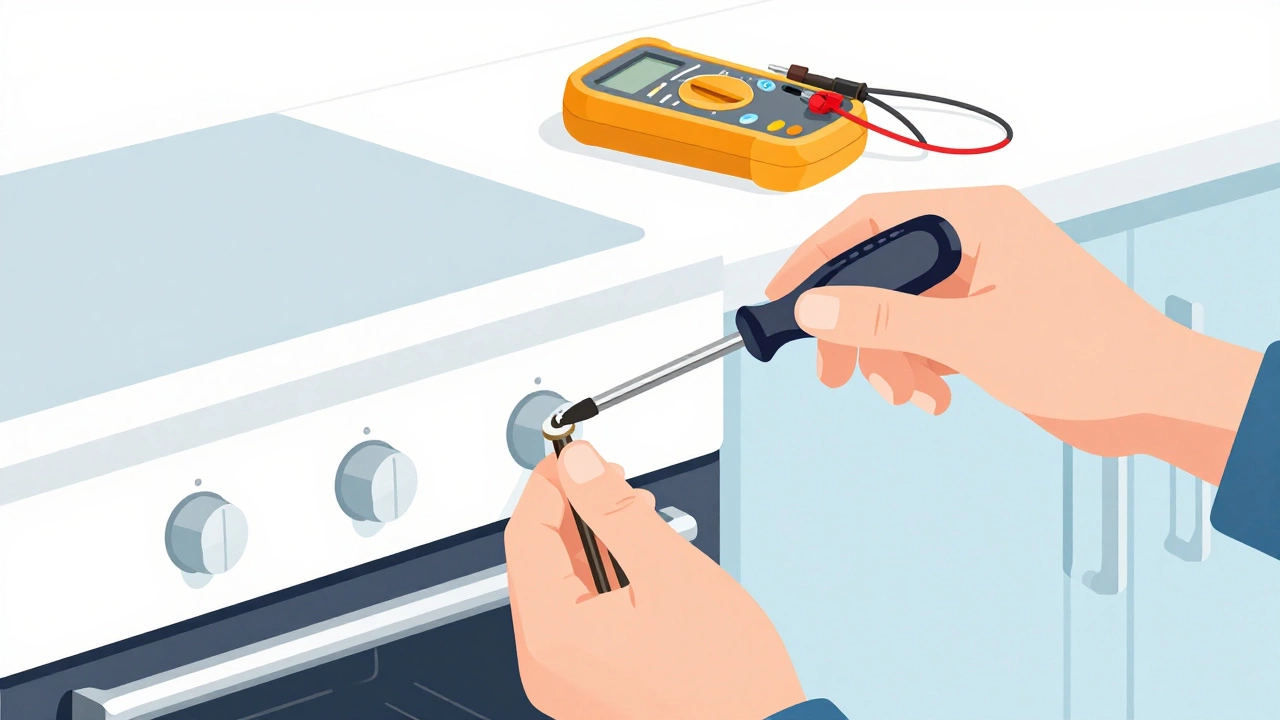
If the element looks intact, grab a multimeter. This tool measures electrical continuity. Set the multimeter to the resistance setting (ohms). Touch one probe to each of the terminals on the element. A working element should show a reading between 10 and 30 ohms, depending on its wattage. If the meter reads "OL" (open loop) or infinity, the circuit is broken, and the element is dead. This simple test prevents you from paying for a service call that could have been a five-minute swap.
Factors That Influence the Price of the Part
Not all oven elements are created equal. The cost varies based on several factors:
- Brand Compatibility: Generic elements are cheaper ($15-$30) but may not fit perfectly or last as long. OEM (Original Equipment Manufacturer) parts from brands like GE, Whirlpool, or Bosch cost more ($40-$80) because they are engineered specifically for your model.
- Oven Type: Standard slide-in ovens use universal-style elements that are widely available and affordable. Built-in wall ovens or high-end convection models often require specialized shapes or higher-wattage coils, driving up the price.
- Wattage and Size: Higher wattage elements generate more heat but also cost more to manufacture. Always match the wattage printed on your old element to avoid damaging your oven’s electrical system.
When searching for a replacement, never guess the part number. Pull the old element out (after disconnecting power!) and look for the manufacturer’s code stamped on the back. Enter this code into a parts website to ensure an exact match. Using the wrong part can lead to uneven heating or even fire hazards.
DIY Replacement: Step-by-Step Guide
If you’re comfortable using a screwdriver and handling low-voltage wires, replacing the element is straightforward. Here’s how professionals do it:
- Disconnect Power: This is non-negotiable. Turn off the circuit breaker that supplies power to your oven. Do not rely on the oven’s switch; always cut the main power to avoid electrocution.
- Remove the Old Element: Most elements are held in place by two screws at the back of the oven cavity. Unscrew them carefully. The element will pull forward slightly. Disconnect the wires from the terminals. Take a photo with your phone first so you remember which wire goes where.
- Install the New Element: Connect the wires to the new element’s terminals. Slide the element back into place and secure it with the screws. Ensure the wires aren’t pinched or touching the oven walls.
- Restore Power and Test: Turn the circuit breaker back on. Set the oven to bake at 350°F (175°C). The element should glow red within 10-15 minutes. If it doesn’t, double-check your connections.
This process takes less than an hour for most people. The biggest risk is stripping the screws or misconnecting the wires, so take your time. If you encounter rusted screws that won’t budge, stop and call a pro-forcing them can damage the oven frame.
When to Hire a Professional
While DIY saves money, some scenarios warrant hiring a technician:
- Complex Wiring: If your oven has multiple elements, sensors, or a complex control board, a mistake can void warranties or cause further damage.
- Lack of Tools: If you don’t own a multimeter or basic hand tools, the cost of buying them might outweigh the labor savings.
- Warranty Coverage: If your oven is under warranty, attempting a DIY repair may void it. Check your manual first.
- Safety Concerns: If you smell burning insulation or see sparks, unplug the oven immediately and call an expert. This indicates a deeper electrical issue beyond the element.
A professional technician brings expertise and liability insurance. They can also diagnose related issues, such as a faulty thermostat, that you might miss. While their hourly rate ranges from $75 to $150, the peace of mind is worth it for complex repairs.
Maintaining Your Oven to Extend Element Life
Replacing an element is annoying, but preventing premature failure is easier. Here are practical tips:
- Avoid Spills: Food drips onto the element can cause hot spots and burn out the coating. Use pans with lids or parchment paper to catch spills.
- Clean Gently: Never scrub the element with abrasive pads. Wipe it down with a damp cloth when cool. Harsh chemicals can degrade the protective layer.
- Check Door Seals: A broken door gasket forces the element to work harder to maintain temperature, shortening its lifespan. Replace seals if they look cracked or loose.
- Don’t Overheat: Avoid running the oven at maximum temperature for extended periods unless necessary. Moderate baking temperatures reduce stress on the coil.
Regular maintenance keeps your oven efficient and extends the life of its components. A well-maintained element can last 5-10 years, while a neglected one might fail in 2-3 years.
For those who enjoy exploring different aspects of home management and lifestyle services, sometimes looking beyond immediate technical fixes opens up new perspectives on household efficiency and comfort. For instance, some residents in major cities like Almaty utilize specialized directories to manage various personal and domestic arrangements efficiently, finding resources like this directory helpful for organizing diverse local services, though our focus here remains strictly on keeping your kitchen appliances running smoothly.
Signs Your Oven Needs More Than Just an Element Swap
If replacing the element doesn’t solve the problem, other components might be failing:
- Thermostat Failure: If the oven overheats or underheats consistently, the thermostat may not be reading temperatures accurately.
- Control Board Issues: Digital ovens rely on electronic boards to send power to the element. A faulty board can mimic a dead element.
- Broken Switches: The bake/broil selector switch can wear out over time, preventing power from reaching the element.
In these cases, a diagnostic fee ($50-$100) from a technician is wise. They can pinpoint the exact fault, saving you from buying multiple parts unnecessarily.
Can I replace an oven element myself?
Yes, if you have basic handyman skills and can safely disconnect power. It involves unscrewing the old element, swapping wires, and securing the new one. Always verify the part number matches your model.
How much does a professional charge to replace an oven element?
Professionals typically charge $100-$250 for labor, plus the cost of the part ($15-$80). Total costs range from $115 to $330, depending on location and urgency.
What causes oven elements to break?
Common causes include food spills burning the coating, physical damage from pots, age-related wear, and voltage spikes. Overheating due to poor ventilation can also shorten lifespan.
Is it safe to use an oven with a broken element?
No. A broken element can expose live wires, pose fire risks, or cause uneven cooking that ruins food. Replace it immediately to ensure safety and performance.
How long does an oven element last?
With proper care, an oven element lasts 5-10 years. Frequent heavy use, spills, or lack of cleaning can reduce this to 2-3 years.