Water Heater Element Diagnostic Tool
Element Troubleshooter
Use this tool to diagnose common water heater failures.
Only proceed if you are comfortable working with electricity.
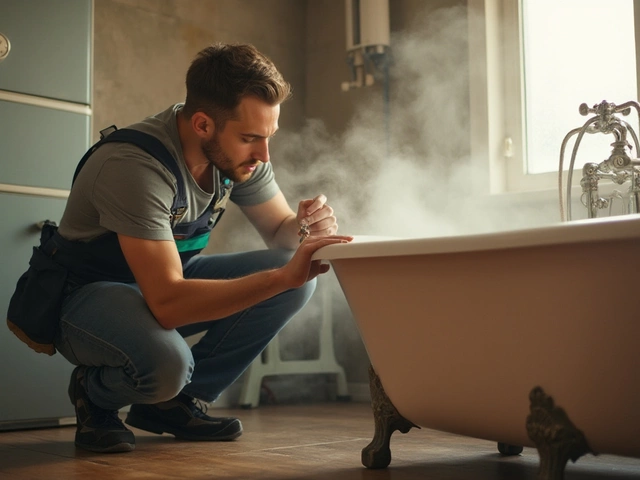
You turn the tap expecting hot water, but ice-cold liquid rushes out instead. It’s frustrating enough to walk away, but knowing your appliance has failed is worse. Often, the culprit hiding behind this disaster is a blown Water Heater Elementa resistive metal rod responsible for converting electricity into heat inside your tank. Also known as an immersion heater, this component takes the brunt of your daily usage. Before calling an expensive technician, you can verify if the part is dead yourself. Doing so saves time and helps you decide between a DIY fix or hiring a pro.
Many homeowners overlook the early warning signs until the system goes completely silent. A failing element rarely announces its presence. Instead, it degrades slowly, often due to mineral buildup or aging. If you notice your hot water lasts significantly shorter than usual, or if your circuit breaker trips whenever you run a dishwasher, the heating assembly could be shorting out. We need to look past the surface symptoms to find the root cause.
Common Signs of a Failing Heating Element
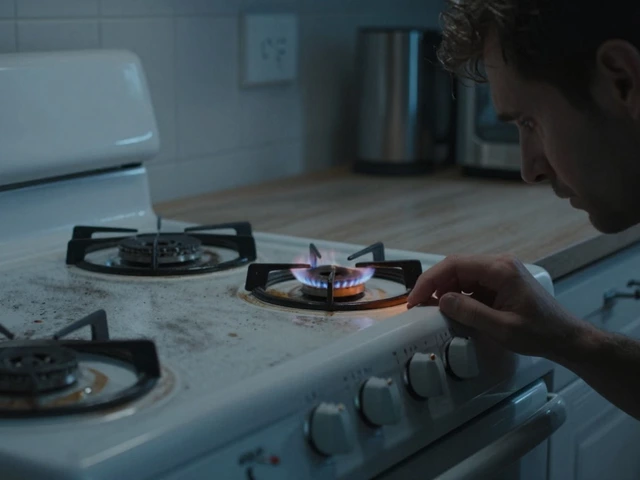
The most obvious indicator is simply a lack of heat. If your Electric Water Heateran appliance that stores and heats water using electric coils powered by the mains grid runs for a while but never gets warm, one of the two elements is likely open. Unlike gas units, electric tanks have two Heating Rodssubmerged metal components located at the top and bottom of the tank that burn electricity to raise water temperature. The top unit works primarily during heavy demand, while the bottom handles recovery. If the top one dies, you lose hot water almost immediately. If the bottom one fails, you get a small amount of hot water that vanishes quickly.
Sometimes, the signs are electrical rather than thermal. A popping noise coming from the access panels on the side of the heater suggests arcing. This happens when the insulation inside the terminal connections cracks. You might also see scorch marks around the wiring harness. In severe cases, the entire household power supply flickers. This indicates a ground fault, meaning electricity is leaking through the water instead of staying contained within the element coil.
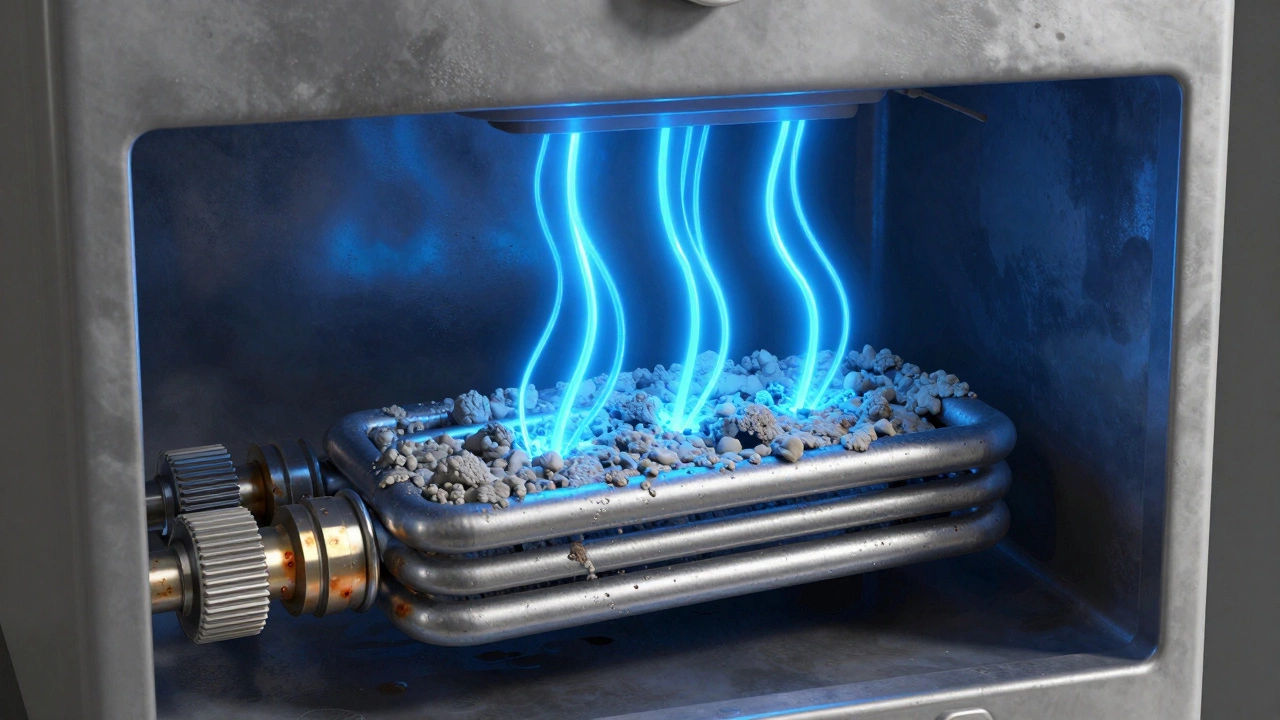
Sediment buildup plays a major role here. Over years of operation, calcium and magnesium settle at the bottom of the tank. This sludge insulates the lower element, causing it to overheat and burn out prematurely. It creates a feedback loop: the element overheats, weakens the coating, and eventually snaps. Recognizing this pattern helps you understand why simply replacing the part might not solve the problem if the tank remains full of debris.
Gathering the Right Testing Equipment
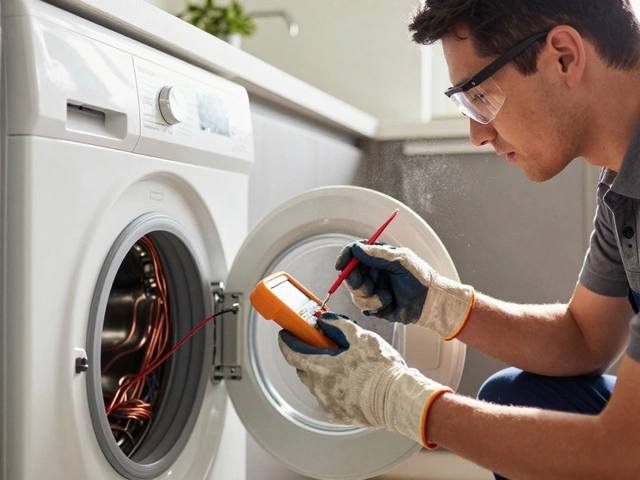
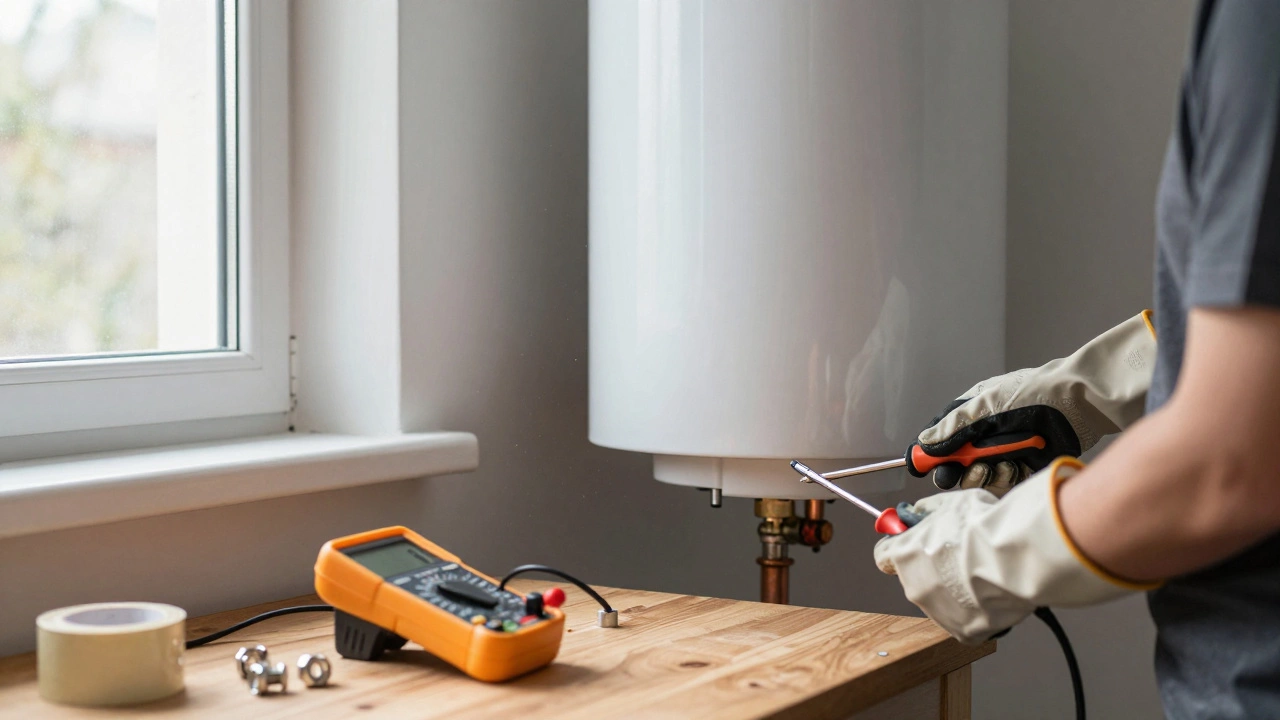
To confirm a diagnosis, you cannot rely on guesswork. You need a Digital Multimeteran electronic device used to measure electrical properties like voltage, current, and resistance. While mechanical meters exist, digital versions give precise readings quickly. Set it to measure resistance (ohms). You will also need insulated screwdrivers to remove the cover plates safely. Never attempt this bare-handed with wet hands or standing on a damp floor.
Standard household supplies work well too. A flashlight helps inspect dark corners inside the tank. Rubber gloves protect your skin from sharp edges and potential shocks during disconnecting. Some technicians prefer needle-nose pliers for gripping tight wires, but screwdrivers suffice for the terminals. Make sure your multimeter batteries are fresh; a low battery leads to false readings that waste your time.
Essential Safety Precautions Before Touching Wires
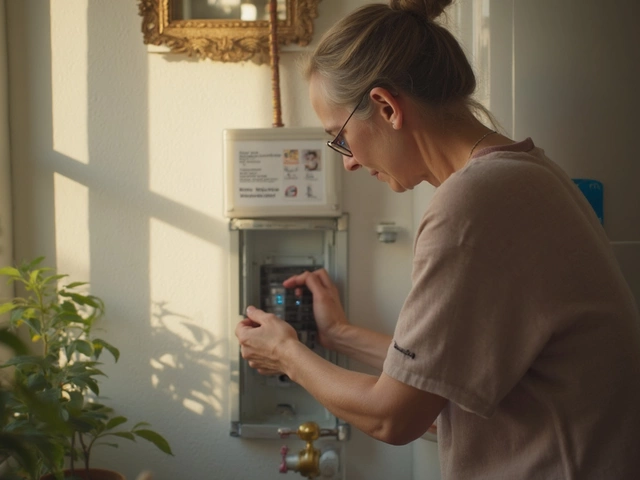
Safety must come before diagnostics. Water and electricity form a lethal mix. Before you touch a single wire, locate your Circuit Breakera safety switch in the electrical distribution board that cuts power to specific circuits when overloaded or manually switched off. Flip the switch labeled Water Heater to OFF. Do not rely solely on a wall switch; those can malfunction. Go straight to the main fuse box.
Verify the power is down before removing covers. Place the multimeter probes on the two live terminals leading into the heater. You should read zero volts. If the display shows 230V or 240V, stop immediately. Power is still flowing. Reset the breaker or call an electrician. It is tempting to assume the job is done once you flip the switch, but hidden faults can bypass manual controls.
If the tank is leaking, do not proceed with testing. Drain the water to a safe level below the upper element first. Working with a pressurized vessel containing boiling water poses a burn risk equal to the electrical hazard. Let the tank cool for several hours before attempting to drain or open the access ports.
Step-by-Step Guide to Testing Resistance
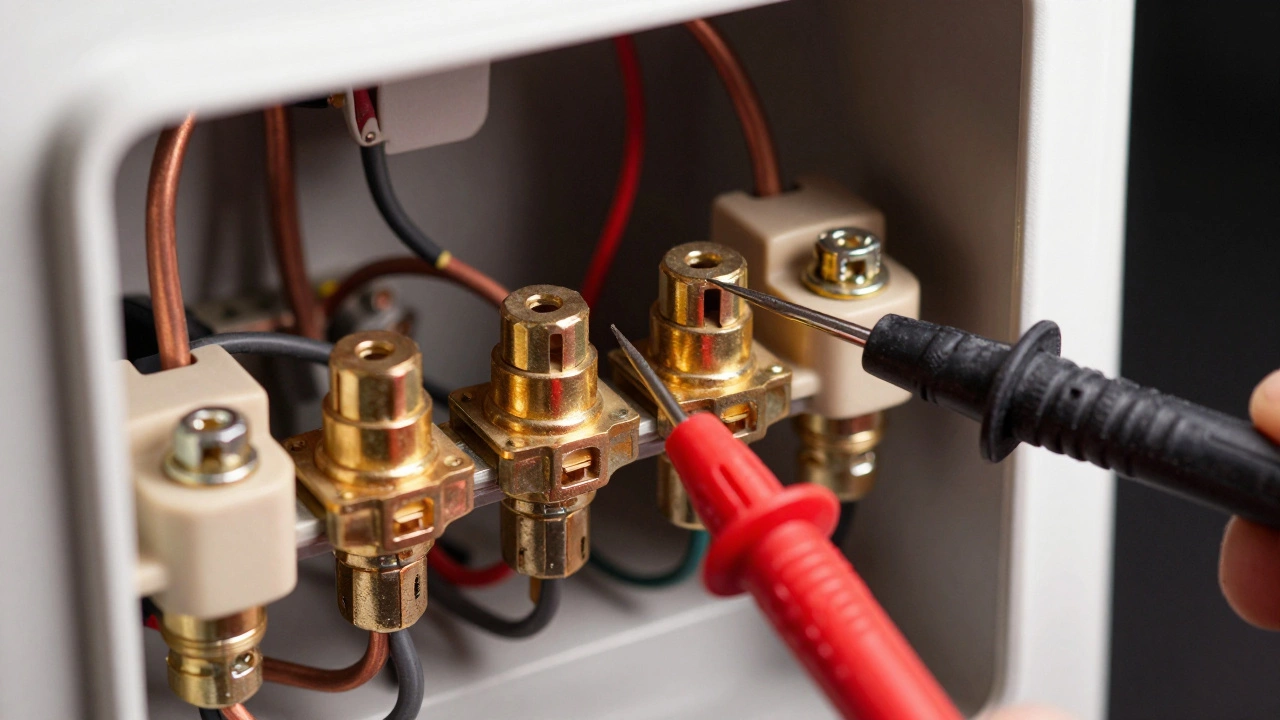
Once you have confirmed the system is dead, remove the plastic access panels covering the sides of the heater. You will see two wires connected to each element via ceramic screws. Loosen these carefully. Cap the exposed ends with electrical tape or use wire nuts to prevent accidental contact with the chassis. Now you are isolating the Thermostata control device that regulates the temperature by switching the power to the heating element on or off from the element itself.
Place one multimeter probe on one terminal lug and the other probe on the second lug of the element. Read the value. A healthy element shows a finite resistance, typically between 10 and 25 ohms depending on the wattage. If the screen reads “OL” or infinity, the internal coil is broken. The circuit is open. Current cannot pass, so no heat is produced. This confirms the part is bad.
Next, test for a ground fault. Keep one probe on a terminal lug and place the other probe on the metal body of the water heater. You should read infinity again. If you get a low number here, the element’s casing is compromised. Electricity is finding a path to the ground through the water. This condition trips breakers immediately and creates a serious shock hazard for anyone using the faucet.
Interpreting Your Multimeter Results
Numbers matter. Every element has a design specification based on its power output. A 4500-watt unit operates differently than a 3000-watt one. High-power elements have lower resistance because they draw more current. You calculate expected resistance using the formula R = V^2 / W. For a 240-volt system running 4500 watts, divide 57,600 by 4,500. You get roughly 12.8 ohms. If you read closer to 13, the element is likely fine despite symptoms pointing otherwise.
Older elements drift in value. Mineral scale adds resistance over time. If the reading is slightly high but not infinite, the element is nearing the end of its life. It works but inefficiently, raising your energy bill. Replacing it restores efficiency. Conversely, a very low reading near zero might indicate a shorted winding, though this is rare compared to open circuits.
Don’t forget to test the second element. Many homeowners blame the bottom unit while the top one has already failed. Test both independently. Replace them simultaneously if one has died and the other is old. Mismatched lifespans lead to repeat service calls later.
Physical Inspection and Preventative Maintenance
Visual checks provide clues the meter misses. Pull the element out carefully if you suspect leaks. Look at the rubber gasket. Cracks here allow water to leak into the socket, causing shorts. Inspect the white porcelain insulators holding the terminals. Blackening indicates arcing. These components degrade faster than the heating core itself.
A major factor in longevity is the Anode Roda sacrificial metal bar installed inside the tank to attract corrosive elements and protect the steel lining. If this rod is completely corroded away, the tank walls take the damage. Corrosion spreads to the element threads, seizing them and ruining the seal. Flush the tank annually. Removing sediment keeps the element cooler and extends its lifespan significantly.
Maintenance prevents surprise failures. Checking the temperature setting ensures the element isn’t working harder than needed. Setting it too high encourages scaling. Keeping it reasonable balances comfort with equipment health. Regular checks cost nothing and save hundreds in replacement parts.
When to Call a Professional Technician
Some jobs require expertise beyond basic testing. If you discover extensive wiring damage or loose terminals, hire someone. Working on live circuits without training risks severe injury. If the tank is rusting internally, replacing the element is pointless. The water will continue to leak through thin spots eventually.
Cost also factors in. Elements range from $20 to $60 depending on size and brand. Labor adds significantly to the total. If labor costs exceed half the price of a new unit, consider upgrading the entire system. Efficiency ratings improve year over year, and older units waste massive amounts of energy.
Always prioritize safety over saving money on labor. Complex plumbing modifications or gas conversions involve permits and inspections. Stick to electric replacements if you are comfortable with the task. Otherwise, the peace of mind from a licensed contractor is worth the fee.
Why does my breaker trip when the water heater runs?
This usually points to a grounded heating element. The electrical current escapes into the tank water and triggers the safety breaker. It can also mean the thermostat is stuck closed, forcing continuous power draw.
Can I replace just one element if I have two?
Yes, technically. However, if one is dead, the other is likely old. Replacing both at the same time prevents having to redo the job shortly after the second one fails.
What happens if I install a higher wattage element?
A higher wattage pulls more current than your wiring is designed for. This overheats the copper wires in your walls and creates a fire hazard. Always match the manufacturer specifications exactly.
Is it dangerous to leave a failed element installed?
It depends. If it is simply "open," it is harmless but provides no heat. If it is "shorted," it can leak electricity into the water pipes, risking shock hazards throughout the house plumbing.
How often should I change the anode rod?
Check every three years. If it is less than half gone, let it stay. If it is fully degraded, replace it immediately to stop the tank from rusting internally.