Oven Element Replacement – Simple Steps to Get Your Oven Heating Again
Notice your oven taking forever to heat up or not reaching the set temperature? Most of the time it’s the heating element that’s giving up. Replacing an oven element isn’t rocket science – with a few tools and a bit of patience you can have your oven back to normal without calling a technician.
Why the Element Fails and When to Replace It
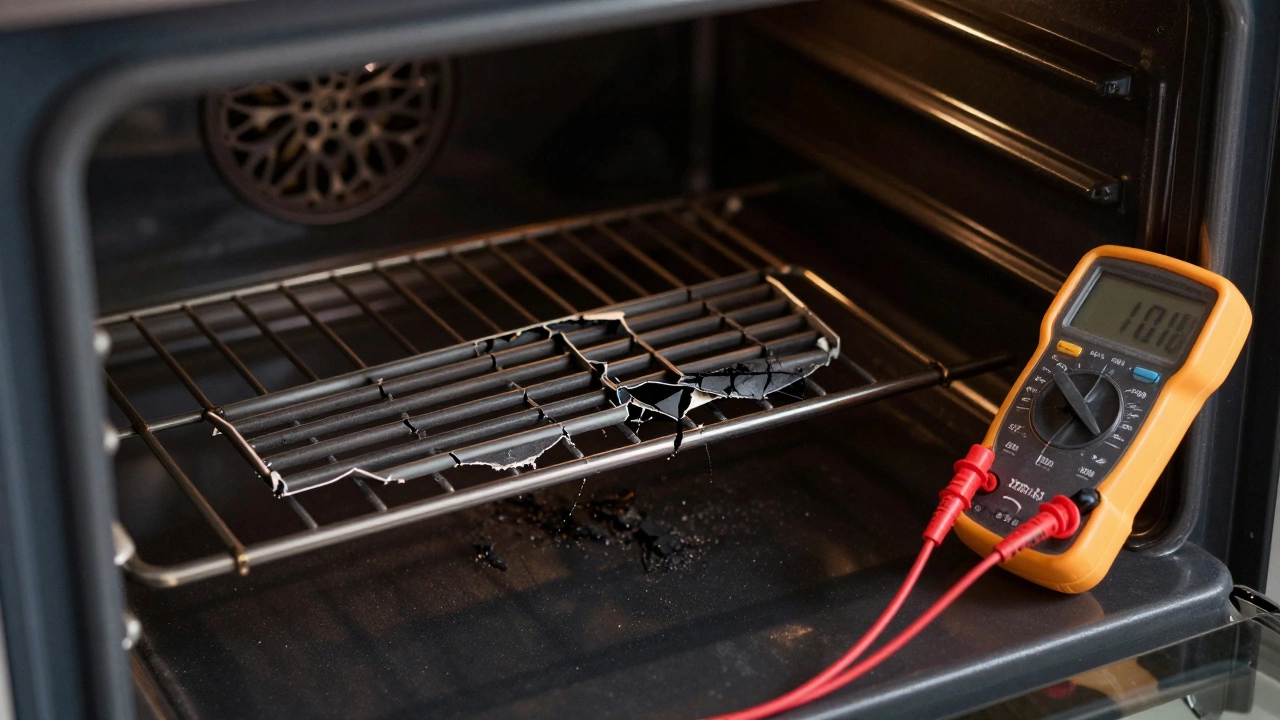
Elements burn out after years of heating cycles. They can also crack if something falls inside the oven or if there’s a power surge. A quick visual check often shows a broken coil or dark spots. If the oven still won’t heat after you’ve checked the thermostat and the wiring, the element is the likely culprit.
Step‑by‑Step Replacement Process
1. Safety first. Unplug the oven or switch off the circuit breaker. Even if you think the oven is off, a stray voltage can still shock you.
2. Locate the element. Most electric ovens have a visible element at the bottom and sometimes a broil element at the top. Open the oven door and look for the metal coil screwed into the oven cavity.
3. Remove the old element. Unscrew the mounting screws (usually two) and gently pull the element out. You’ll see two connector wires – note how they’re attached or take a quick photo.
4. Disconnect the wires. Press the spring clips on the connector and pull the wires off. Some connectors have a twist‑lock – just turn them counter‑clockwise.
5. Install the new element. Slide the new coil into place, line up the screw holes, and tighten the screws. Re‑attach the wires to the connector, making sure they click securely.
6. Test it. Turn the power back on and set the oven to a low temperature. If the coil glows and the oven heats, you’ve done it right.
If the new element doesn’t heat, double‑check the wiring and the circuit breaker. Sometimes the thermostat or control board can also be at fault, but most of the time a fresh element solves the problem.
Cost and Tips to Save Money
A standard oven element costs between £20 and £60, depending on the brand and model. You can find them on appliance parts websites or directly from the manufacturer. If you’re not sure which part fits, have your oven’s model number handy – it’s usually on a sticker inside the door frame.
To keep the cost down:
- Shop around – compare a few online stores before buying.
- Check if the retailer offers a free return if the part doesn’t fit.
- Consider buying a refurbished element from a reputable source; it can be half the price.
When you’re installing, avoid overtightening the screws – the element needs a little wiggle room to expand when it heats. Also, don’t force the wires; if they’re stuck, a small amount of contact cleaner can help.
In most cases, a DIY oven element swap takes 30‑45 minutes. If the oven is under warranty, call the manufacturer first – they may cover the part or the labor.
Bottom line: swapping an oven element is a quick, cheap fix that brings your oven back to life. Follow the safety steps, keep the right tools (screwdriver, gloves, and maybe a flashlight), and you’ll be back to baking pies in no time.
8 February 2026
·
0 Comments
A broken oven heating element means no heat, no cooking, and potential safety risks. Learn how to confirm the issue, safely replace it yourself, or decide when it's time for a new oven.
Read more
7 September 2025
·
0 Comments
Not sure if you should fix or replace your electric stove? Get 2025 NZ costs, lifespan cues, safety rules, and clear steps to decide fast-without wasting money.
Read more